Tape Drive
Removal
1. Turn off power as described in “Powering Off the System” on page 415.
2. If you have not already done so, open the front door of the rack unit.
3. Loosen the two thumbscrews that attach the front bezel to the I/O drawer.
4. Grasp both sides of the front bezel and pull it off the drawer.
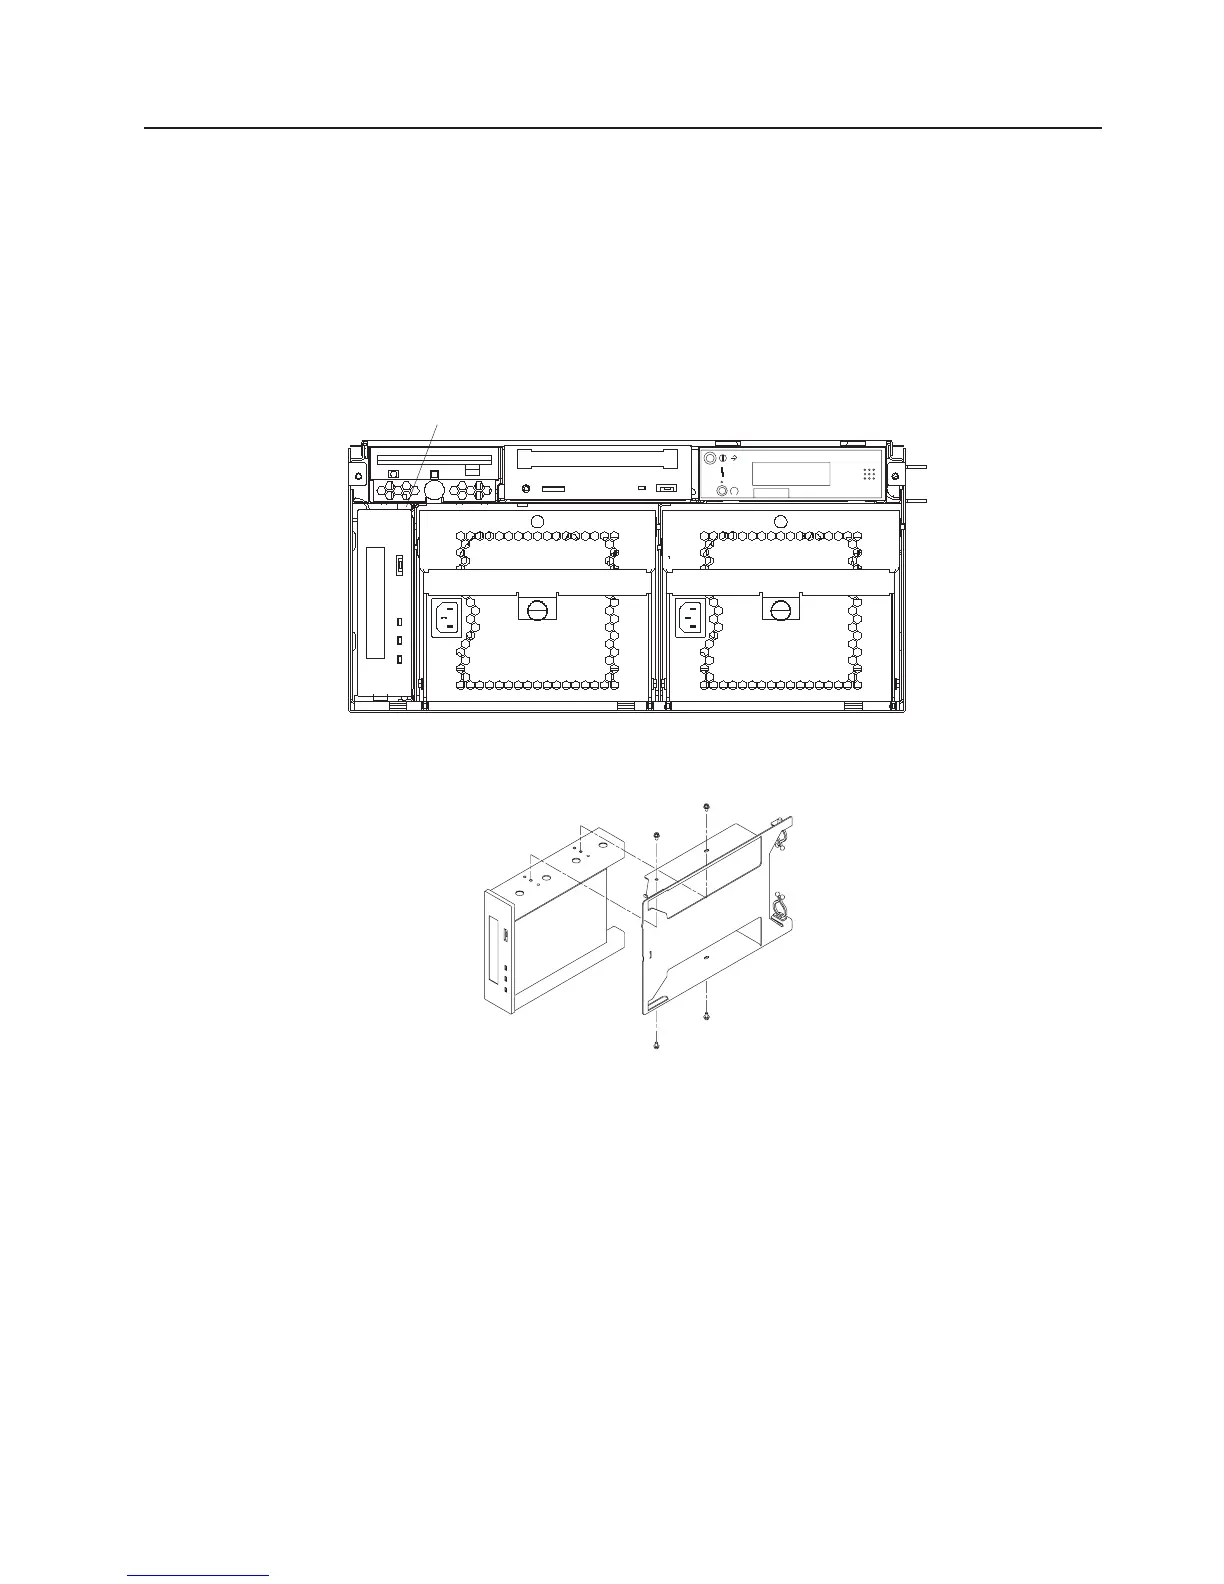
5. Push up on the release latch and pull the tape drive out.
Release
Lever
R
6. Disconnect the cables from the tape drive.
7. Remove the screws that connect the carrier to the tape drive.
Replacement
Replace in reverse order.
Chapter 10. Removal and Replacement Procedures 459
 Loading...