7.3 FUSE REPLACEMENT
7.3.1 Line Fuse
A rear panel fuse protects the power line input of the instru-
ment. Use the following procedure to replace the line fuse:
WARNING
Disconnect the instrument from the power
line and other equipment before replacing
the fuse.
With the power off, place the end of a flat-blade screw-
driver into the slot in the rear panel LINE FUSE holder.
Push in gently and rotate the fuse carrier one-quarter turn
counterclockwise. Release pressure on the holder and its
Internal spring will push the fuse and carrier out of the
holder.
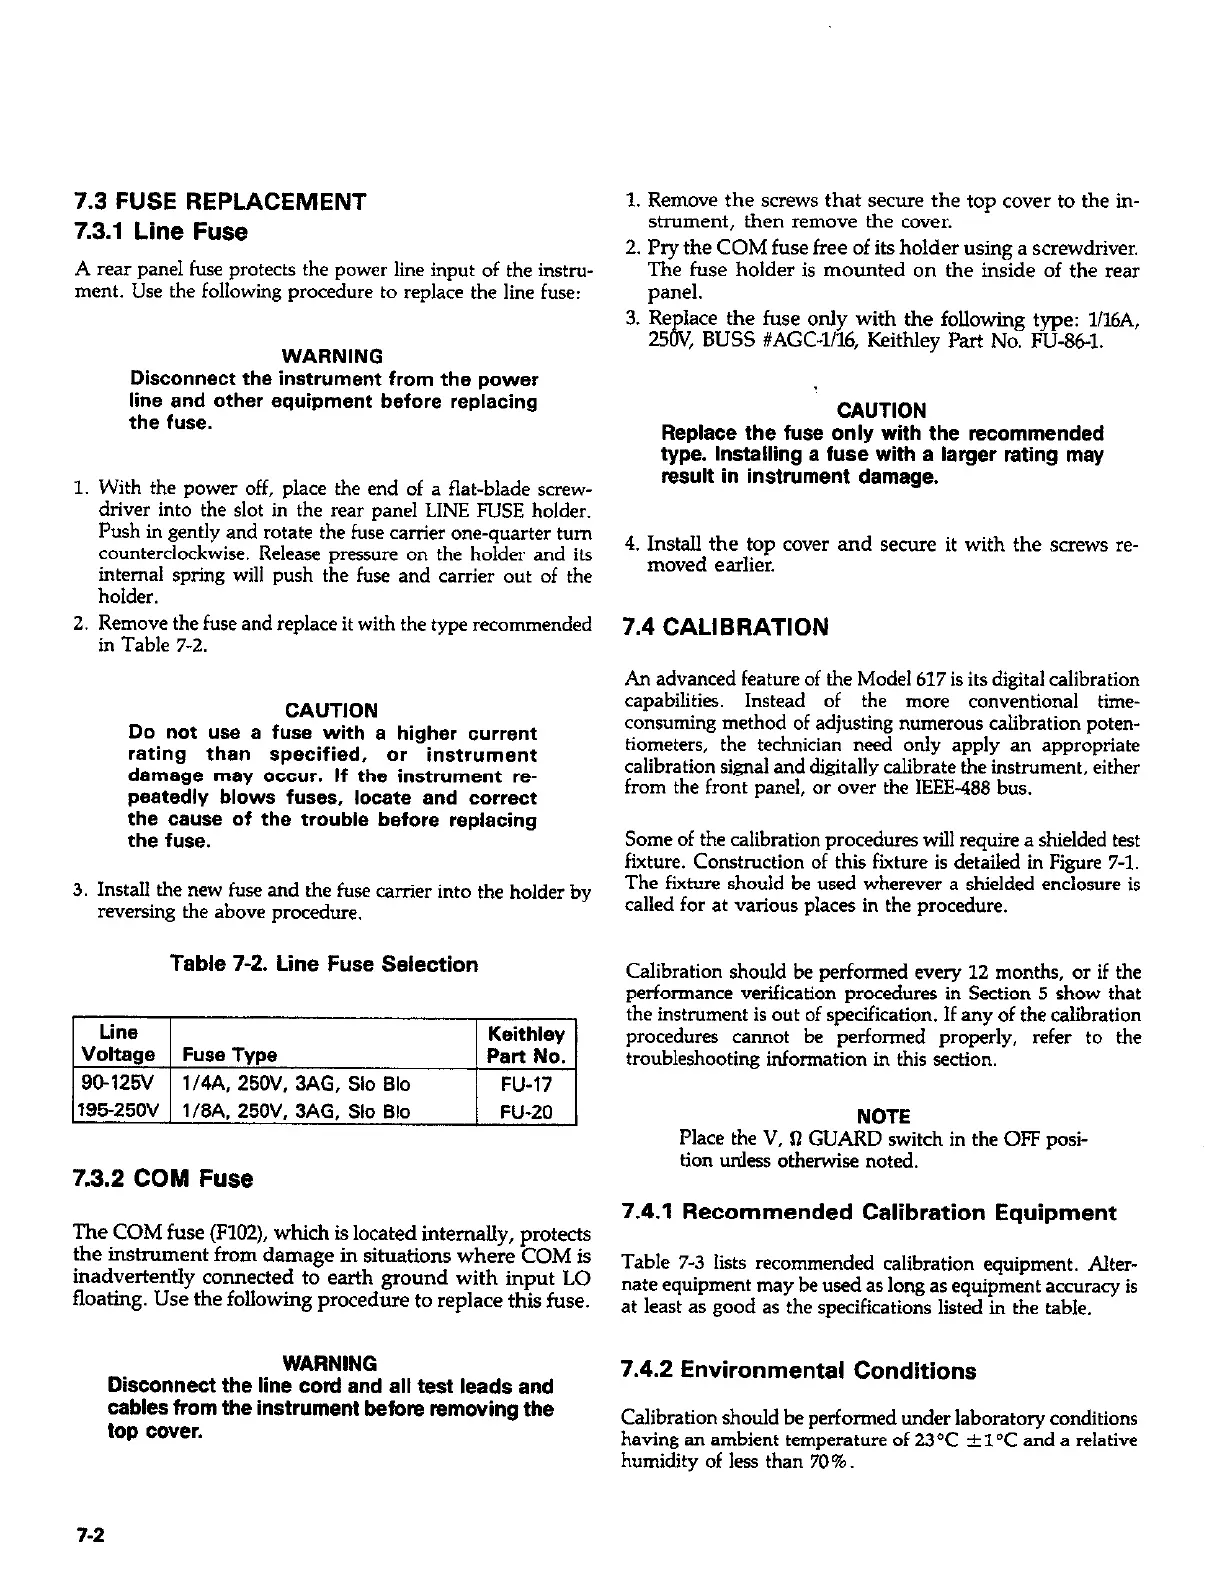
Remove the fuse and replace it with the type recommended
in Table 7-2.
CAUTION
Do not use a fuse with a higher current
rating than specified, or instrument
damage may occur. If the instrument re-
peatedly blows fuses, locate and correct
the Cause of the trouble before replacing
the fuse.
Install the new fuse and the fuse carrier into the holder by
reversing the above procedure.
Table 7-2. Line Fuse Selection
Line
Voltage Fuse Type
90-125V 1/4A, 25OV. 3AG, Slo Blo
Keithley
Part No.
FU-17
19525OV 1/8A. 25OV. 3AG, Slo Blo
FU-20
NOTE
7.3.2 COM Fuse
The COM fuse (F102), which is located internally, protects
the instrument from damage in situations where COM is
inadvertently connected to earth ground with input LO
floating. Use the following procedure to replace this fuse.
WARNING
Disconnect the line cotd and all test leads and
cables from the instrument before removing the
top cover.
1. Remove the screws that secure the top cover to the in-
strument, then remove the cover.
2. Pry the COM fuse free of its holder using a screwdriver.
The fuse holder is mounted on the inside of the rear
panel.
3. Replace the fuse only with the following type: l&A,
25OV, BUSS #AGC-1116, Keithley Part No. FIJ-86-l.
CAUTION
Replace the fuse only with the recommended
type. Installing a fuse with a larger rating may
result in instrument damage.
4. Install the top cover and secure it with the screws re-
moved earlier.
7.4 CALIBRATION
An advanced feature of the Model 617 is its digital calibration
capabilities. Instead of the more conventional time-
consuming method of adjusting numerous calibration poten-
tiometers, the technician need only apply an appropriate
calibration signal and digitally calibrate the instrument, either
from the front panel, or over the IEEE-488 bus.
Some of the calibration procedures will require a shielded test
fixture. Construction of this fixture is detailed in Figure 7-1.
The fixture should be used wherever a shielded enclosure is
called for at various places in the procedure.
Calibration should be performed every 12 months, or if the
performance verification procedures in Section 5 show that
the instrument is out of specification. If any of the calibration
procedures cannot be performed properly, refer to the
troubleshooting information in this section.
Place the V, Q GUARD switch in the OFF posi-
tion unless otherwise noted.
7.4.1 Recommended Calibration Equipment
Table 7-3 lists recommended calibration equipment. Alter-
nate equipment may be used as long as equipment accuracy is
at least as good as the specifications listed in the table.
7.4.2 Environmental Conditions
Calibration should be performed under laboratory conditions
having an ambient temperature of 23°C kl”C and a relative
humidity of less than 70%
7-2

 Loading...