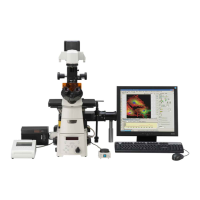
Chapter 5 Laser Unit
5.2 C-LU2 Two-laser Unit, and C-LU3 Three-laser Unit
1-104
5.2.2 Laser Installation
Install the lasers shown in the table described in “5.1. Overview of the Laser Units” onto the specified
positions.
1
Ar laser installation
1. Loosen the screw on the mounting plate attached to the laser unit and remove the mounting plate.
Fasten it securely to the bottom of the head using the screw provided with the laser head.
2. Place the Ar laser at the specified position within the laser unit and secure temporarily using the
screw above.
2
He-Ne laser installation
1. Loosen the sleeve-retaining screws (3 locations) and slot-tightening screw (1 location) to allow
insertion of the laser head.
2. Insert the front edge of the laser head into the two sleeves. To do this, push down the plunger
projecting from the bottom of the sleeve. To prevent leakage of scattered laser light, press the
edge of the laser head against the black ring attached to the plate just enough to compress the
ring slightly. When inserting the laser head through the sleeves, carefully insert in the slotted
sections to keep the shutter section on the laser head from catching.
3. Turn the setscrew on top of the block to adjust the laser head position to the center of the opening
in the mounting block.
3
Laser warm-up
1. Open the shutters on each laser head and check that the laser unit shutter is closed. Turn on the
lasers with both of the ND filters for each laser set to “IN.”

 Loading...