Chapter 6 Connection between the Laser Unit and the Microscope
6.4 Installing the N-STORM Kit
1-226
6.4 Installing the N-STORM Kit
Installation method
1. Install the laser specified for the N-STORM kit to the LU4A through the dedicated laser adapter.
2. Install the Ti-E fixing plates and the DSC support columns of the N-STORM kit.
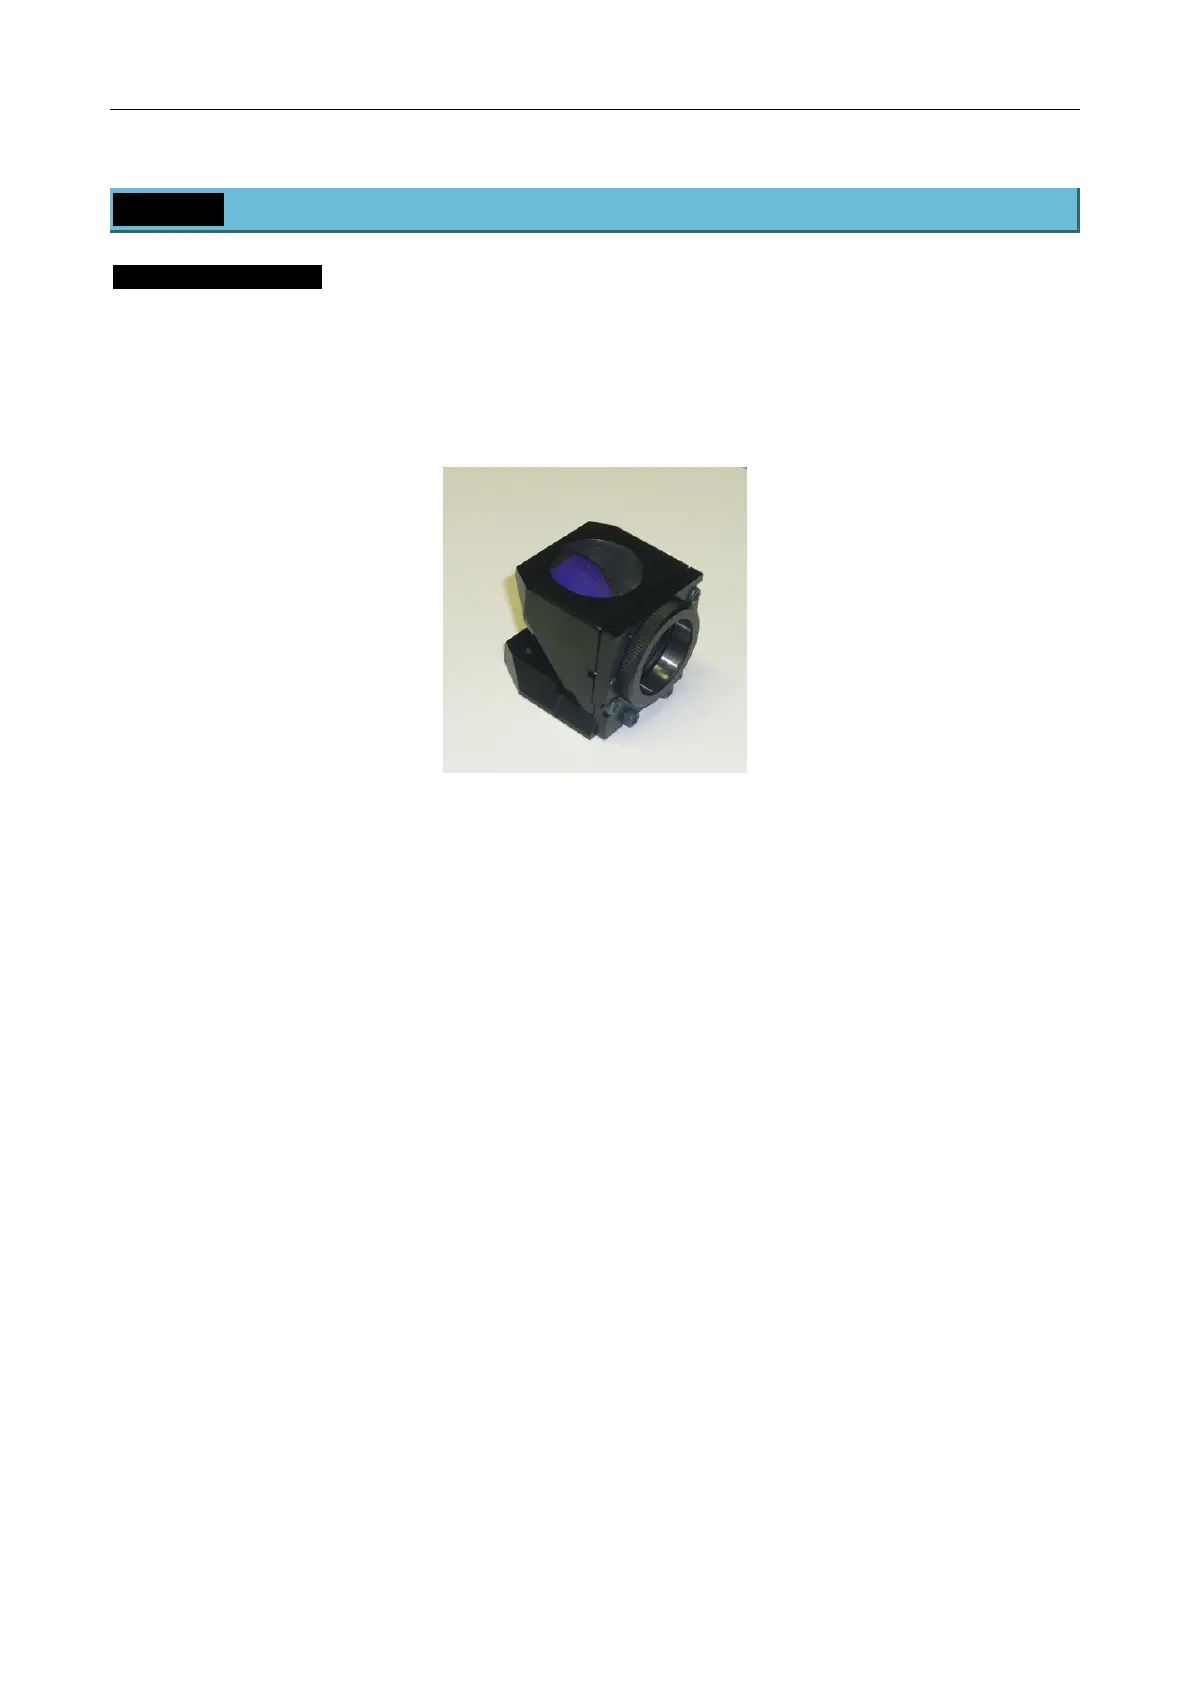
3. Install the 3D-STORM port, STORM slider, lambda plate slider, and N-STORM filter cube.
The metal N-STORM filter cube is used for N-STORM microscopy. This filter cube is installed at the
same location as the filter cube for normal fluorescent microscopy.
Figure 6.4-1
4. Remove the STORM slider from the optical path and adjust the illumination light position through the
normal N-STORM microscopy.
5. Return the STORM slider to the optical path and check the N-STORM state again.
6. Operate the 405-nm, 457-nm, and 561-nm laser adapters and insert an ND filter into each laser. Then
adjust the laser with the laser intensity set to 5% by NIS-Elements so that the output level at the 100 x
1.40 or 100 x 1.49 object output end becomes approximately 1 μW.
7. After the laser adapter is installed, adjust the 647-nm laser so that the laser output becomes maximum
at the fiber output end.
The installation of the N-STORM kit has been completed.

 Loading...