Chapter 4 Setting Up the Microscope
4.2 Setup Procedure
2-37
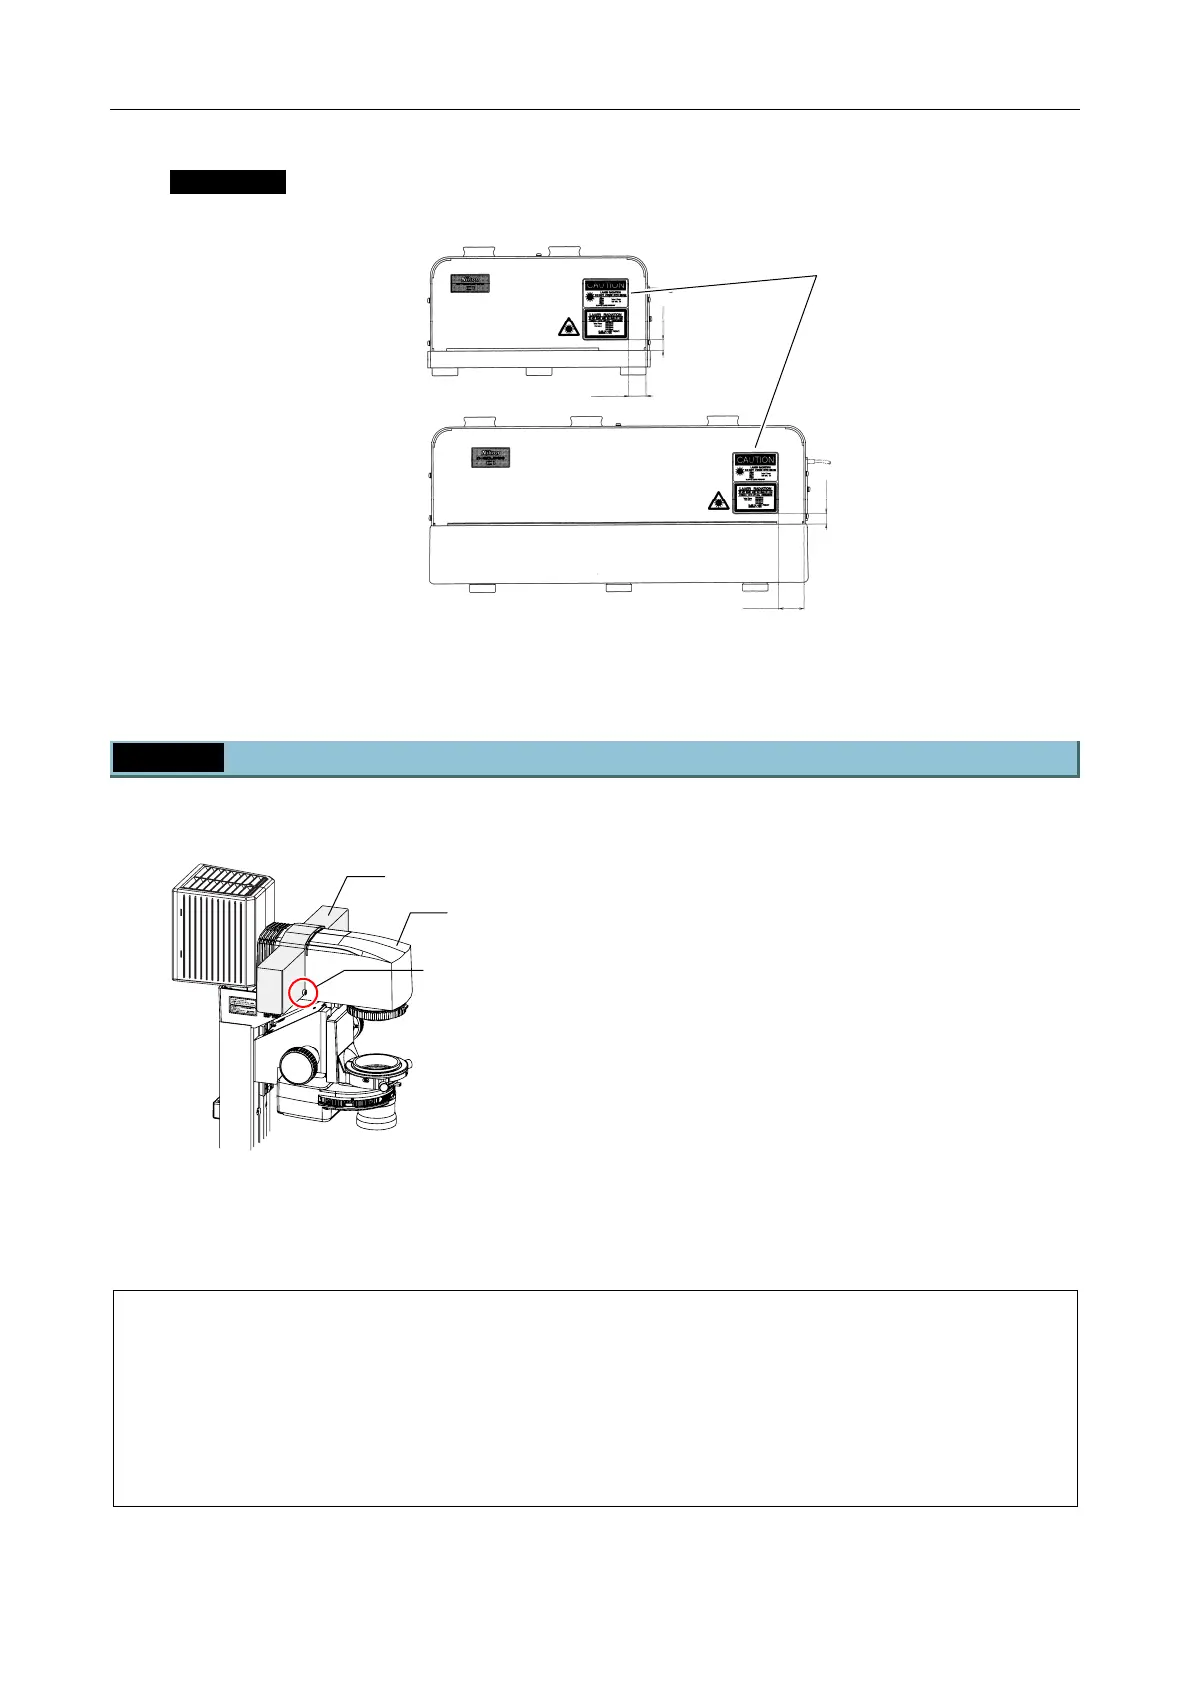
Laser unit
Remove the laser safety label if it is attached to the laser unit.
Figure 4.2-13
4.2.2 Attaching the Laser Safety Kit
Refer to the instruction manual included with the microscope main body before attaching the laser safety kit.
Figure 4.2-14
1. Attach the filter slider cover to the dia pillar
illuminator 100W.
Put the filter slider cover from above the dia
pillar illuminator 100W and secure it using the
screws and nuts provided with the laser safety
kit.
2. Attach the protection plate for nosepiece
between the epi-fl filter turret and the nosepiece.
Notes on attaching the nosepiece --- When the epi-fl filter turret is used
The protection plate for nosepiece is a component designed for shielding the gap between
the nosepiece and the epi-fl filter turret to avoid accidental jamming of fingers inserted into
the gap or the laser radiation from the gap.
Two types of protection plate are prepared for the nosepiece being used. One for the TI-N6,
TI-ND6 and TI-ND6-E nosepieces is supplied with Ti-E and Ti-E/B, and the other for the
TI-ND6-PFS nosepiece is supplied with the nosepiece. Follow the procedure below to attach
each protection plate.
About 30 mm
bout 12 mm
Remove the laser
safety labels.
About 20 mm
bout 12 mm
Filter slider cover
Screws and nuts
(both side)
Dia pillar
illuminator

 Loading...