• To specify the destination again, press .
• You can also select the destination using the address book displayed on the
scanner screen.
6. Press [Start].
• If any of the machine's security functions are enabled, select the destination from
the registered folder only when you send files by Scan to Folder.
• If the firewall of an antivirus program is active, you may not be able to specify a
shared folder on the computer as a folder destination. If this is the case, see the
antivirus program's Help.
• If Windows firewall is active and you cannot specify a shared folder on the computer
as a folder destination, the machine may be able to communicate with the computer
by changing the exceptions of the Windows firewall. For details, see Windows Help.
• After scan files are sent, the destination and file name fields will be automatically
cleared. If you want to preserve the information in these fields, contact your local
dealer.
• When the specified destination is updated using the Central Management function,
the spooled documents are sent to the destination after updating.
Scanning an Original with Suitable Quality and Density
Specify the quality and density to scan on the [Send Settings] screen.
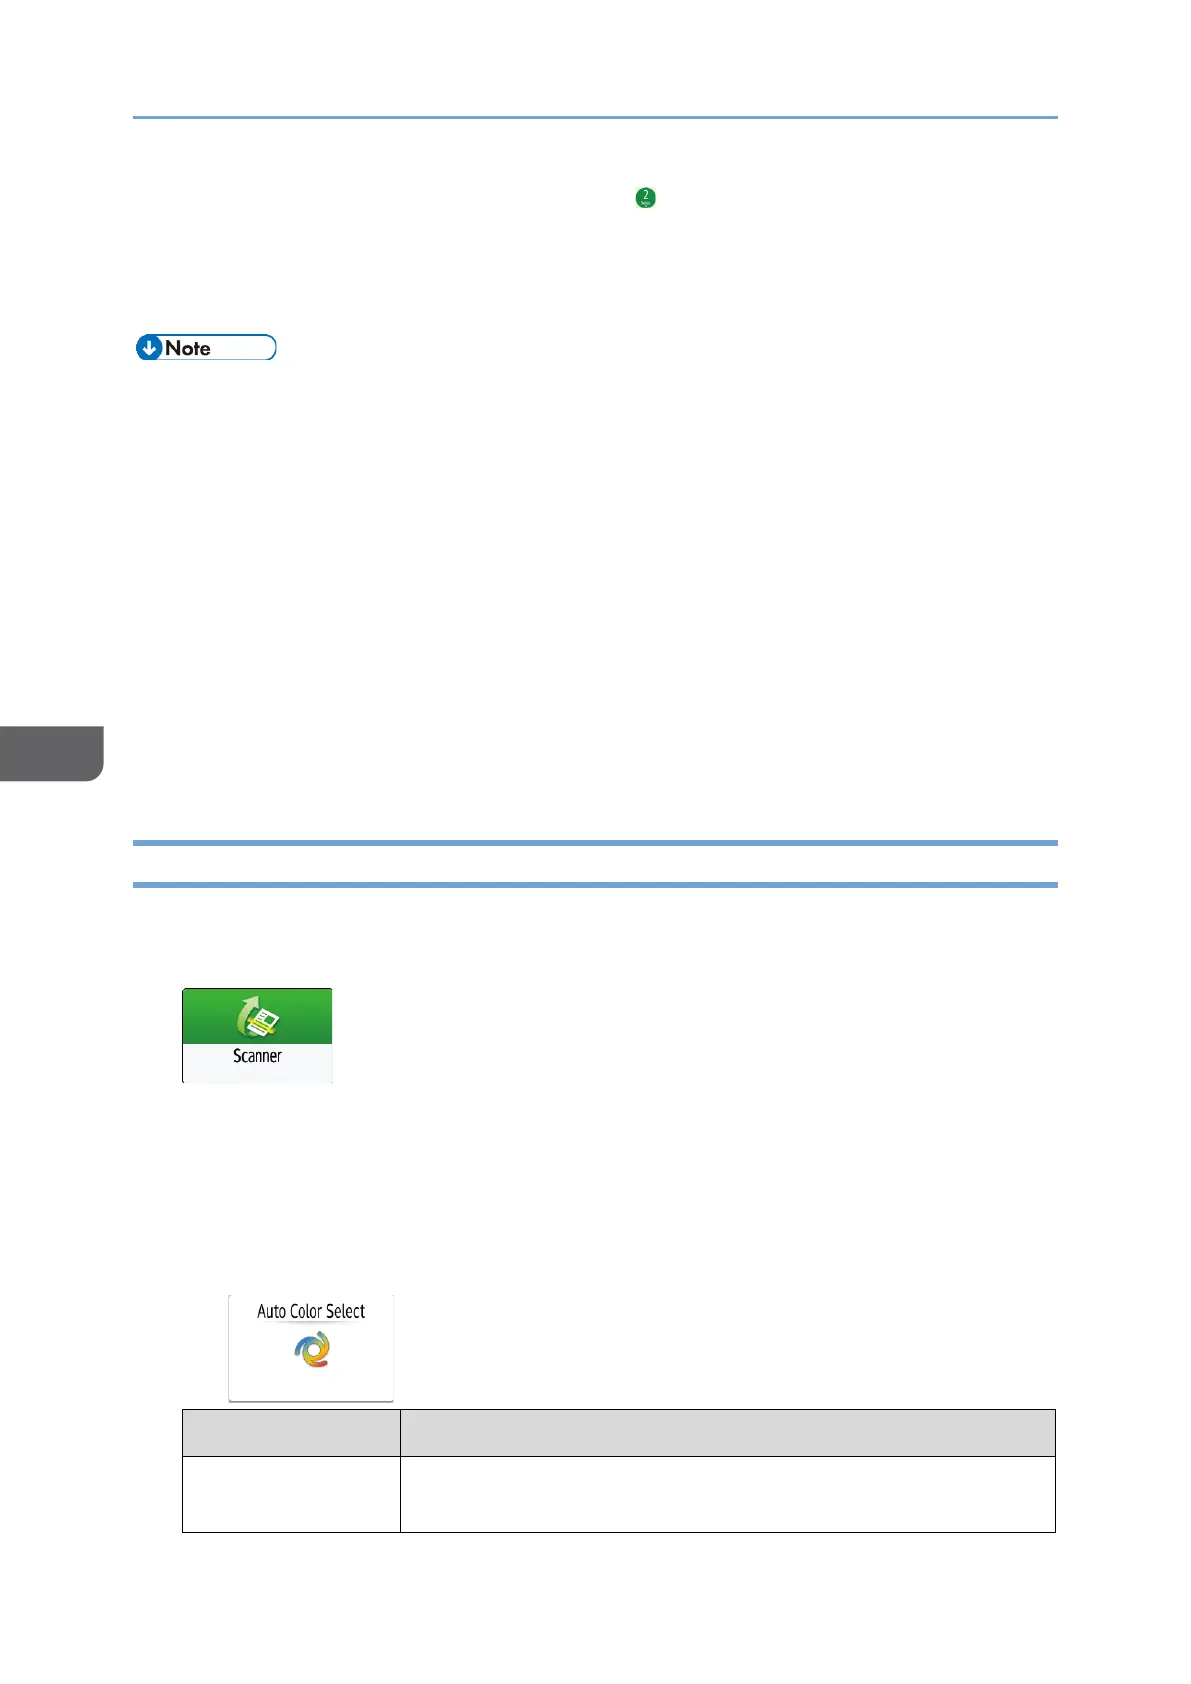
1. Press [Scanner] on the Home screen.
2. Place the original on the scanner.
See "Placing an Original to Scan", User Guide (HTML).
3. Press [Send Settings] on the scanner screen and specify the original type (quality),
density and resolution.
When specifying the original type
 Loading...