ASSEMBLY AND INSTALLATION
35
6
● WhenconnectingtheDVDwireconnector,checktheorientationcarefullyand
connectsecurely.Theconnectormustbeconnectedintheproperdirection.If
itisconnectedinthewrongdirectionorindiscriminatelyataninclinesothata
loadisapplied,theconnectororitsterminalpinscouldbreak,causingashort
circuitorre.
● BecarefulnottodamagetheDVDwirebygettingitcaughtbetweenobjects,
etc.Doingsomaycauseashortcircuitorre.
● ConnecttheDVDDRIVEtotheLINDBERGHbeforeconnectingthepower.Ad
-
here
strictlytothepropersequenceinperformingwork.Failingtodosomay
causeelectricalshockorshortcircuit.
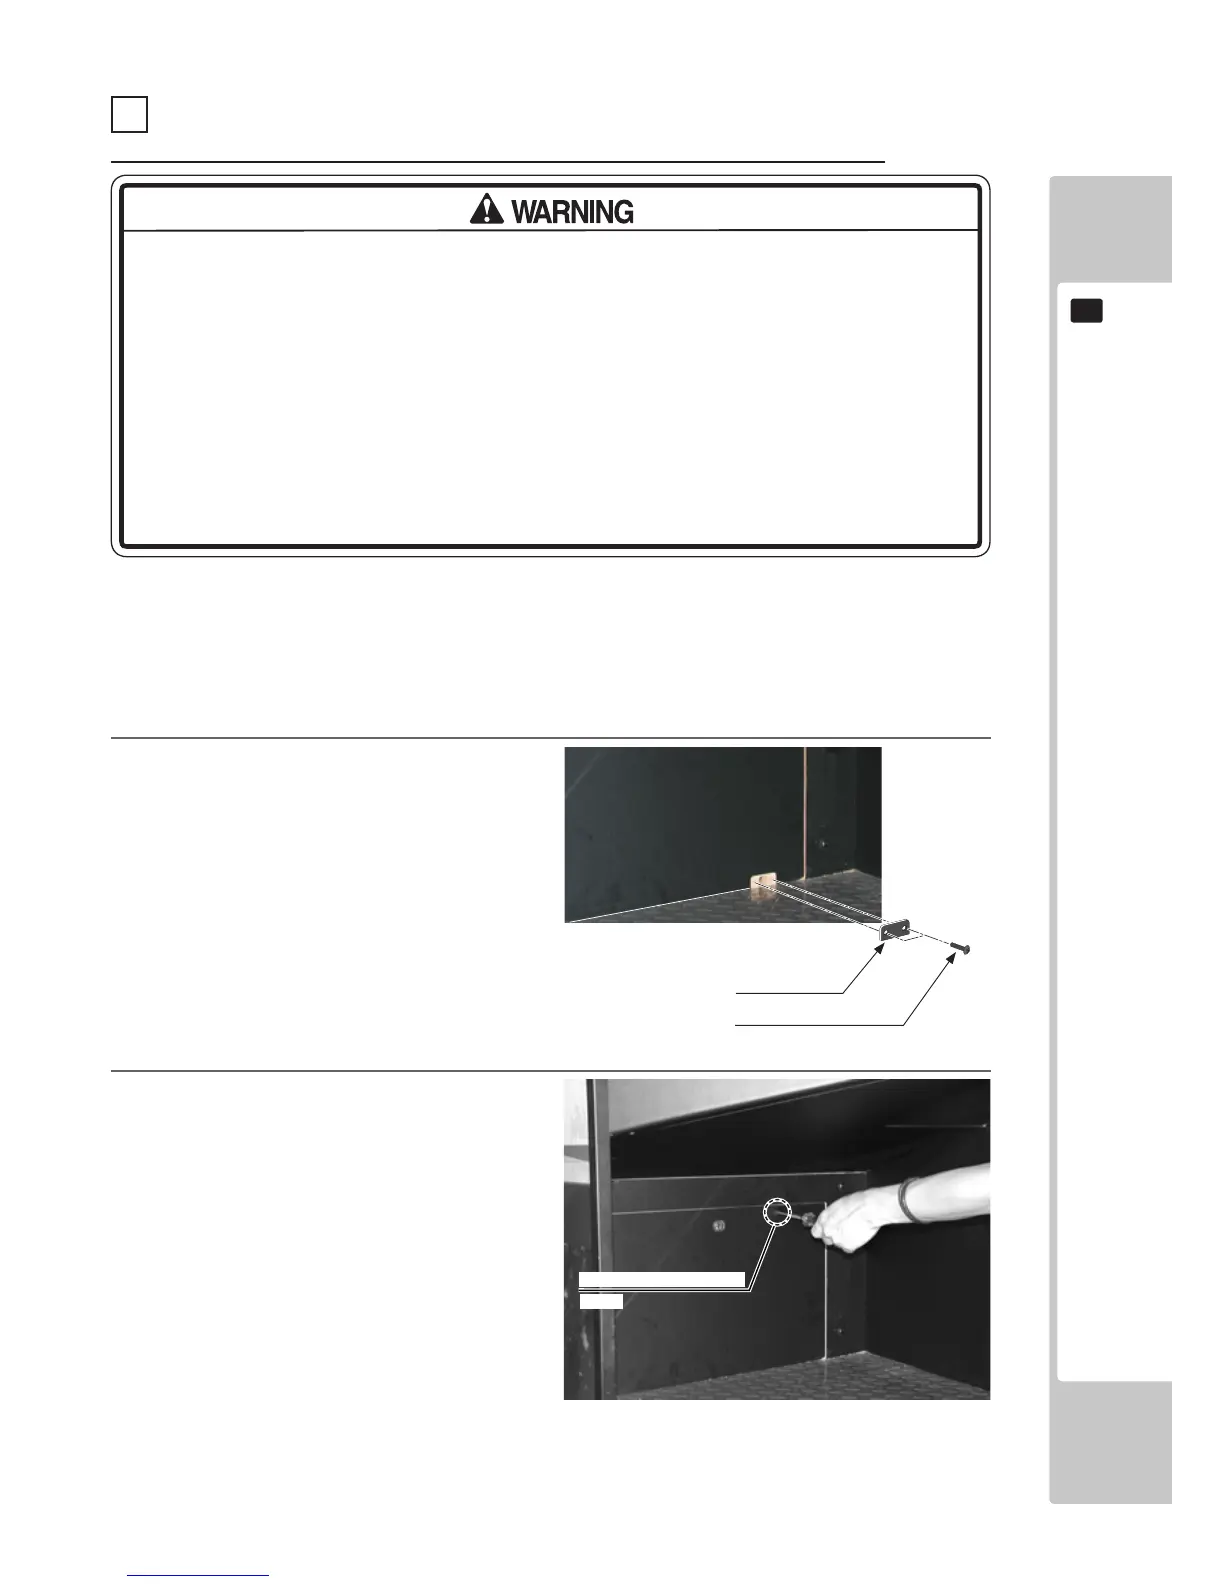
1
Remove the outlet plate on the bottom right
of the front door PCB. Remove the two truss
screws.
YouwillneedthesuppliedDVDsoftwarekit,boardnumbersticker,andtheseparatelysoldDVDDRIVEandDVD
wire.Toprepareforsoftwareinstallation,youwillneedtoconnecttheLINDBERGHandDVDDRIVEinsidethe
cabinet using the DVD wire.
TheLINDBERGHistheorangecoloredplatemetalcasefoundinsidethefrontdoorPCBontheleftsidewhenfac-
ing
the projector screen.
2
Remove the anti-release screw used to prevent
removal of the front door PCB.
FIG. 6-11a
FIG. 6-11b
11 CONNECTING THE DVD DRIVE (PREPARATION FOR INSTALLATION)
PLEASE NOTE THAT THIS PRODUCT IS DESPATCHED WITH SOFTWARE PRE-INSTALLED
TRUSS SCREW (2), black
M4x16
OUTLET PLATE
TRUSS SCREW (1), black
M4x40

 Loading...