CONTROL UNIT
89
11
11-4 REPLACING THE TRIGGER SWITCH
If the trigger does not seem to be working properly, it is likely a fault with the microswitch inside the Control Unit’s
grip or there is foreign matter or dirt on the trigger. Remove the Control Unit when exchanging the microswitch or
when disassembling and cleaning individual parts.
When replacing the microswitch, you will need a replacement microswitch and two heat shrink tubes (product num-
ber: 310-5029-B20). You will also need the following tools and some solder.
- Phillips head screwdriver (for M4, M6)
- Wrench or screwdriver for tamperproof screws (for M4)
- A 7 millimeter spanner or hexagonal screwdriver or socket wrench.
- Nippers
- Cutters
- Soldering iron
- Industrial dryer
The microswitch slots into the left hand part of the grip, the left grip. During this operation you will remove and
replace the right hand part of the grip, the right grip.
The screws and nuts xing the grip in place are treated as part of this product. If you lose them they can be reordered
using their respective product numbers.
1
Turn off the power and remove the Control Unit (See 11-1).
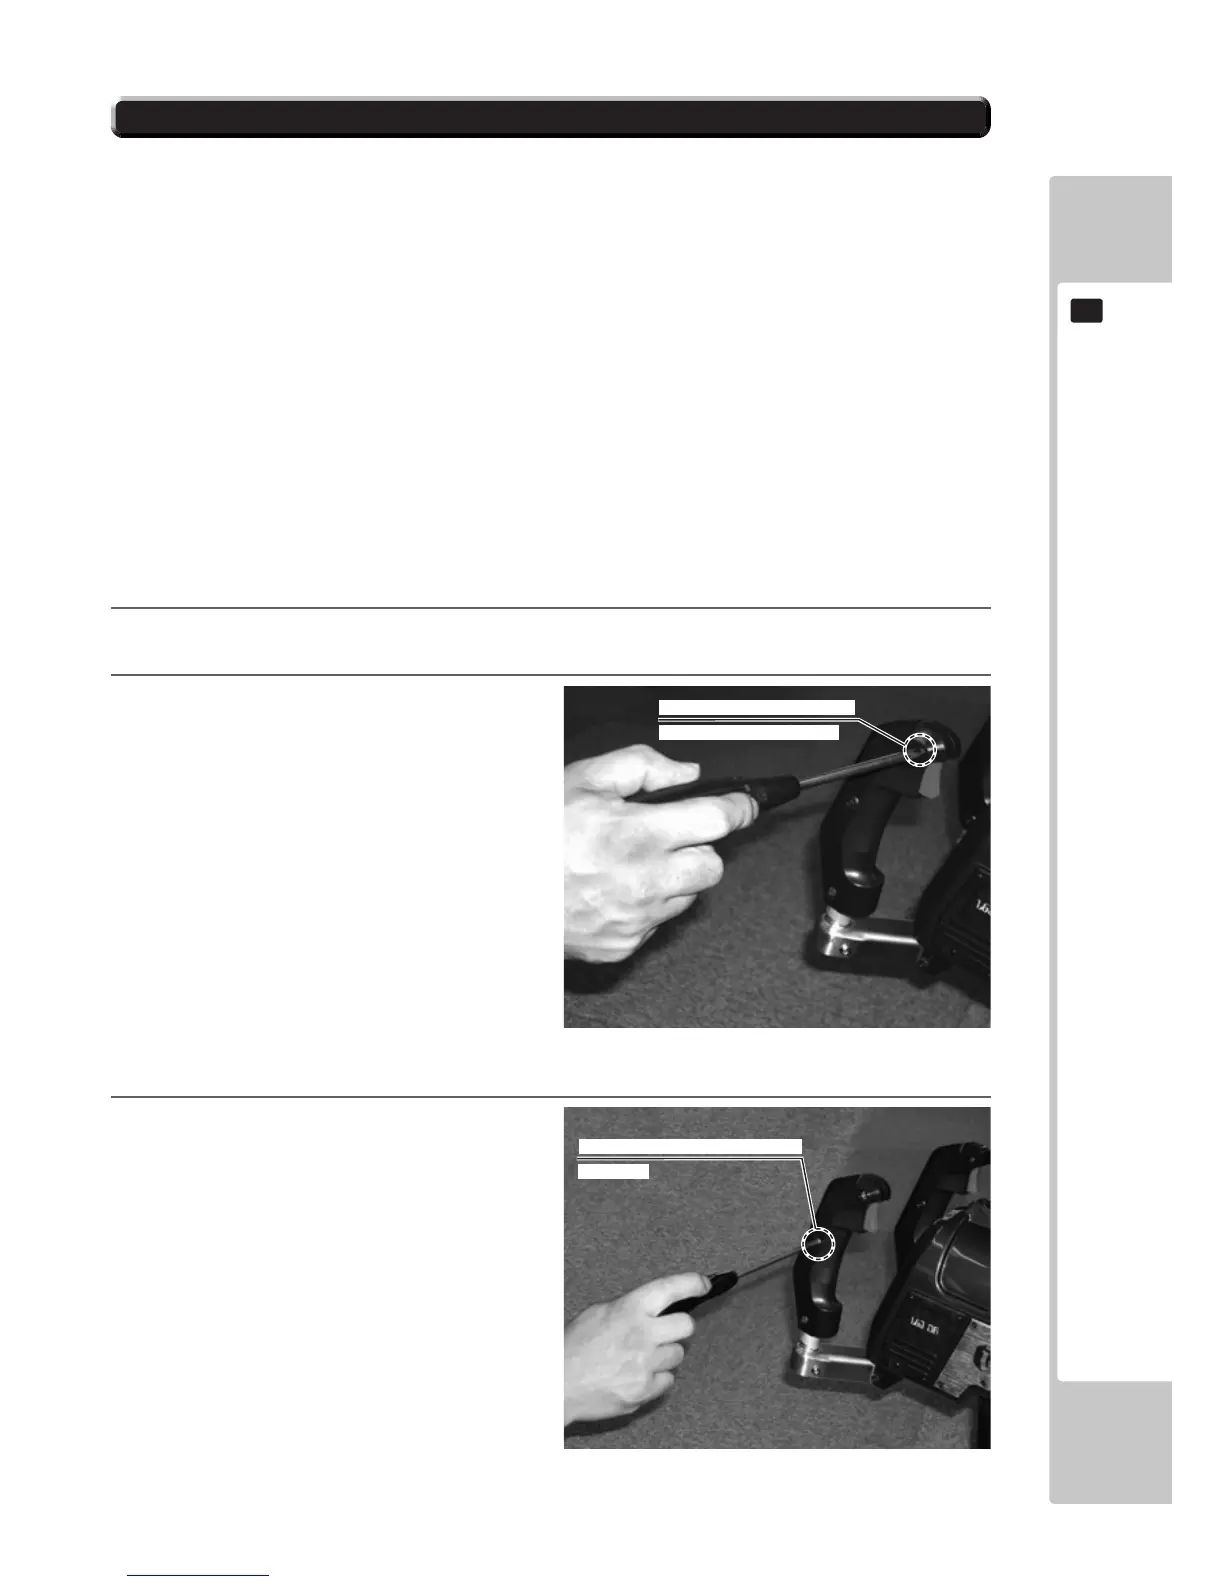
2
Disassemble the grip with the microswitch
inside it. The top screw on the right grip uses a
hexagon nut. Use a Phillips head screwdriver
(for M4 screw).
3
Remove the two tamperproof screws holding
the right grip in place. Use a wrench or screw-
driver for tamperproof screws (for M4).
FIG. 11-4a
FIG. 11-4b
SCREW (1), black: 601-11822
HEXAGON NUT: 601-11821
TAMPERPROOF SCREW (2), black
601-11825

 Loading...