80
CONTROL UNIT
11
1
Turn off the power and remove the Control Unit. (See 11-1).
2
Invert the Control Unit and place it upside down. Make sure you do not damage the surface of the Control
Unit.
3
Disconnect the one connector on the wire coming from the volume.
4
Remove the two screws xing the volume
bracket lower in place. The screws have
at and spring washers attached. These two
screws will be used with the replacement
part.
Exchange
FIG. 11-2d
5
Remove the volume along with the entire volume bracket lower from the Control Unit.
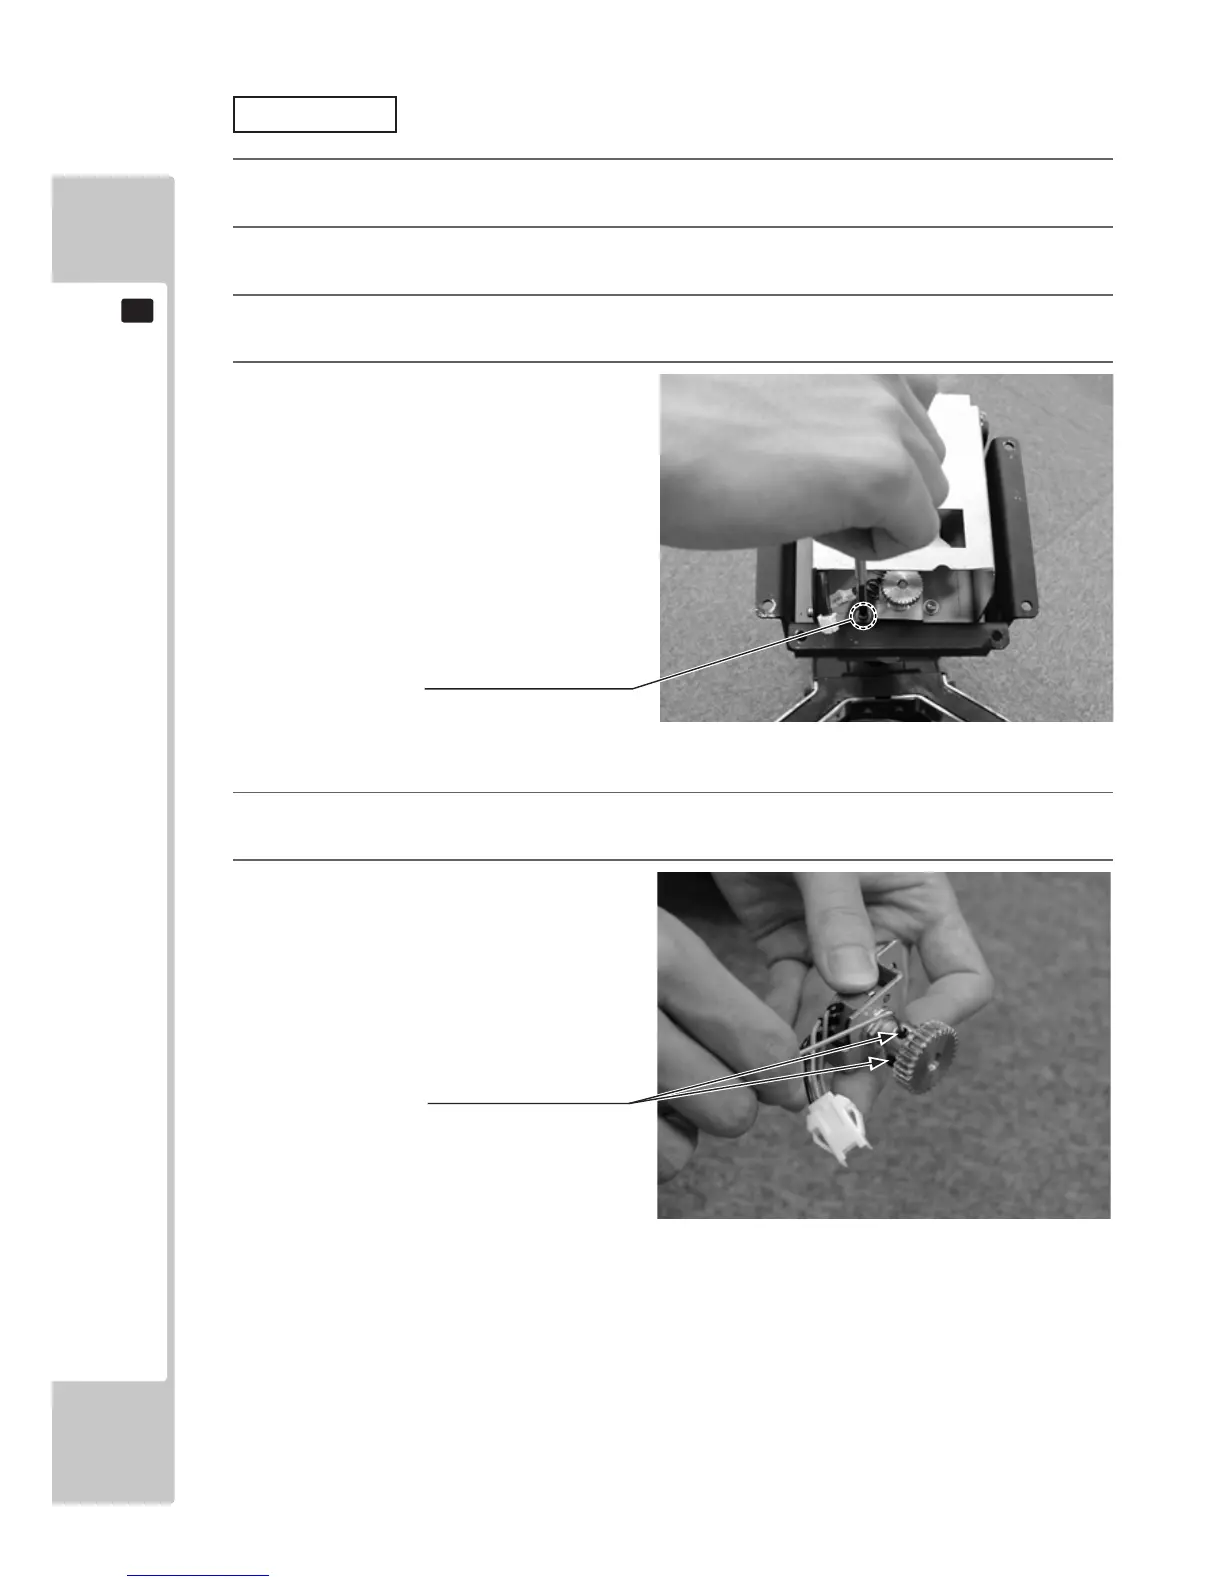
6
Loosen the two hexagon socket screws and
remove the gears. The gears will be used
with the replacement part.
FIG. 11-2e
SCREW (2)
M4x8, w/at & spring washers
HEXAGON SOCKET SCREW (2)
M4x8

 Loading...