1-4
18
Basic operations
B
Recording
Initializing a disc (INITIALIZE)
When you use a new disc or the disc which was finalized with other equipment than
this camera (page 32), you have to initialize the disc. Before initializing the disc,
push the POWER switch in the arrow direction to turn on the power and insert the
disc.
To cancel the initialization
Select [CANCEL] with
V
on the control button, then press the center
z
.
To initialize after canceling the initialization
Openandclosethedisccover.Orsetthemodedialto ,S,A,M,SCN,or ,
press
v
on the control button, then press the center
z
.
1
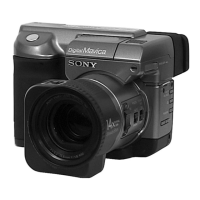
Set the mode dial to , S, A, M, SCN, or .
“INITIALIZE PLACE ON LEVEL SURFACE” appears on the LCD screen.
Be sure to avoid any vibration during the initialization in step
2
.
2
Select [OK] with
v
on the control button, then press the center
z
.
Initialization starts.
1
2
INITIALIZE
AVOID ANY VIBRATION
READY TO INITIALIZE
INITIALIZE
AVOID ANY VIBRATION
INITIALIZE IN PROGRESS
INITIALIZE
INITIALIZE COMPLETE
B
BB
B Recording
19
What is initialization?
The initialization is required to record images on a disc.
In case that you have executed the finalization (page 32) using the camera to view
images on a CD-ROM drive, the initialization is automatically executed. You can
continuously record images. When executing the finalization using a computer or
other equipment, execute the initialization to record new images. Images recorded
before finalization will remain on the disc.
Tip
You can also execute the initialization using [ ] (DISC TOOL) in the setup settings
(page 84).
20
Recording still images
Still images are recorded in JPEG format. Before recording still images, push the
POWER switch in the arrow direction to turn on the power and insert a disc.
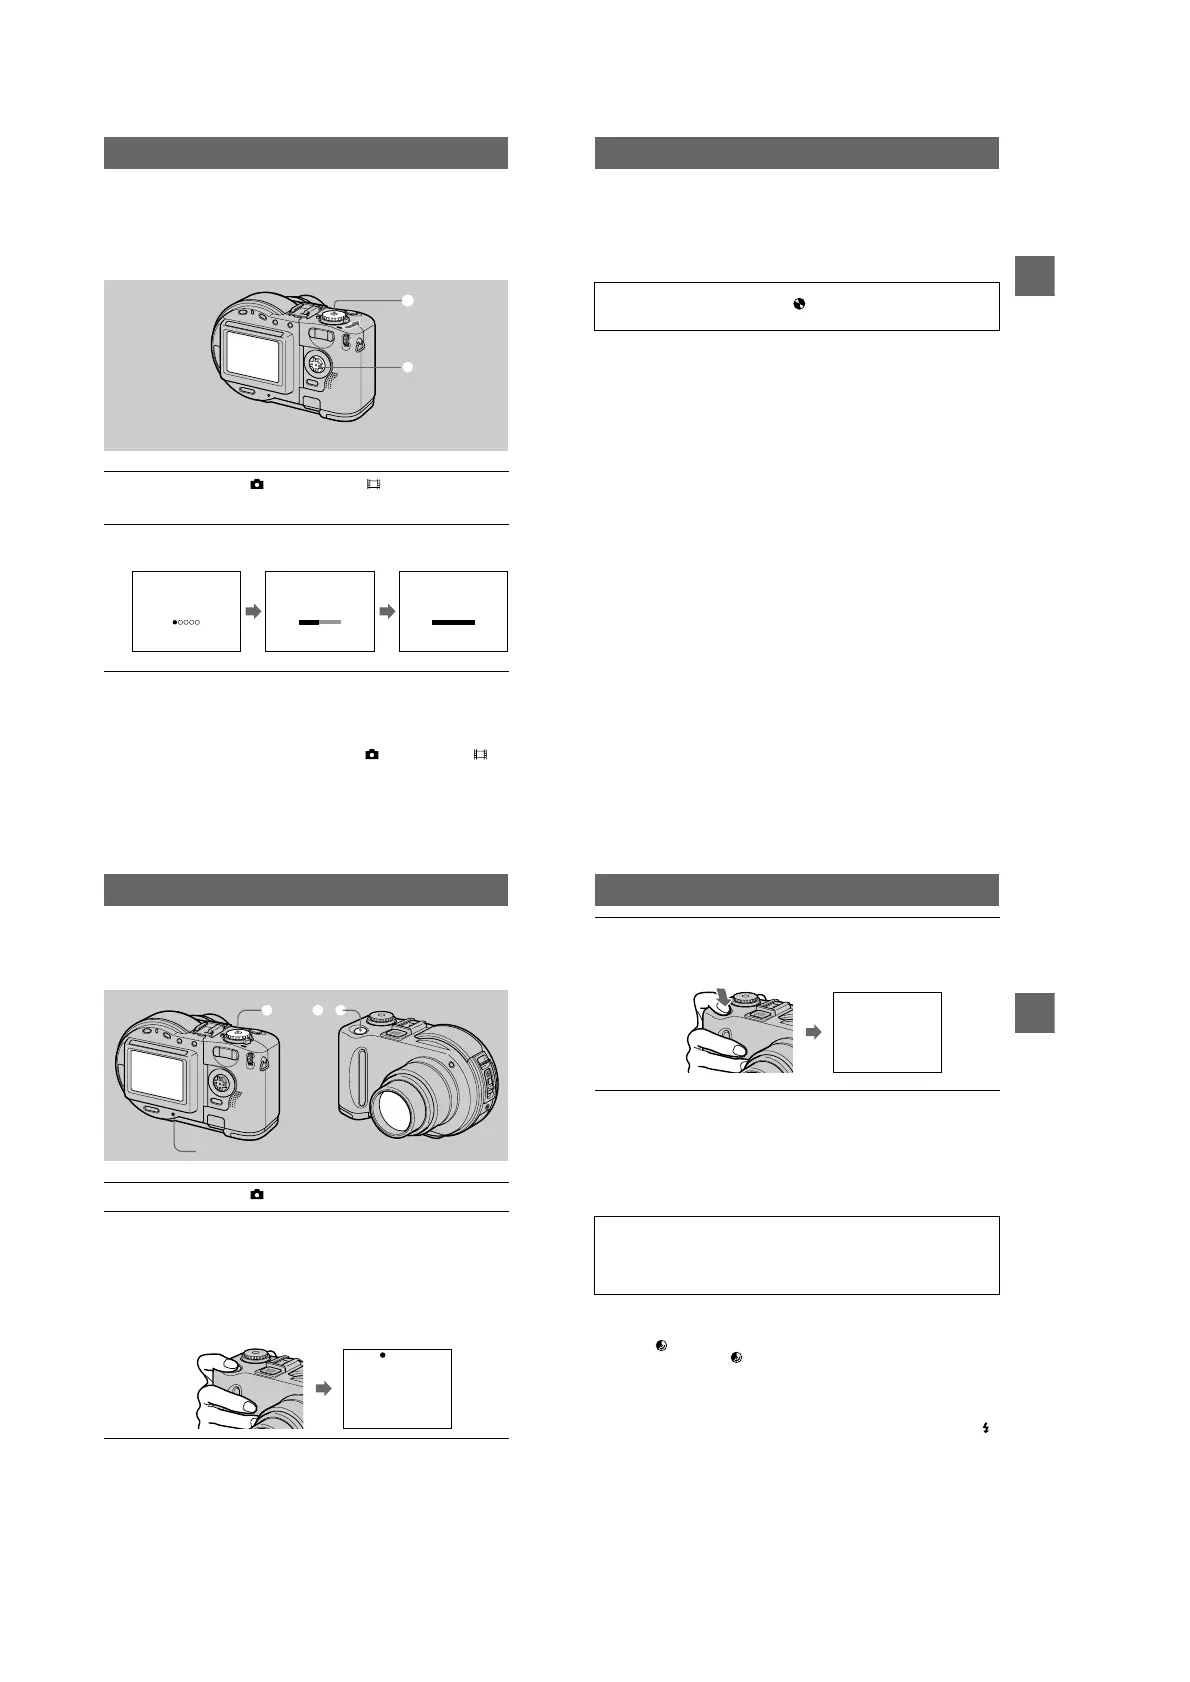
1
Set the mode dial to , S, A, M, or SCN.
2
Press and hold the shutter button halfway down.
The beeps sound. However, the image has not been recorded yet. While the
AE/AF lock indicator
z
is flashing, the camera automatically adjusts the
exposure and focus of the captured image. When the camera finishes the
automatic adjustments, the AE/AF lock indicator
z
zz
z stops flashing, then
lights up, and the camera is ready for recording.
If you release the shutter button, the recording will be canceled.
2, 31
ACCESS lamp
AE/AF lock indicator (green)
flashes t lights up
B
BB
B Recording
21
For the number of images you can record on a disc
See page 54.
Auto power-off function
If you do not operate the camera for about three minutes, the camera turns off
automatically to prevent wearing down the battery pack. To use the camera again,
push the POWER switch in the arrow direction to turn on the camera again.
Notes
• When using a CD-R, even if you delete images, the disc remaining space does not increase.
• Only when using a CD-RW, the disc remaining space increases after deleting the last-recorded
image if the is indicated on the LCD screen before deleting. If you modify an image, or
open and close the disc cover, will disappear.
• When recording bright subjects, the color of the LCD screen may change after the AE is
locked. However, this will not affect the recorded image.
• After you change the disc, “REPAIRING DATA” appears on the LCD screen and it may take
about 10 minutes to get ready for recording depending on the disc condition.
• When you press the shutter button fully down at once, the camera starts recording after the
automatic adjustment is complete. However, the recording cannot be carried out while the /
CHG lamp (page 8) is flashing. (During this time, the camera is charging the flash.)
• When the AE/AF lock indicator flashes slowly, the subject may be hard to focus on because it
is too dark or no contrast, or it may be too close to the camera. Release the shutter button, and
focus on it again.
3
Press the shutter button fully down.
The shutter clicks. “RECORDING” appears on the LCD screen, and the image
will be recorded on the disc. When “RECORDING” disappears from the LCD
screen, you can start the next recording.
Whiletheimageisbeingrecordedonadisc,theACCESSlamplights.
When this lamp is lit, do not shake or strike the camera. Also, do not
turn the power off, not remove the battery pack/disc, or not open the
disc cover. Otherwise, an image data breakdown may occur or the
disc may become unusable.
RECORDING

 Loading...