1-18
74
Notes
• Zoomscalingisupto5× regardless of the
original image size.
• The quality of enlarged images may be
deteriorated.
• The original data is left even if you enlarge
the image.
• The enlarged image is recorded as the
newest file.
• If you trim an image, the disc space will be
decrease.
• If the disc space is not sufficient, you may
be unable to trim an image.
• Moving images cannot be enlarged.
• The still images recorded in TEXT mode
can be enlarged, but these images cannot
be trimmed.
Playing back the still
images in order
(SLIDE)
Mode dial:
This function is useful for checking the
recorded images or for presentations,
etc.
1
Set the mode dial to .
2
Press MENU.
The menu appears.
3
Select [SLIDE], then press
z
.
Set the following items.
INTERVAL
Youcanselectfrom1min(one
minute), 30 sec (30 seconds),
10 sec (10 seconds), or 5 sec
(5 seconds).
REPEAT
ON:Playsbackimagesina
continuous loop (The slide show
stops in approximately 20
minutes*).
OFF: After all images have been
played back, the slide show ends.
∗ The slide show does not end until all
the images are played back, even if it
takes more than 20 minutes.
4
Select [START], then press
z
.
The slide show begins.
2
1
3, 4
B
BB
B Various playback
75
To cancel the SLIDE SHOW
setting
Select [CANCEL] with
v
/
V
in step 3,
then press
z
.
To stop the SLIDE SHOW
playback
Press
z
,select[EXIT]with
B
, then
press
z
.
To skip to the next/previous
image during the SLIDE
SHOW
Select
b
/
B
at the lower-left on the
LCD screen.
Note
The interval setting time may vary
depending on the image size.
Rotating a still image
(ROTATE)
Mode dial:
You can rotate the image recorded in
portrait orientation and display it in
landscape orientation.
To cancel rotation
Select [CANCEL] with
v
/
V
in step 4,
then press
z
.
Notes
• You cannot rotate protected or
uncompressed images, or images recorded
in TEXT mode.
• You may not be able to rotate images
recorded with other equipment.
• Also, when viewing images on a computer,
the image rotation information may not be
reflected depending on the application
software.
• If you rotate an image, the disc space will
decrease.
• If the disc space is not sufficient, you may
not be able to rotate an image.
1
Set the mode dial to , and
display the image to rotate.
2
Press MENU.
The menu appears.
3
Select [ROTATE] with
b
/
B
,
then press
z
.
4
Rotate the image clockwise
or counterclockwise ,
then select [OK] with
v
/
V
,
then press
z
.
2
1
3, 4
76
Viewing images on a
TV screen
Mode dial:
Before connecting your camera, be
sure to turn off the TV.
Notes
• You cannot use a TV that has an antenna
(aerial) connector only.
• When viewing a still image on the TV, the
black band may appear around the image.
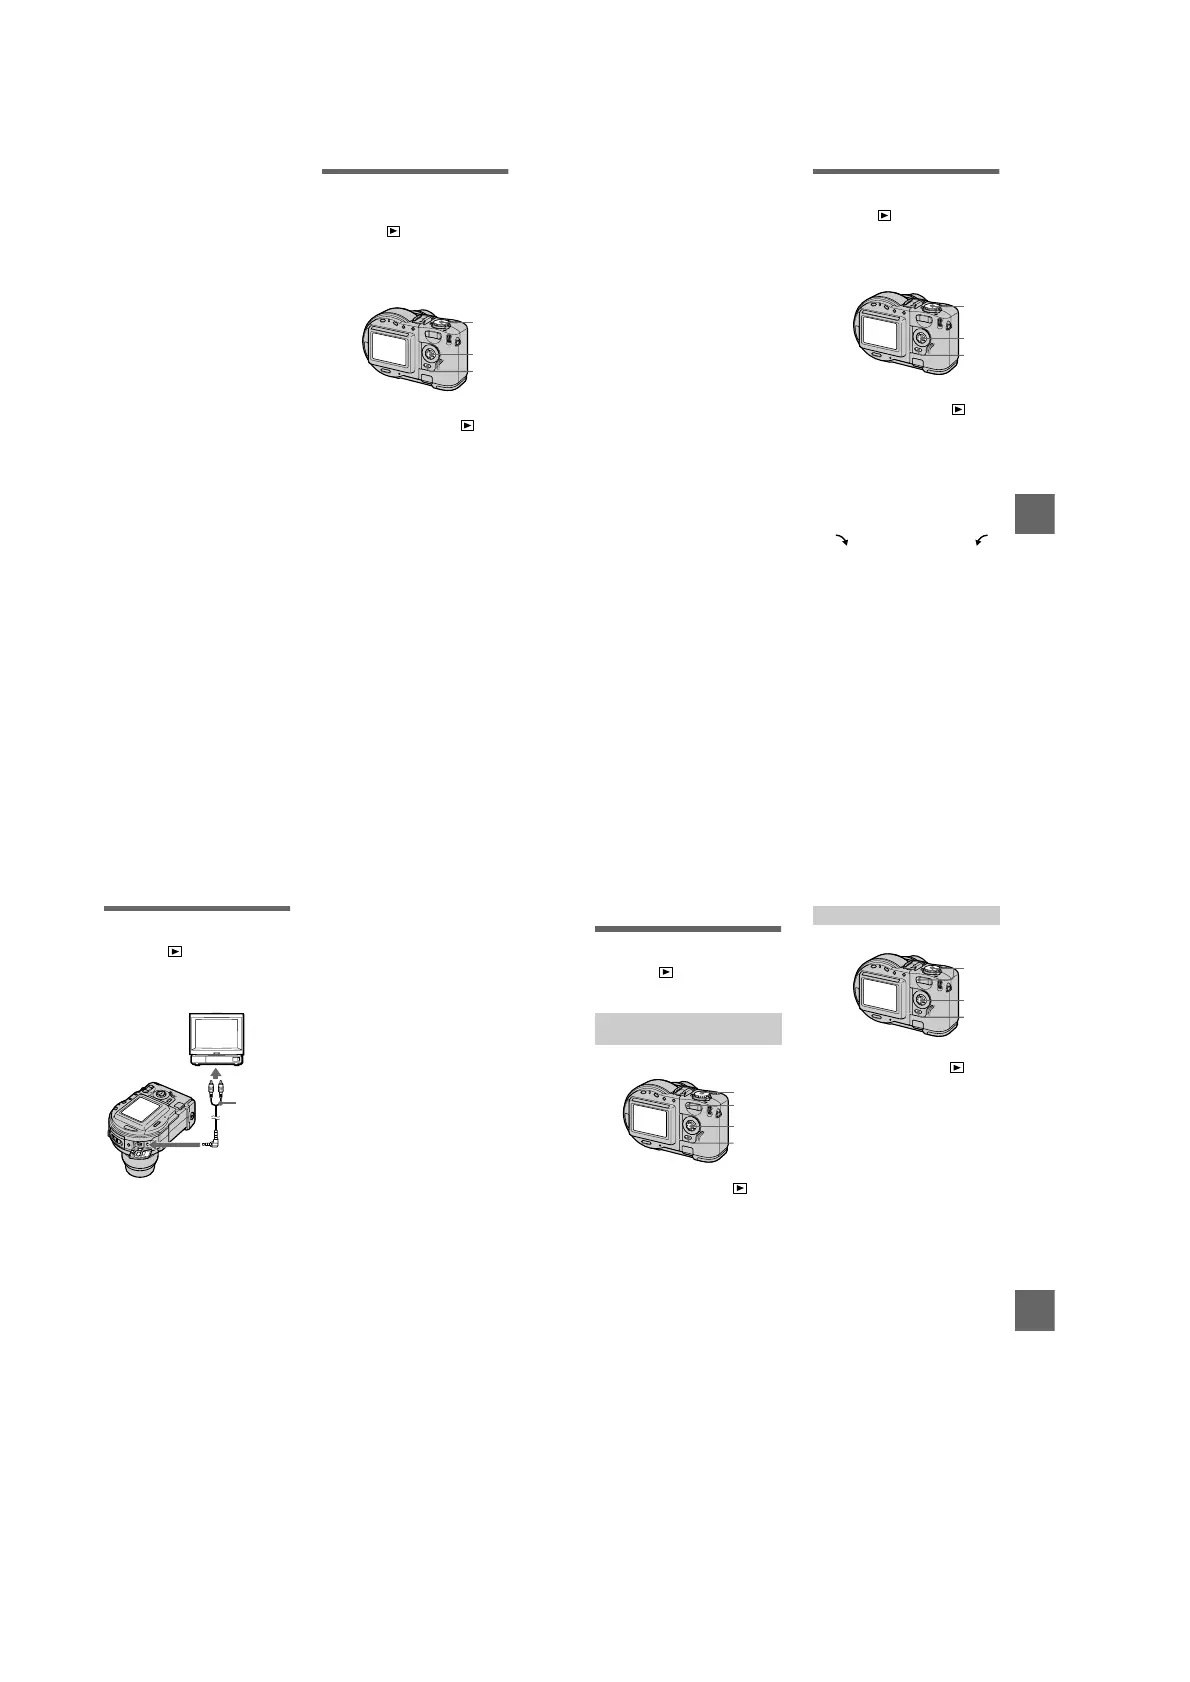
1
Connect the A/V connecting
cable to the A/V OUT (MONO)
jack of your camera and to
the audio/video input jacks of
the TV.
If your TV has stereo type input
jacks, connect the audio plug
(black) of the A/V connecting
cable to the Lch jack.
2
Turn on the TV and start
playback on your camera.
The playback image appears on the
TV screen.
Set the TV/VIDEO
switch to
“VIDEO”.
A/V
connecting
cable
to A/V OUT (MONO)
jack
B
BB
B Editing
77
B
Editing
Deleting images
(DELETE)
Mode dial:
Protected images cannot be deleted.
In single-image or triple-
image mode
1
Set the mode dial to .
2
In single-image mode:
Display the image you want to
delete with
b
/
B
.
In triple-image mode:
Press the zoom W button twice to
turn to the triple-image mode.
Display the image you want to
delete with
b
/
B
.
3
Press MENU.
The menu appears.
4
Select [DELETE] with
b
/
B
in
single-image mode, or with
v
/
V
in triple-image mode,
then press
z
.
5
Select [OK] with
v
/
V
,then
press
z
.
The image (or the middle-
positioned image in triple-image
mode) is deleted.
3
1
2
2, 4, 5
In index mode
1
Set the mode dial to , then
display the index screen with
the zoom W button.
2
Press MENU.
The menu appears.
3
Select [DELETE] with
b
/
B
,
then press
z
.
4
Select [ALL] or [SELECT]
with
b
/
B
, then press
z
.
2, 5
1
3
–
5

 Loading...