5-23
16. Strobe Adjustment
Adjust the light level and white balance when the strobe light flashes.
Mode Still (Auto ( ))
Subject Paper which reflection rate is 18%
(Note2) (1.0m from the front of the lens)
Measurement Point Data of page F, address: 64 and
Display data of page 1
Measuring Instrument Adjustment remote commander
Adjustment Page F
Adjustment Address 4D, 4E, 64, 69 to 6B
Specified Value1 60 to 94
Specified Value2 FA to FF or 00 to 06
Specified Value3 FA to FF or 00 to 06
Note1: This adjustment should be carried out upon completion of “Data
Setting during Camera System Adjustments”.
Note2: Background paper (J-250-130-A). Perform this adjustment in the
dark room or use a dark box.
Note3: Any light other than the strobe light should not light up the plate.
Note4: Check that the data of page: 6, address: 02 is “00”. If not, to page:
6, address: 01, set data: 00, and press the PAUSE button.
Note5: Displayed data of page 1 of the adjustment remote commander.
1 : XX : XX
Lower data
Upper data
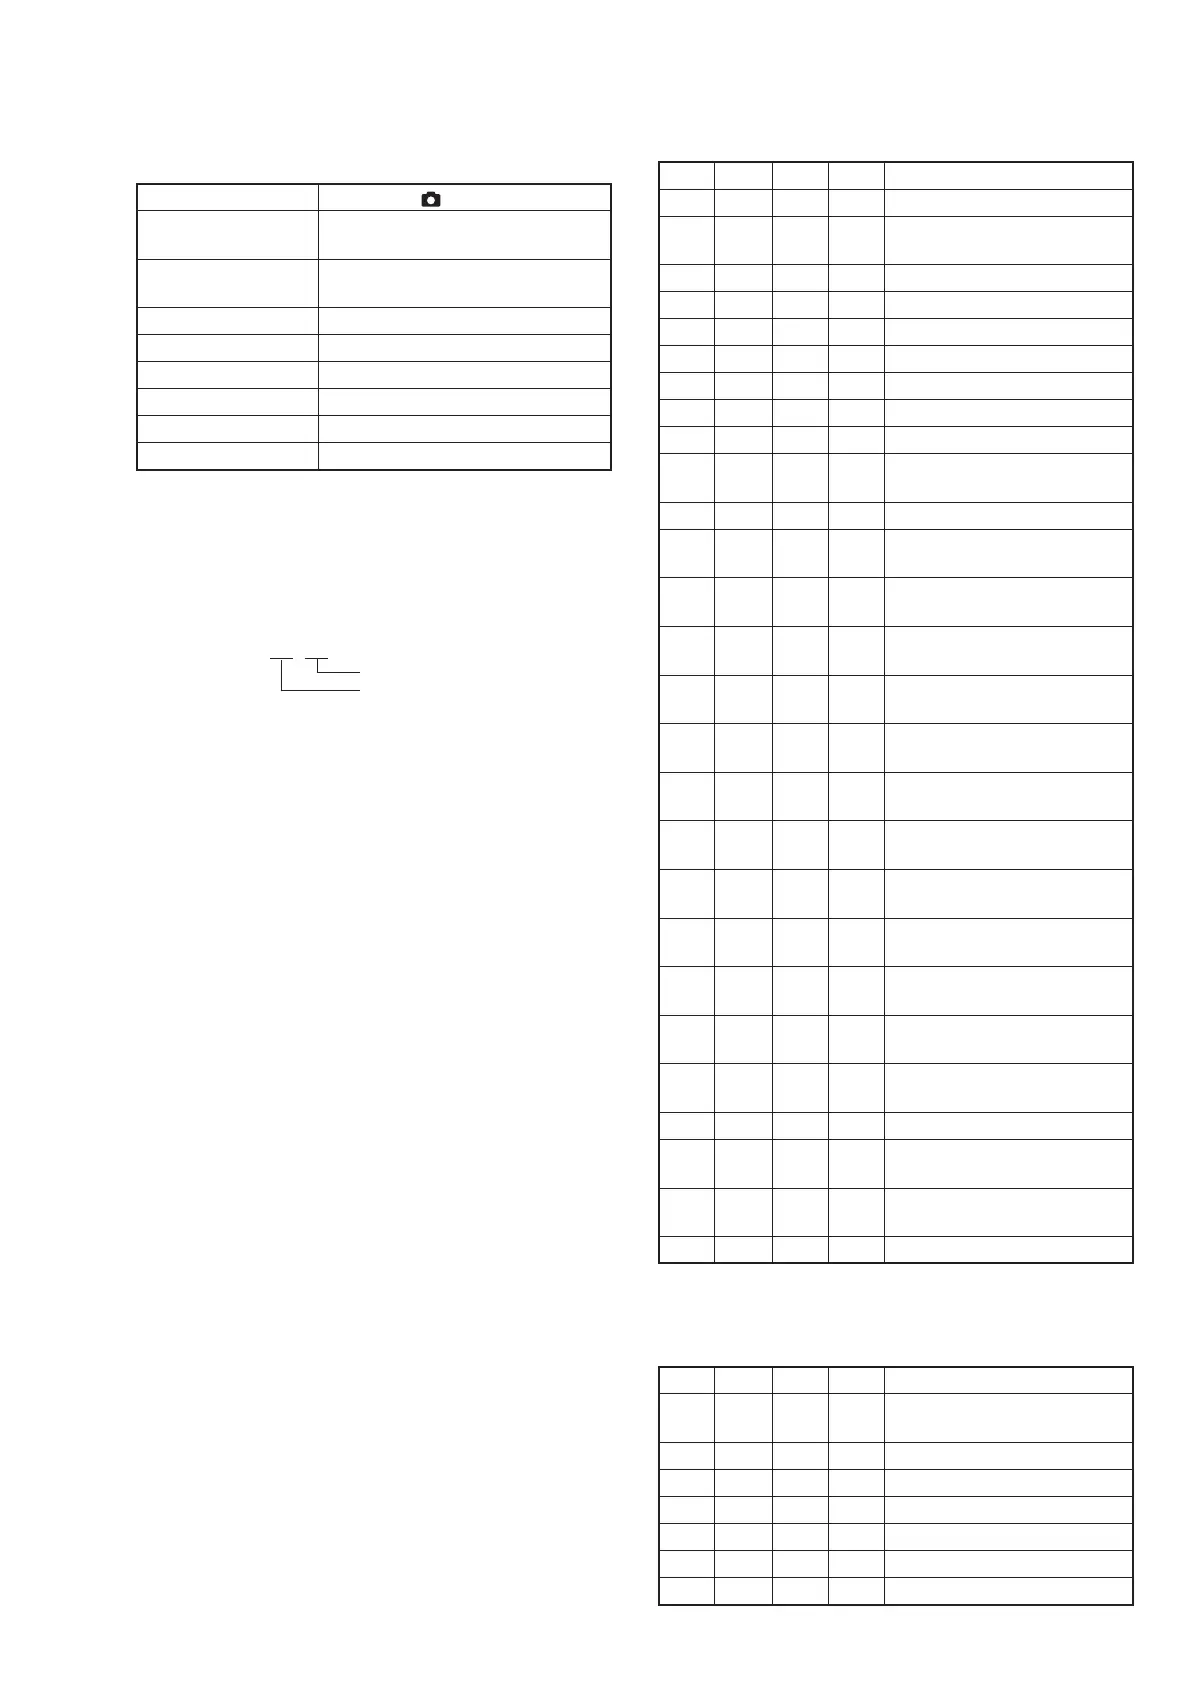
Adjusting method:
Order Page
Address
Data Procedure
1 0 01 01 Set the data.
2 2 04 10 Set the data, and press PAUSE
button.
3 Check that the flash is popped up.
4 6 90 00 Set the data.
5 6 91 00 Set the data.
6 6 92 FF Set the data.
7 6 93 FF Set the data.
8 6 6C 01 Set the data.
9 6 2C 01 Set the data.
10 6 01 79 Set the data, and press PAUSE
button.
11 6 07
Check that the data changes to “01”.
12 6 01 67 Set the data, and press PAUSE
button.
13 6 02 Check the flashing, and check
that the data changes to “01”.
14 6 01 00 Set the data, and press PAUSE
button.
15 6 01 67 Set the data, and press PAUSE
button.
16 6 02 Check the flashing, and check
that the data changes to “01”.
17 6 01 00 Set the data, and press PAUSE
button.
18 6 01 B9 Set the data, and press PAUSE
button.
19 6 02 Check the flashing, and check that
the data changes to “01”. (Note6)
20 6 01 00 Set the data, and press PAUSE
button.
21 6 01 67 Set the data, and press PAUSE
button.
22 6 02 Check that the data changes to
“01”. (Note6)
23 F 64 Check that the display data
satisfies the specified value1.
24 0 03 02 Set the data.
25 1
Check that the upper data of display
data satisfies the specified value2.
26 1
Check that the lower data of display
data satisfies the specified value3.
27 2 04 00 Set the data.
Note6: The adjustment data will be automatically input to page: F, address:
4D, 4E, 64, 69 to 6B.
Processing after Completing Adjustments:
Order Page
Address
Data Procedure
1 6 01 00 Set the data, and press PAUSE
button.
2 6 2C 00 Set the data.
3 6 6C 00 Set the data.
4 6 92 00 Set the data.
5 6 93 00 Set the data.
6 0 01 00 Set the data.
7 0 03 00 Set the data.
RadarWRadarWRadarW

 Loading...