39
2
Press the AE button, turning it off (button
is not lit).
3
Press the IRIS, GAIN, or SHUTTER button on
the menu control block.
The setting is displayed on the LCD panel and
ca
n be adjusted using the VALUE knob
(FUNCTION menu).
For details about the FUNCTION menu, see
“Setting Specific Functions using Shortcuts
(excluding ILME-FR7)” (page 59).
Backlight compensation
(BACKLIGHT)
Use the following procedure to compensate for
backlighting if the subject appears dark due to a
light source behind the subject.
Backlight compensation functions when AE
mo
de is enabled (AE button is lit).
For details about function assignments to assign
b
uttons, see “Assigning Functions to Assign
Buttons” (page 51).
1
Select the target camera to control.
For details about selection, see “Selecting a
Camera” (page 34).
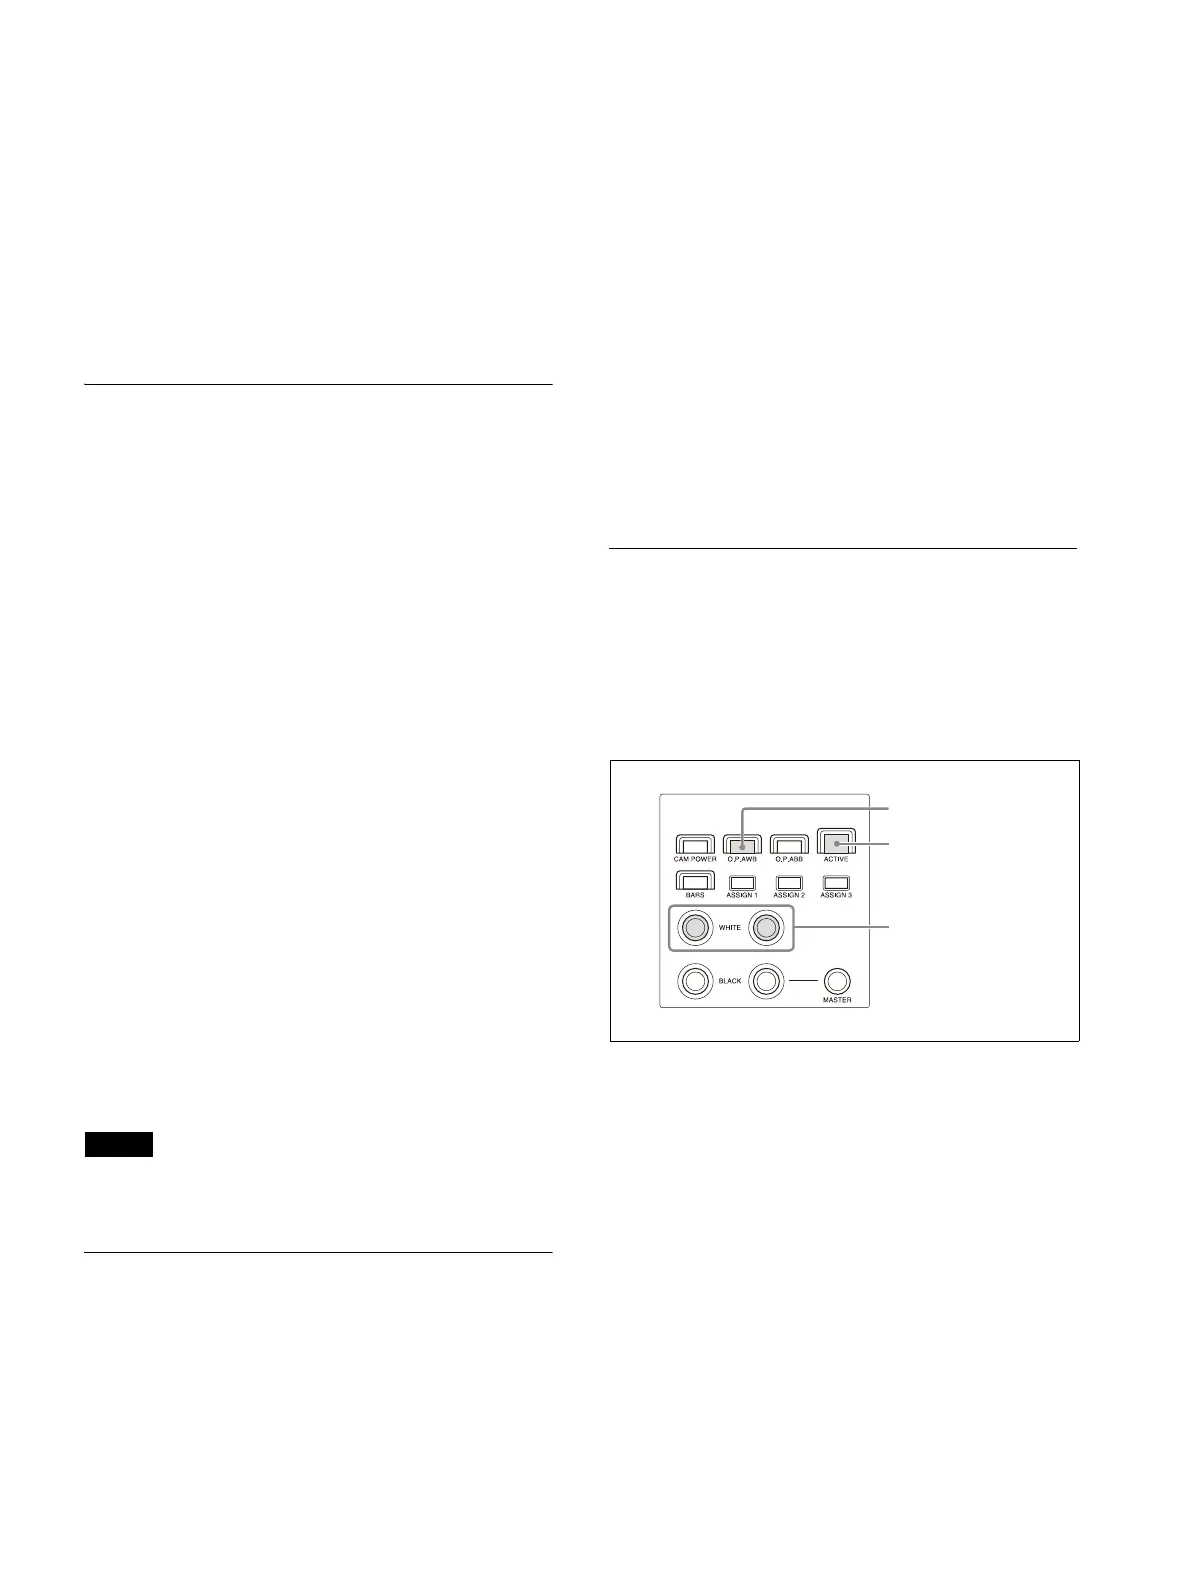
2
Press the ACTIVE button, turning it on
(button is lit), on the color adjustment
block.
3
Press the assign button (ASSIGN 1 to
ASSIGN 3) with the backlight
compensation function assignment.
BACKLIGHT is displayed highlighted on the
bot
tom of the LCD panel of the unit when the
button is pressed.
To cancel backlight compensation
Press the same assign button, turning it off
(b
utton is not lit).
Note
On the BRC-H900, to turn the AE button off, also
turn this function off.
Flicker compensation (FLICKER)
Use the following procedure if there is any flicker
in the image of the subject due to the effects of
fluorescent lighting or other light sources.
For details about function assignments to assign
b
uttons, see “Assigning Functions to Assign
Buttons” (page 51).
1
Select the target camera to control.
For details about selection, see “Selecting a
Camera” (page 34).
2
Press the ACTIVE button, turning it on
(button is lit), on the color adjustment
block.
3
Press the assign button (ASSIGN 1 to
ASSIGN 3) with the flicker compensation
function assignment.
FLICKER is displayed highlighted on the
b
ottom of the LCD panel of the unit when the
button is pressed.
To cancel flicker compensation
Press the same assign button, turning it off
(b
utton is not lit).
Adjusting the white balance
Position a white object under the same lighting
conditions as the subject you want to shoot, and
zoom in on it on the screen. (You can use a white
wall or other object.)
The white balance is adjusted against the white
obj
ect.
1
Select the target camera to control.
For details about selection, see “Selecting a
Camera” (page 34).
2
Press the ACTIVE button, turning it on
(button is lit), on the color adjustment
block.

 Loading...