Shift the Image Roughly to Create Binding Space
Introduction
If you want to create space for staples or punch holes, for example, you can use the [Align]
function. The preview in the right-hand pane of the control panel displays the consequences of
your changes.
The [Align] function allows a rough image shift. You can select one of the following settings:
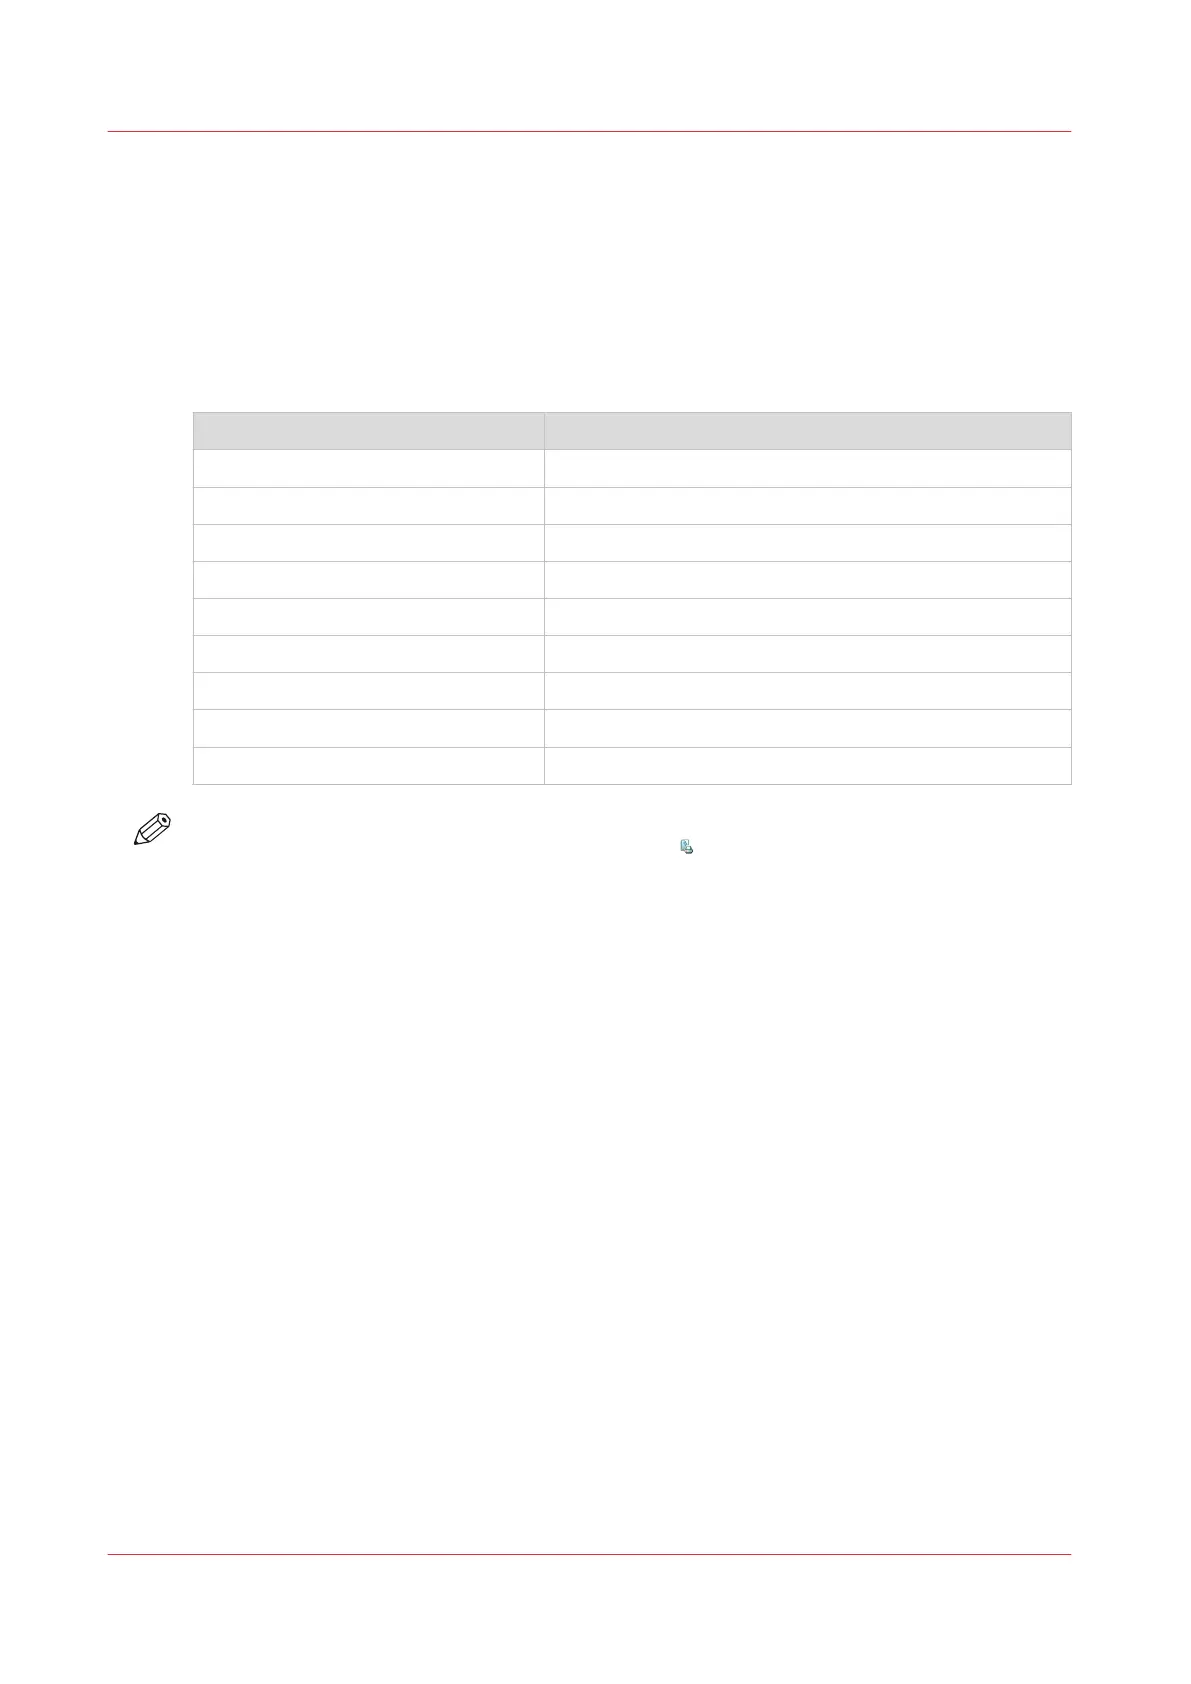
[Align] values
When you select: Then the image is moved to:
[Top left] The upper left corner of the sheet.
[Top center] The upper center of the sheet.
[Top right] The upper right corner of the sheet.
[Center left] The left-hand side of the sheet, over the center line.
[Center] The middle of the sheet.
[Center right] The right-hand side of the sheet, over the center line.
[Bottom left] The lower left corner of the sheet.
[Bottom center] The lower center of the sheet.
[Bottom right] The lower right corner of the sheet.
NOTE
You cannot change this setting for the active print job
.
Procedure
1.
On the control panel, touch [Jobs] -> [Queues] -> [Scheduled jobs] or [Waiting jobs], or select a
DocBox.
2.
Touch the job you want to change.
3.
Touch [Properties], or double-tap the job to open the [Properties] window.
4.
Touch the [Align] button.
5.
Make the required changes.
6.
Press [OK].
Shift the Image Roughly to Create Binding Space
174
Chapter 9 - Carry Out Print Jobs
Canon varioPRINT DP line
 Loading...