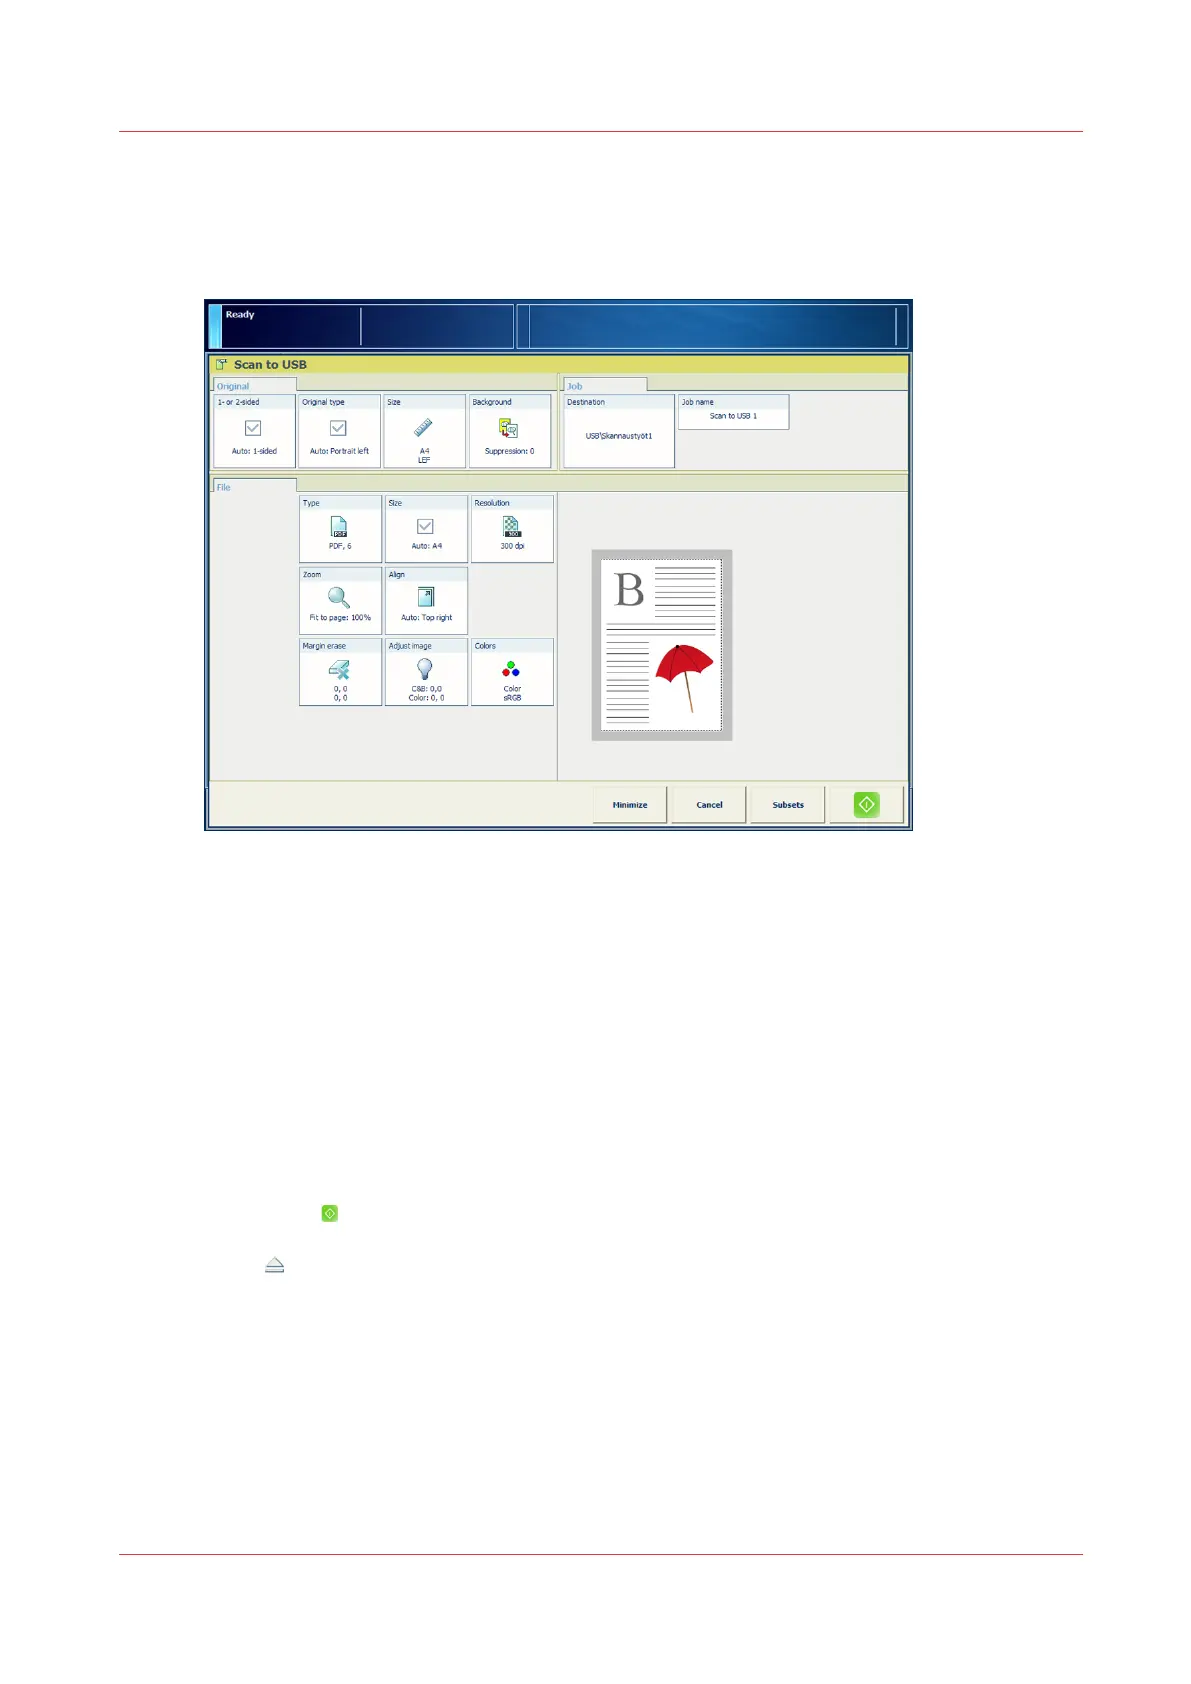
Scan to USB
Illustration
[52] Scan to USB
Procedure
1.
Insert a USB drive into the USB port at the left-hand side of the control panel.
2.
Place the originals face up into the automatic document feeder (ADF), or place one original face
down on the glass plate.
3.
On the control panel, touch [Jobs] -> [Copy/Scan] -> [Scan to USB].
The job window opens.
4.
Change the settings for the original and the file.
5.
Touch [Job name] to change the default job name.
Use the keyboard to change the name, then touch [OK].
6.
Touch [Destination] to indicate the folder on your USB drive where you want to save the file.
7.
If applicable, enter the [Account ID].
8.
Touch [Start]
.
The scanner scans the originals. The system sends the resulting file to your USB drive.
9.
Touch to eject the USB drive.
10.
Remove the USB drive from the control panel when the message [USB drive has been
successfully ejected.] displays.
Scan to USB
Chapter 11 - Carry Out Scan Jobs
261
Canon varioPRINT DP line
 Loading...