Use an address book for scan to email
Introduction
When an address list file (ral.csv also known as address book file; see
Use the Address List File
(ral.csv)
on page 248) is uploaded, you can search and select one or more email addresses via the
control panel. An address book is also available when ldap is configured.
You can also add a new email address.
NOTE
An address book is only available when [Allow scanning to multiple email addresses] is enabled
in the Settings Editor.
Search and select an email address from the address book
1. In the job window of a scan profile, select email as [Destination].
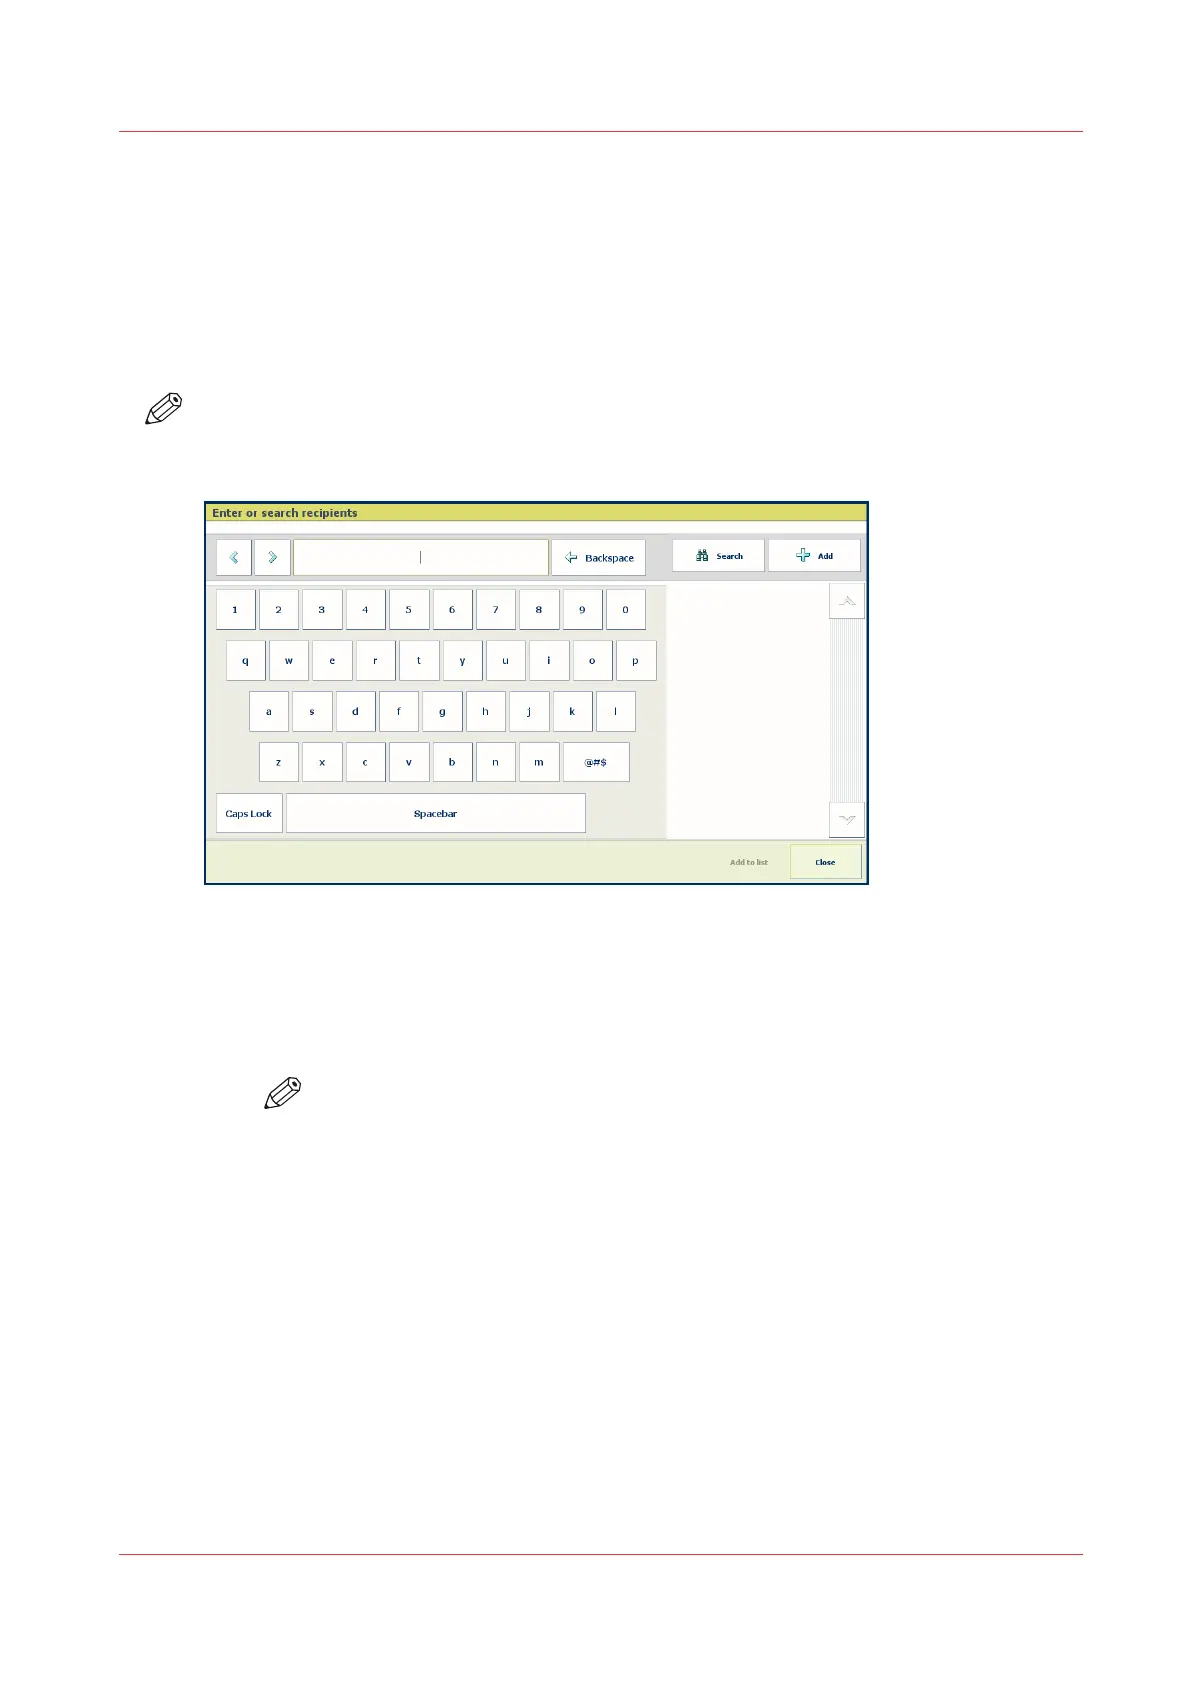
2. Do not enter an email address. Touch [Email address] to open the search on the address
book.
NOTE
When no address list file (ral.csv) is uploaded, the keyboard is displayed to enter an
email address.
3. Enter one or more strings separated with a space. All entries in the address book that contain
any of the strings are displayed in the right-hand column.
4. Touch an email address to select it.
5. Touch [Add to list] to add the email address to the list of recipients.
6. When you want to add another email address, touch [Add]. Go to step 3.
When you have selected all required email addresses, touch [OK] to return to the
[Destination] tile.
Add an email address to the address book
1. In the job window of a scan profile, select email as [Destination].
2. Do not enter an email address. Touch [Email address] to open the search on the address
book.
3. Touch [Add] to add a new email address.
Use an address book for scan to email
Chapter 11 - Carry Out Scan Jobs
259
Canon varioPRINT DP line
 Loading...