[Destination]
Setting Values Description
[Destination] For scan to USB, you can enter the destination of
the scan job on the USB drive. You can select ei-
ther the root of the USB drive, or a new folder
called ScansX, whereby X is an incrementing num-
ber. The first time you use this option, the folder
will be called Scans1.
For the other destinations you select the destina-
tion in the [Destination] field, for example scan to
email or FTP.
[Enter the user code.]
Setting Values Description
[Enter the user
code.]
This setting applies only to scan-to-email jobs. To
use the scan-to-email function, an LDAP server
must be configured. The LDAP server contains a
mapping of unique user codes and email address-
es. When you enter your user code, for example
your employee number or telephone number, the
LDAP server checks if you are a registered user. If
you are a registered user, the system sends the
scan job as an attachment to the corresponding
email address.
This setting is only applicable when you do not
have an address book configured for scan-to-email.
NOTE
The name of this button depends on the
name defined in the scan profile file.
[Account ID]
Setting Values Description
[Account ID] Enter the account ID for the current job. The [Ac-
count ID] setting is only available when the ac-
counting function on the PRISMAsync controller is
enabled.
Description of the Scan Job Settings
256
Chapter 11 - Carry Out Scan Jobs
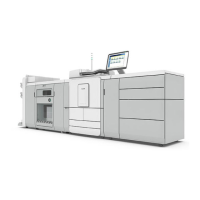
Canon varioPRINT DP line
 Loading...