126
.
Two screws
Removing the control panel:
1. Disconnect power and remove the back panel of the
backguard and top trim.
2. Remove the fluorescent light bulb and sockets, light
switches and indicator lights.
3. Remove the screws holding the top element
switches, the small oven thermostat to the control
panel and drop the electronic oven control mounting
plate down.
4. Remove the end caps, disconnect the ground wire
and lift the control panel off.
Main top area
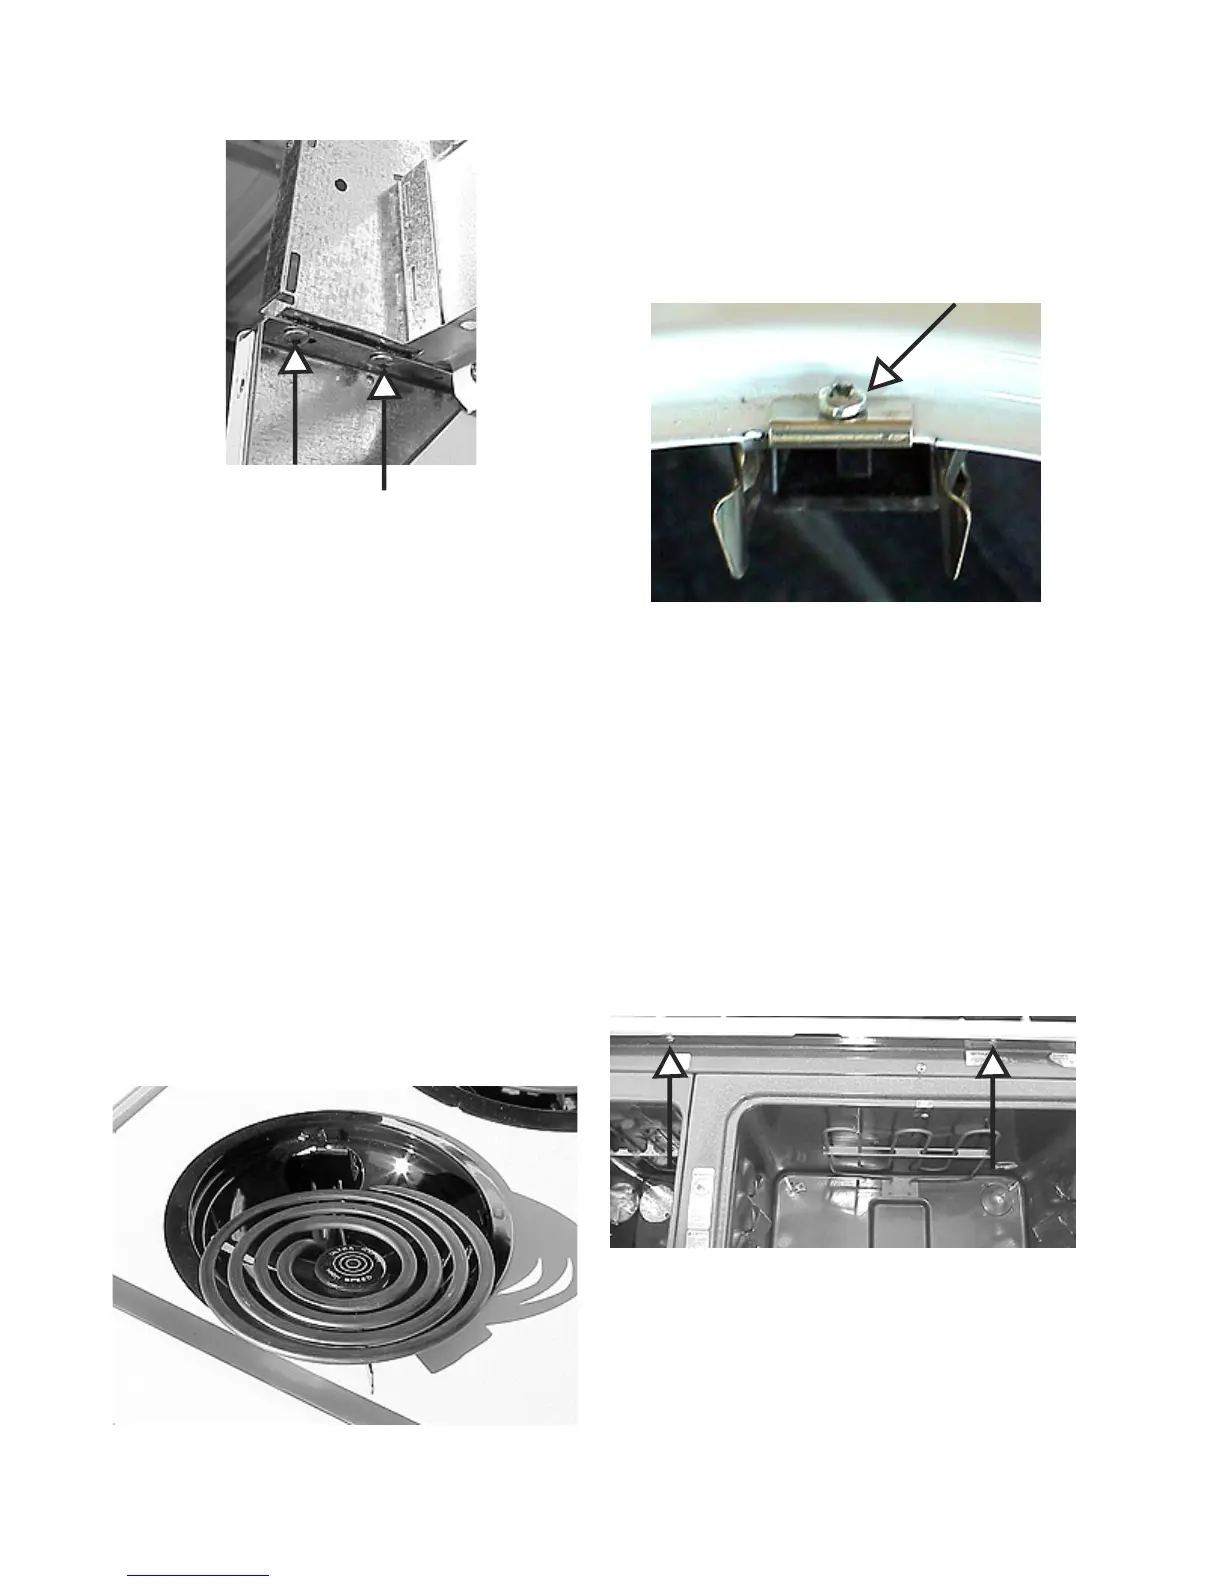
Removing coil elements and drip pans:
1. Raise the end of the element about an inch and pull
the element out. The drip pan then lifts out.
Element and drip pan
Terminal block:
1. Disconnect power and remove the element and drip
pan.
2. Remove the one screw holding the terminal block to
the main top.
One screw
Note: When replacing the terminal block the replace-
ment terminal block will have two short leads and ce-
ramic wire nuts.
Removing the main top:
1. Disconnect power and remove the back panel of the
backguard.
2. Remove the elements and drip pans, and discon-
nect the terminal block from the top.
3. Open the oven doors and remove the two screws
holding the top to front oven trim.
Two screws
4. Remove two screws, one on each side, that hold
the top to the hinges and lift the top off.
 Loading...