28
high heat or no pans, a minimum of 2" (5.1 cm)
spacing should be provided on both sides of the
cooktop.
Preparation
Excessive Weight Hazard
• Use 2 or more people to move and install
range.
• Failure to follow this instruction can result in
back or other injury.
1. Put on safety glasses and gloves. Remove oven
racks and parts package from inside the oven.
Remove shipping materials, tape and protective
film from the range.
2. Take 4 cardboard corners from the carton. Stack
one on top of another. Repeat with other 2
corners. Place corners lengthwise on the floor in
back of the range to support range.
3. Firmly grasp the range and gently lay it on its
back on the cardboard corners.
4. Remove and save the 4 shipping bolts from the
skid. Discard skid.
5. Install 4 shipping bolts as leveling legs.
6. Lay a large piece of cardboard in front of the
range. Carefully stand the range upright on
cardboard.
7. Adjust the leveling legs to a point where the
range base does not touch the floor.
Leveling the Range
Level the range and set cooktop height before
installation in the cut-out opening (if
applicable).
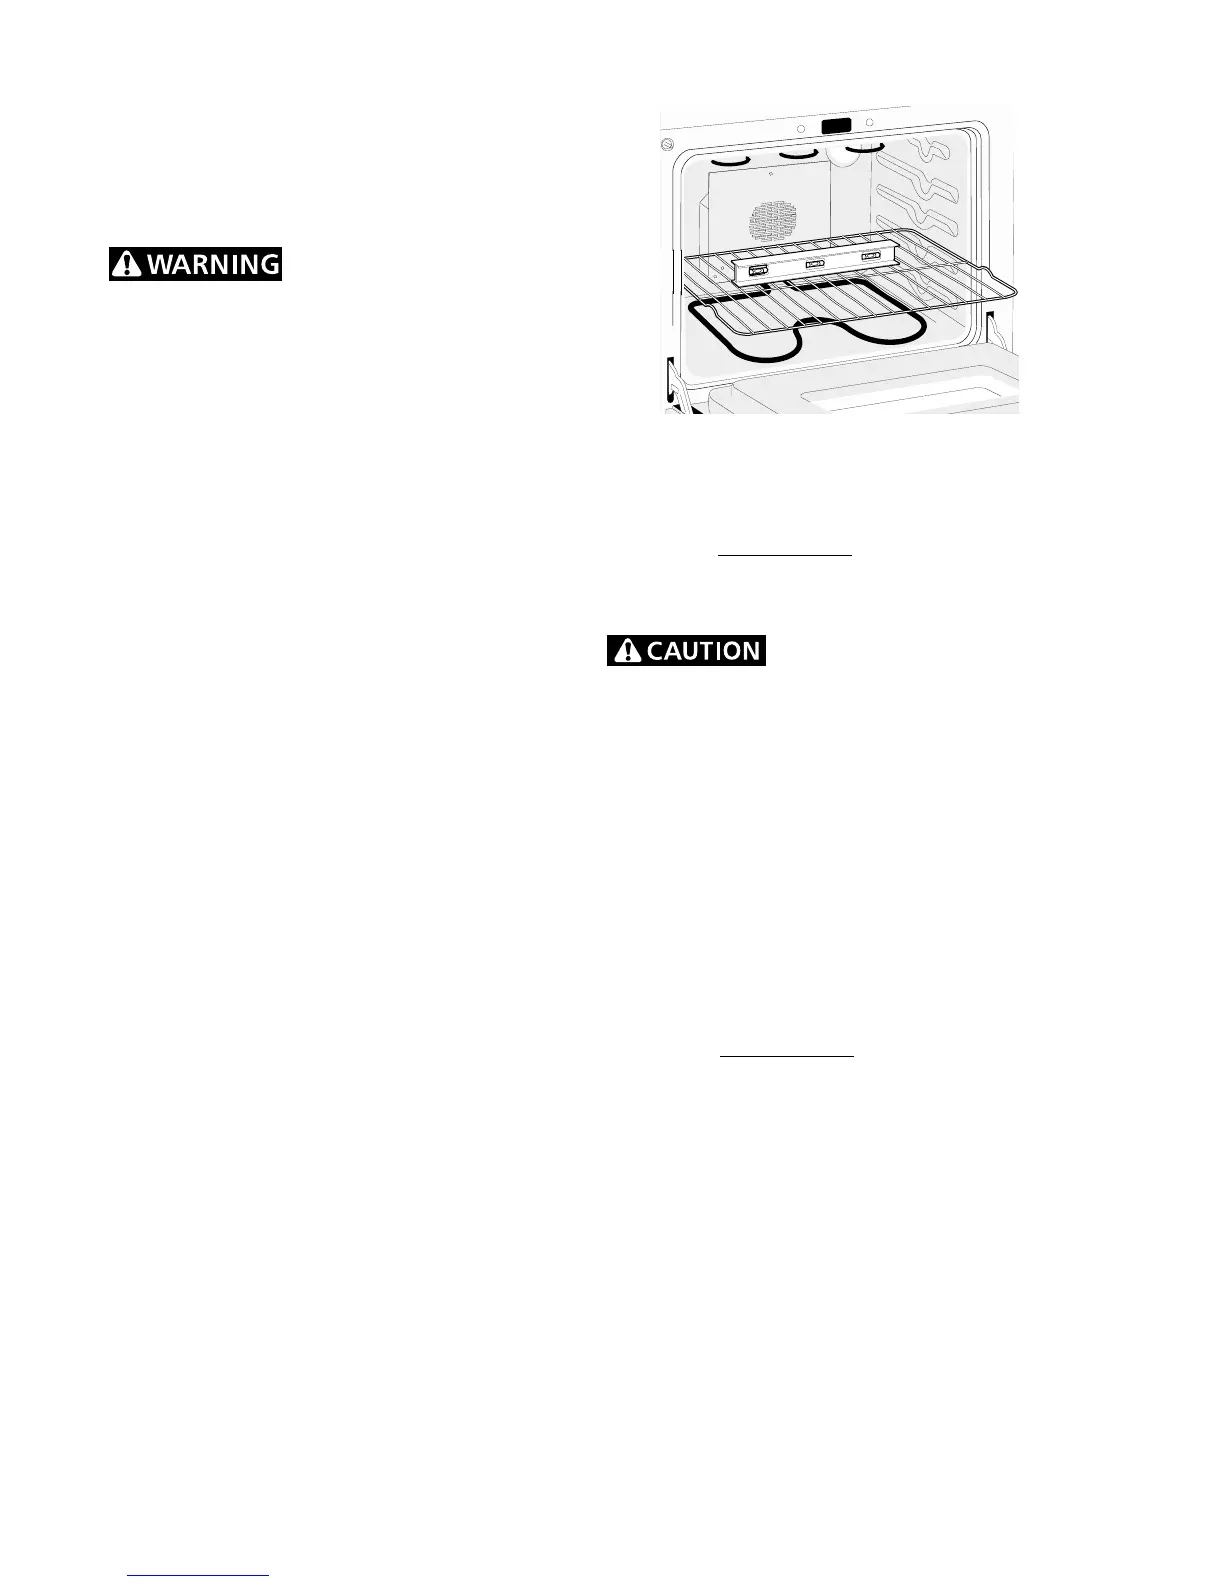
1. Install an oven rack in the center of the oven.
2. Place a level on the rack (see figure 9). Take 2
readings with the level placed diagonally in one
direction and then the other. Level the range, if
necessary, by adjusting the 4 leg levelers with a
wrench (see Figure 11).
3. Slide range into cut-out opening and double
check for levelness. If the range is not level, pull
unit out and readjust leveling legs, or make sure
floor is level.
Figure 9
Check Operation
Refer to the Owner's Guide packaged with the range
for operating instructions and for care and cleaning
of your range.
Do not touch the elements. They
may be hot enough to cause burns.
Remove all packaging from the oven before testing.
1. Operation of Surface Elements
Turn on each of the four surface elements and check
to see that they heat. Check the surface element
indicator light(s), if equipped.
2. Operation of Oven Elements
The oven is equipped with an electronic oven control.
Each of the functions has been factory checked before
shipping. However, it is suggested that you verify the
operation of the electronic oven controls once more.
Refer to the Owner's Guide for operation. Follow the
instructions for the Clock, Timer, Bake, Broil,
Convection (some models) and Clean (some models)
functions.
Bake–After setting the oven to 350°F (177°C) for
baking, the lower element in the oven should
become red.
Broil–When the oven is set to BROIL, the upper
element in the oven should become red.
Clean (some models)–When the oven is set for a
self-cleaning cycle, the upper element should
become red during the preheat portion of the cycle.
After reaching the self-cleaning temperature, the
lower element will become red.
 Loading...