Printer Connection and Software Installation 49
Using CentreWare Internet Services
To turn on/off either the DHCP or AutoIP protocol:
1
Launch your web browser.
2
Enter the IP address in the browser’s address field, and then press the Enter key.
3
Select Properties.
4
Select the Protocol Settings folder on the left navigation panel.
5
Select TCP/IP.
6
In the Get IP Address field, select the DHCP / Autonet option.
7
Click the Apply button.
Assigning an IP Address (for IPv4 Mode)
NOTE:
• When you assign an IP address manually in IPv6 mode, use the CentreWare Internet Services. To display the CentreWare Internet
Services, use the link local address. To check a link local address, see "Printing and Checking the Printer Settings Page" on page 51.
• Assigning an IP address is considered as an advanced function and is normally done by a system administrator.
• Depending on the address class, the range of the IP address assigned may be different. On Class A, for example, an IP address in the
range from
0.0.0.0
to
127.255.255.255
will be assigned. For assignment of IP addresses, contact your system
administrator.
You can assign the IP address by using the operator panel.
1
Turn on the printer.
2
Ensure that Ready message appears on the LCD panel.
3
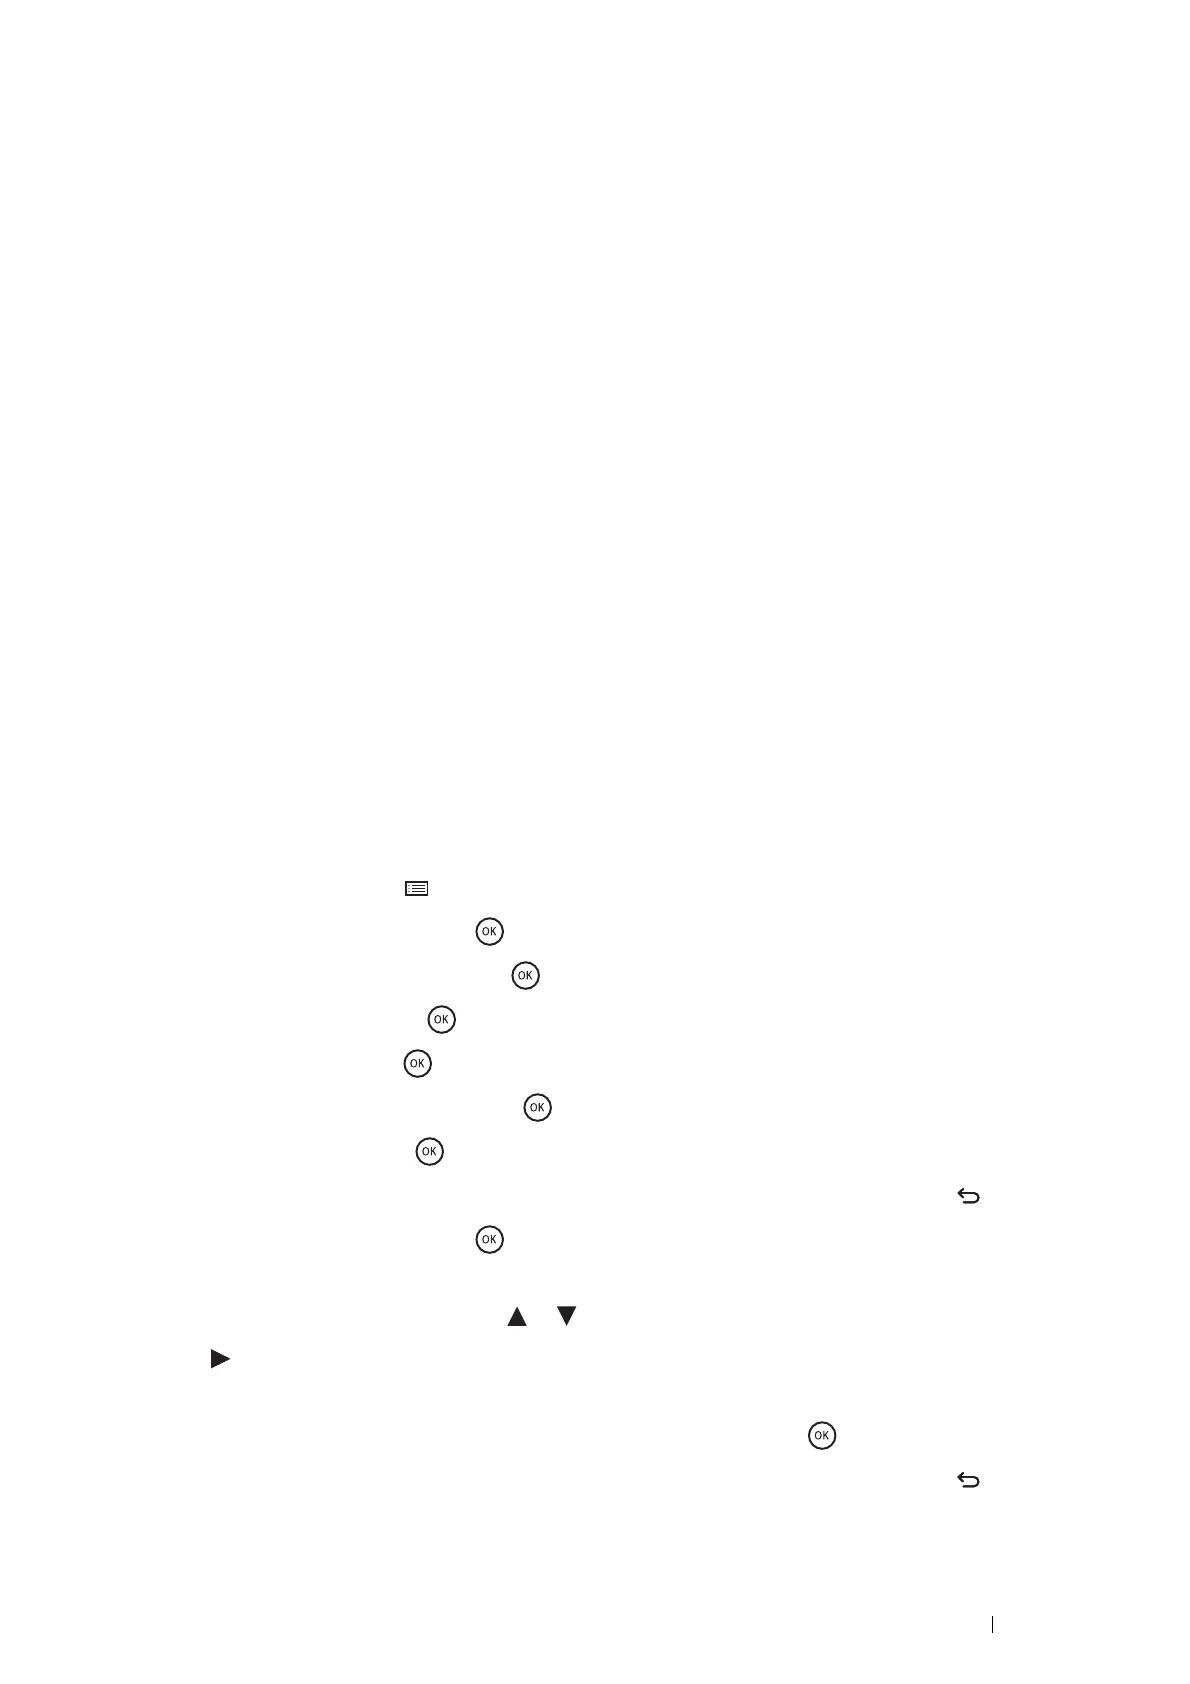
On the operator panel, press the (Menu) button.
4
Select Admin Menu, and then press the button.
5
Select Network Setup, and then press the button.
6
Select TCP/IP, and then press the button.
7
Select IPv4, and then press the button.
8
Select Get IP Address, and then press the button.
9
Select Panel, and then press the button.
10
Ensure that the message Restart Printer to apply setting appears, and then press the (Back) button.
11
Select IP Address, and then press the button.
The cursor is located at the first octet of the IP address.
12
Specify the value of the IP address using the or button.
13
Press the button.
The cursor moves to the next octet.
14
Repeat steps 12 to 13 to set all of the digits in the IP address, and then press the button.
15
Ensure that the message Restart Printer to apply setting appears, and then press the (Back) button
twice.
 Loading...