2-9
2.3.2 Charging voltage confirmation
- This confirmation is performed in a “Stop“ state.
- Confirm when performing the board exchange (EZJ93 and 94).
1 Press adjustment/operational checkout at the second page of the
service maintenance screen.
When the previous menu and the next menu are not displayed in the
maintenance menu, set to the service personnel maintenance mode by the
password protection.
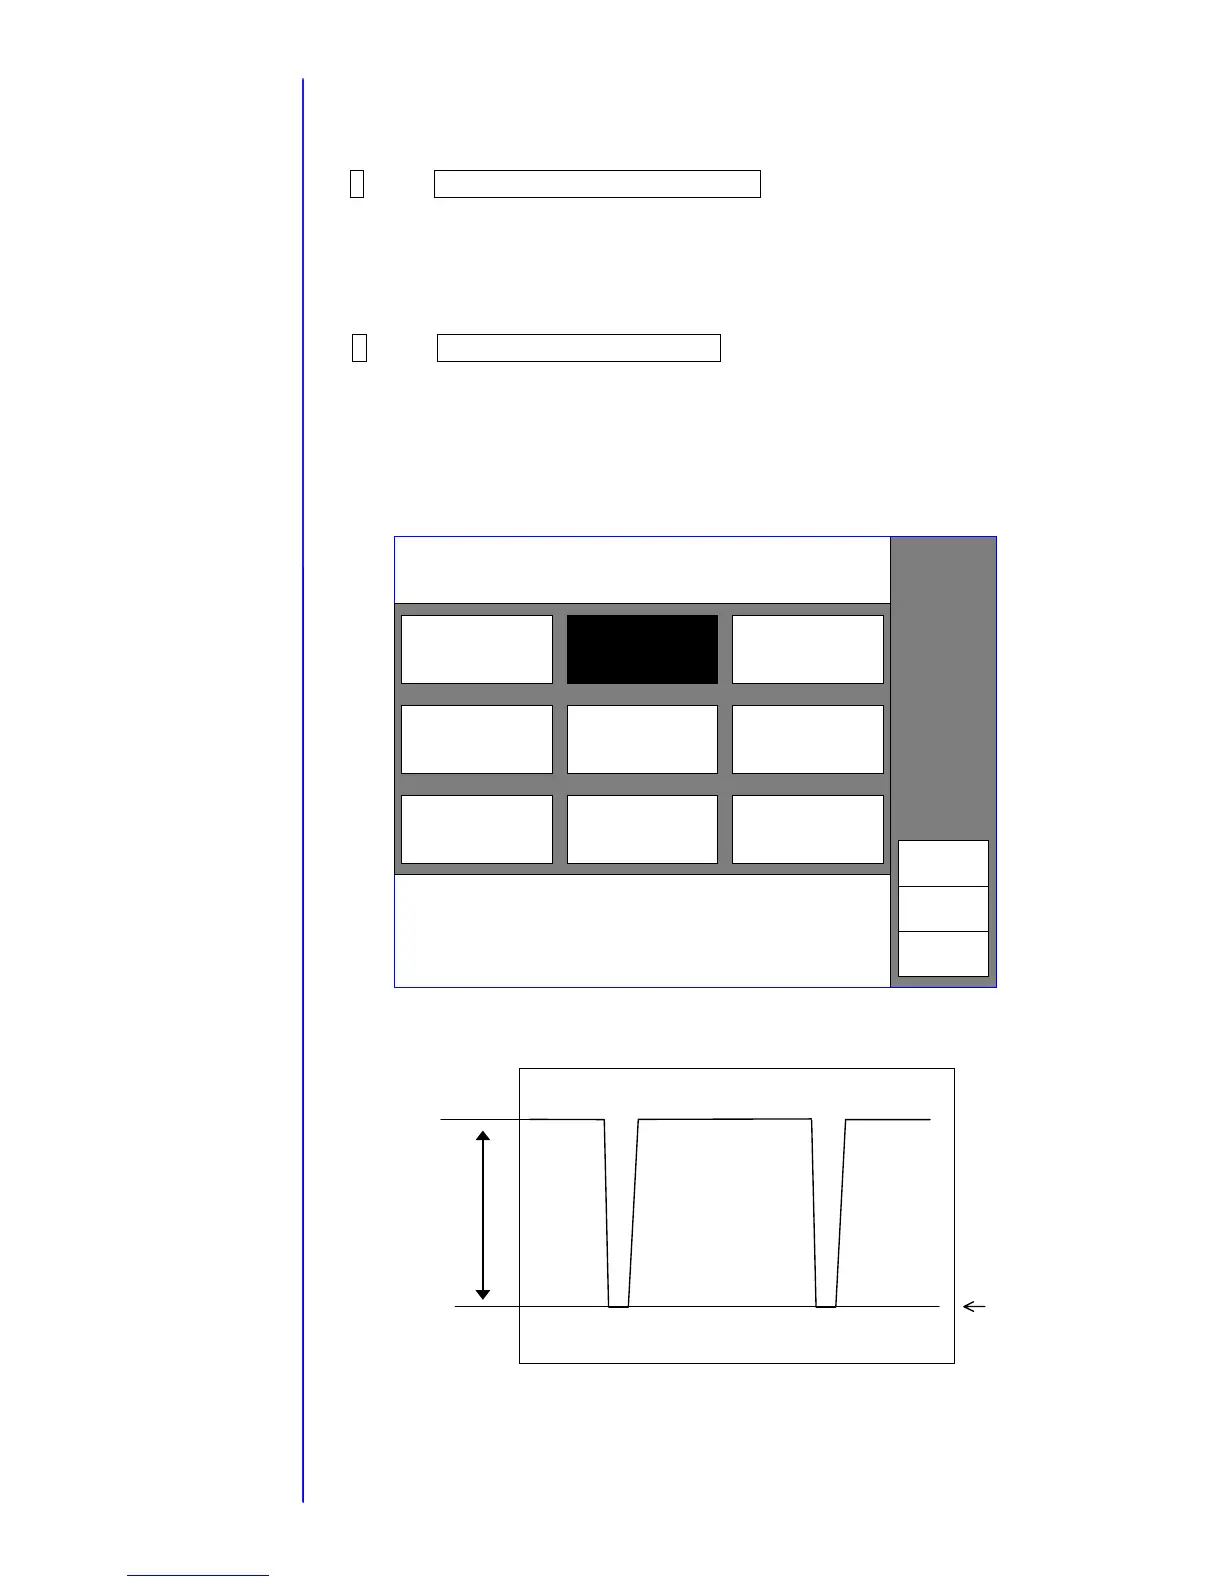
2 Press Charge voltage confirmation.
Since the voltage for the confirmation is output for 3 minutes, measure the TP12
on the EZJ 94 board using an oscilloscope and confirm that the TP12 is in the
range of DC 250V plus or minus 15V.
fter the completion of the
confirmation, the work can
be stopped before the
passing of 3 minutes by
pressing the Abort key.
With respect to positions of
the board and the test pin,
refer to "3.3.2 EZJ94
board".
Abort
Status:XXXXXXXXX 2011.07.07 12:45
Proc. status:In progress.
Execution takes 3 minutes.
XXXXXXXXX XXXXXXXXX
XXXXXXXXX XXXXXXXXX
XXXXXXXXX XXXXXXXXX
Charge voltage
confirmation
XXXXXXXXX
XXXXXXXXX
 Loading...