3-24
3.3.8 Fan Replacement Procedure
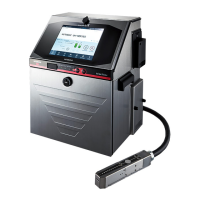
1 Turn off the power supply.
2 Open the operation panel and remove the fixing screws (2 locations).
Remove the electrical component cover.
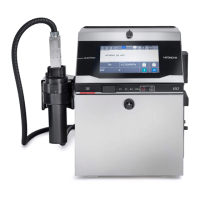
3 Remove the fixing screw of the board base (2 locations) and the
connector of the fan.
{3 wires (black, red, and blue), 4-pin connector}
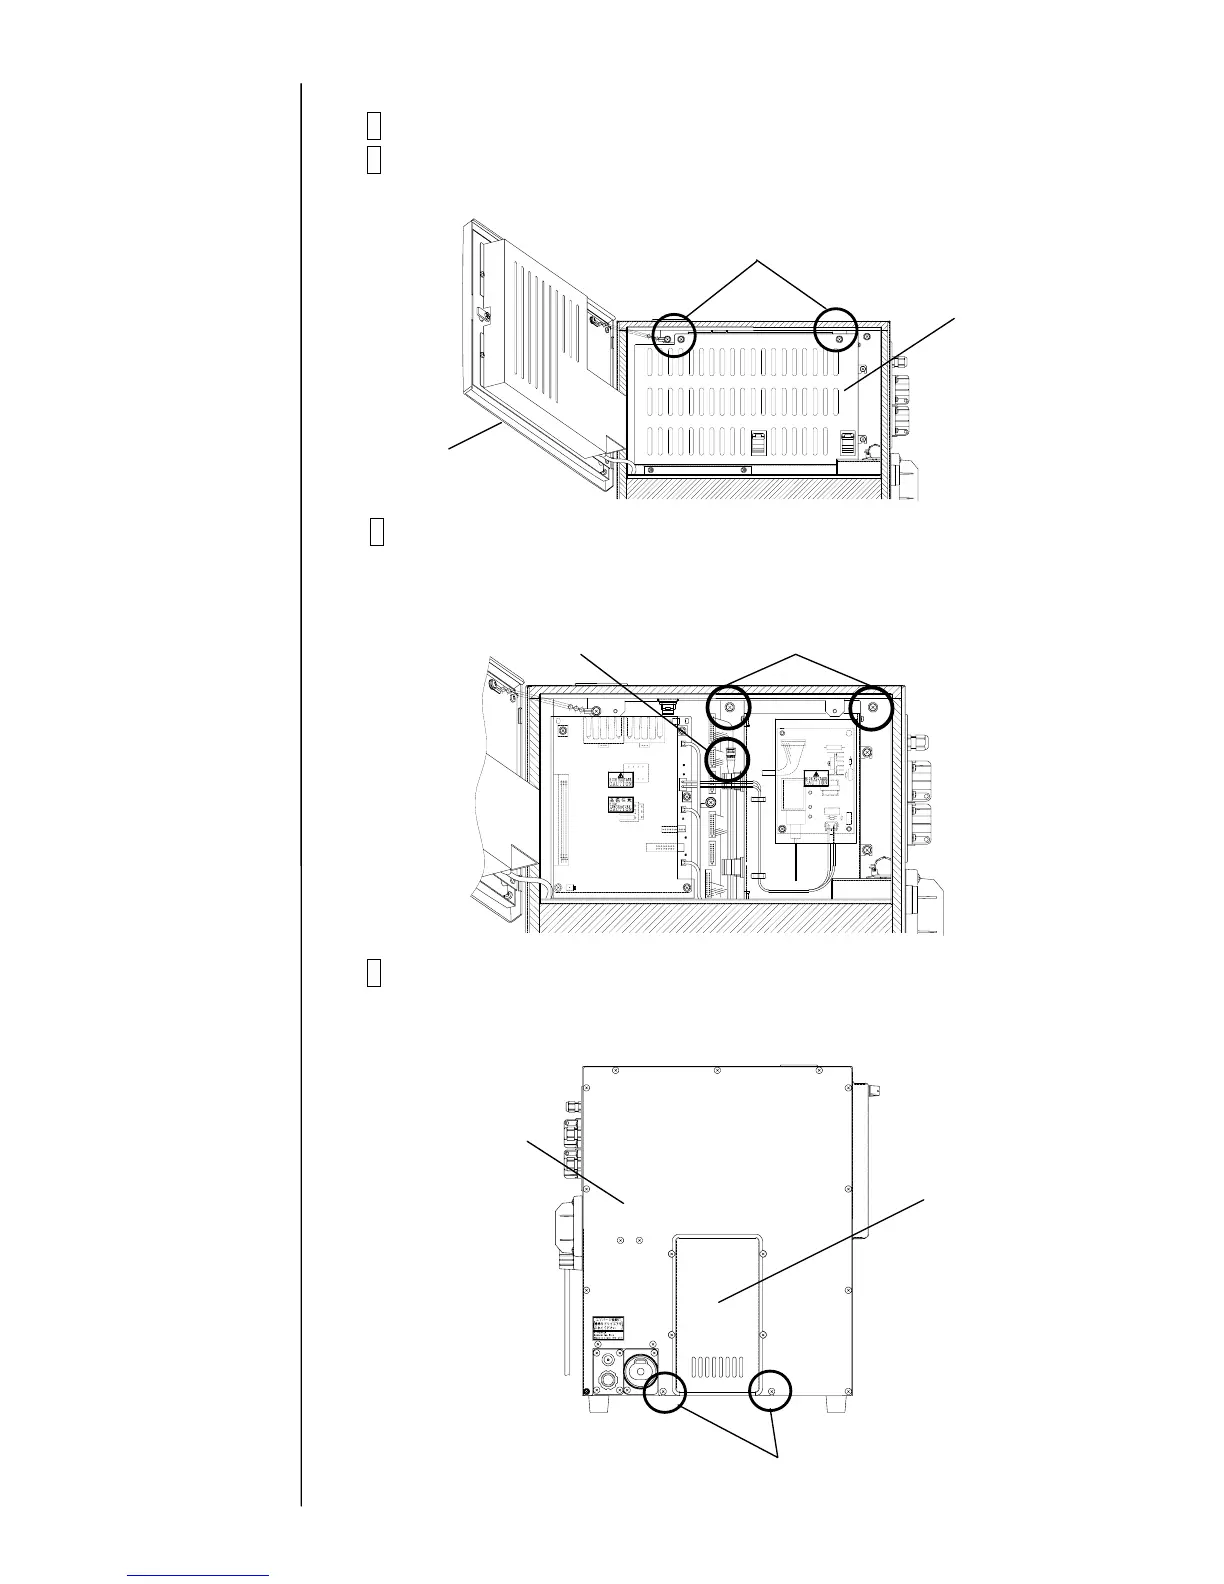
4 Remove the exhaust cover and the rear cover.
"Caution" Take care not to cause the removed connector of the fan to be
caught.
Rear cover
Fixing screw
(15 locations)
Exhaust cover
Fixing screw
(4 locations)
Fixing screw
(2 locations)
Operation panel
Electrical
component
cover
Connector for the fan
Fixing screw of the board base
The cover can be removed by
loosing screws.
 Loading...