Rev. 2.0
Maintenance Guide
22-6
22-5. Checking the Images After Replacement
After the sensor has been replaced, check the images using the calibration application.
22-5-1. Calibration Application
This calibration application is mainly used for the operation check in the inspection process and
on the market.
c Start the mounter main unit and perform the origin return.
d Turn ON the power to the placement monitor PC.
e From the [Start] menu, select [Placement Monitor]-[Calibration Application] to run the
calibration application.
f Open [Manual Control] on the mounter and move the head No. 1 to a portion above the CAL
block No. 1 mark.
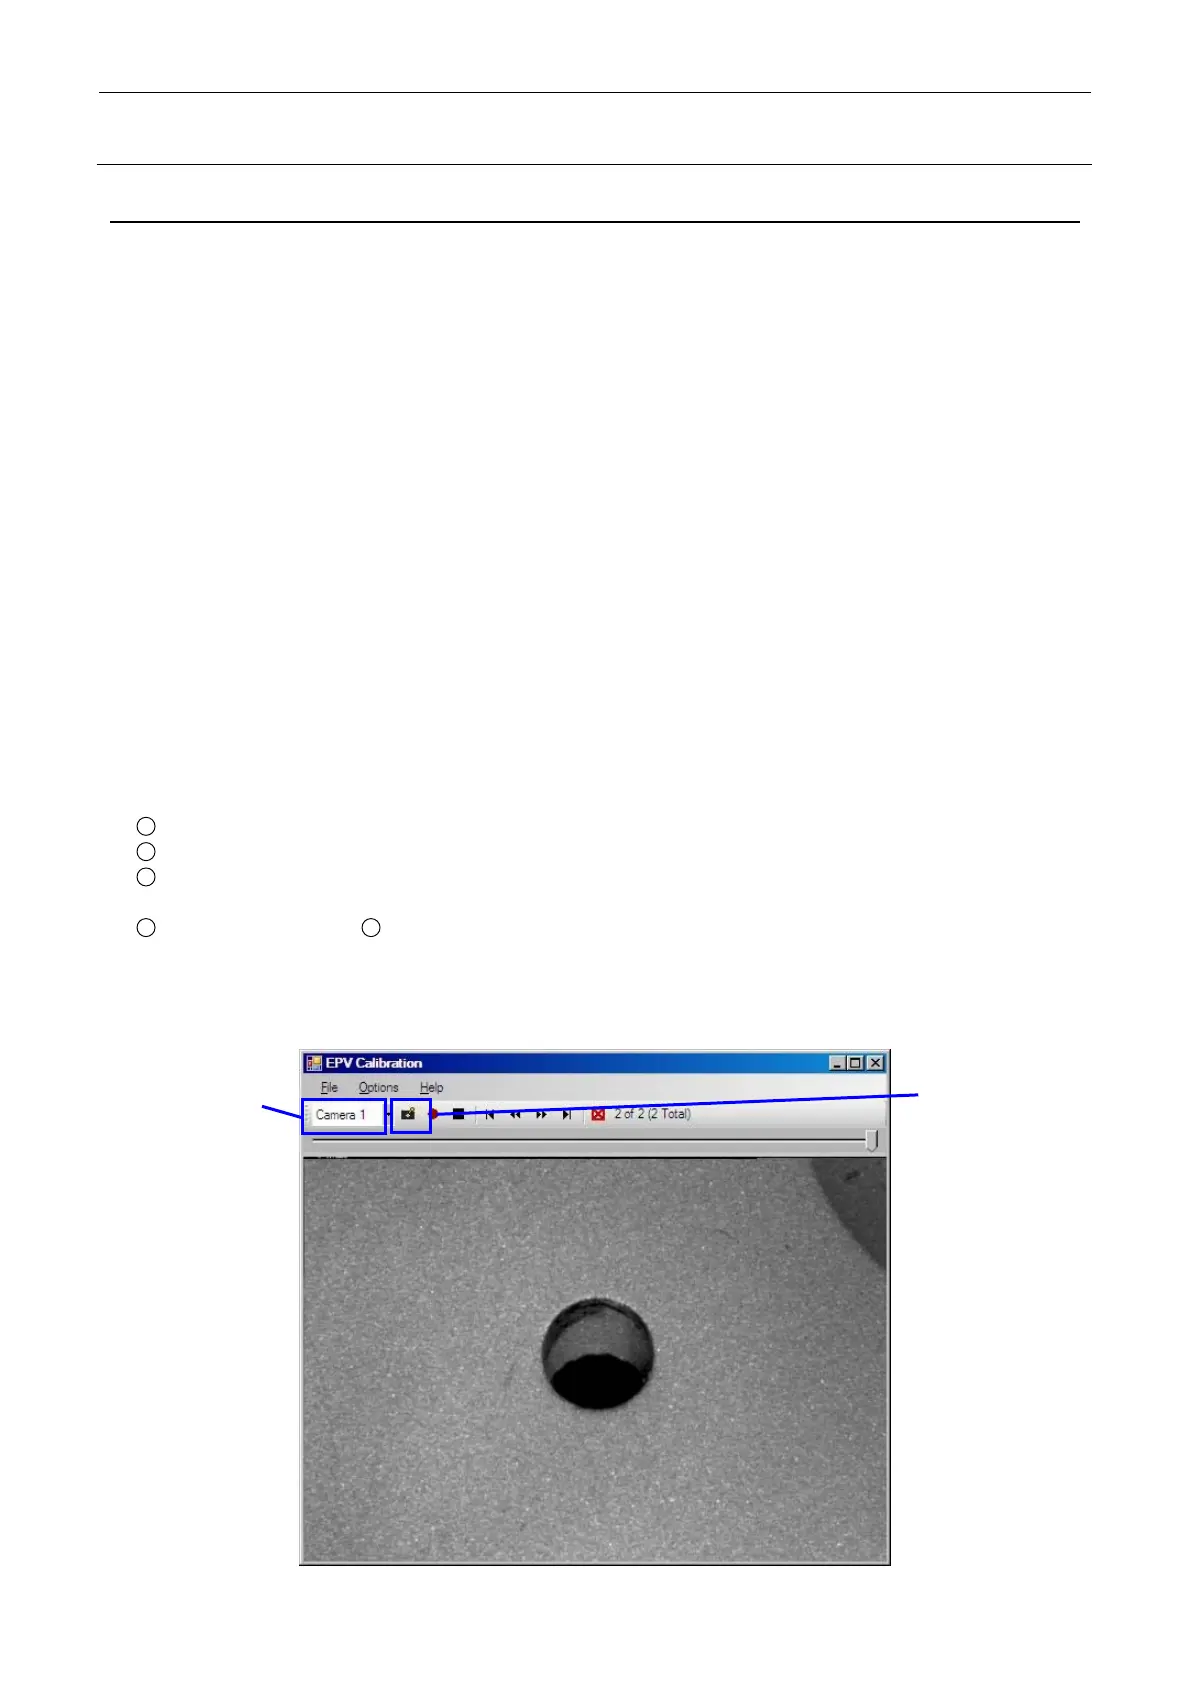
g In the [Camera] (head No.) item, specify the head above the CAL block No. 1 mark and
capture the image.
h Check that the CAL block No. 1 mark is displayed at the center on the image and that it is
clearly seen visually.
i Select [File]-[Save Image File], specify a save destination, and save the image.
(Example of save destination: c:\EPVData\EPVImage\date\date_Camera_1.bmp)
j Compare the captured image with the previously captured image, and then make the check.
k Move the next head to a portion above the CAL block No. 1 mark.
l In the same manner as described in step g, specify the head above the CAL block No. 1
mark in the [Camera] (head No.) item and capture the image.
11
Check the image in the same manner as step h.
12
Specify a save destination and save the image in the same manner as step i.
13
Compare the captured image with the previously captured image, and then make the check in
the same manner as step j.
14
Repeat steps k to
13
described above.
∗ When using this function, do not start up the production application.
CAL block No. 1 mark captured using calibration application
Image
capture
button
Specify
head No.
(camera).

 Loading...


