4-22
Setting Automatic Cutting
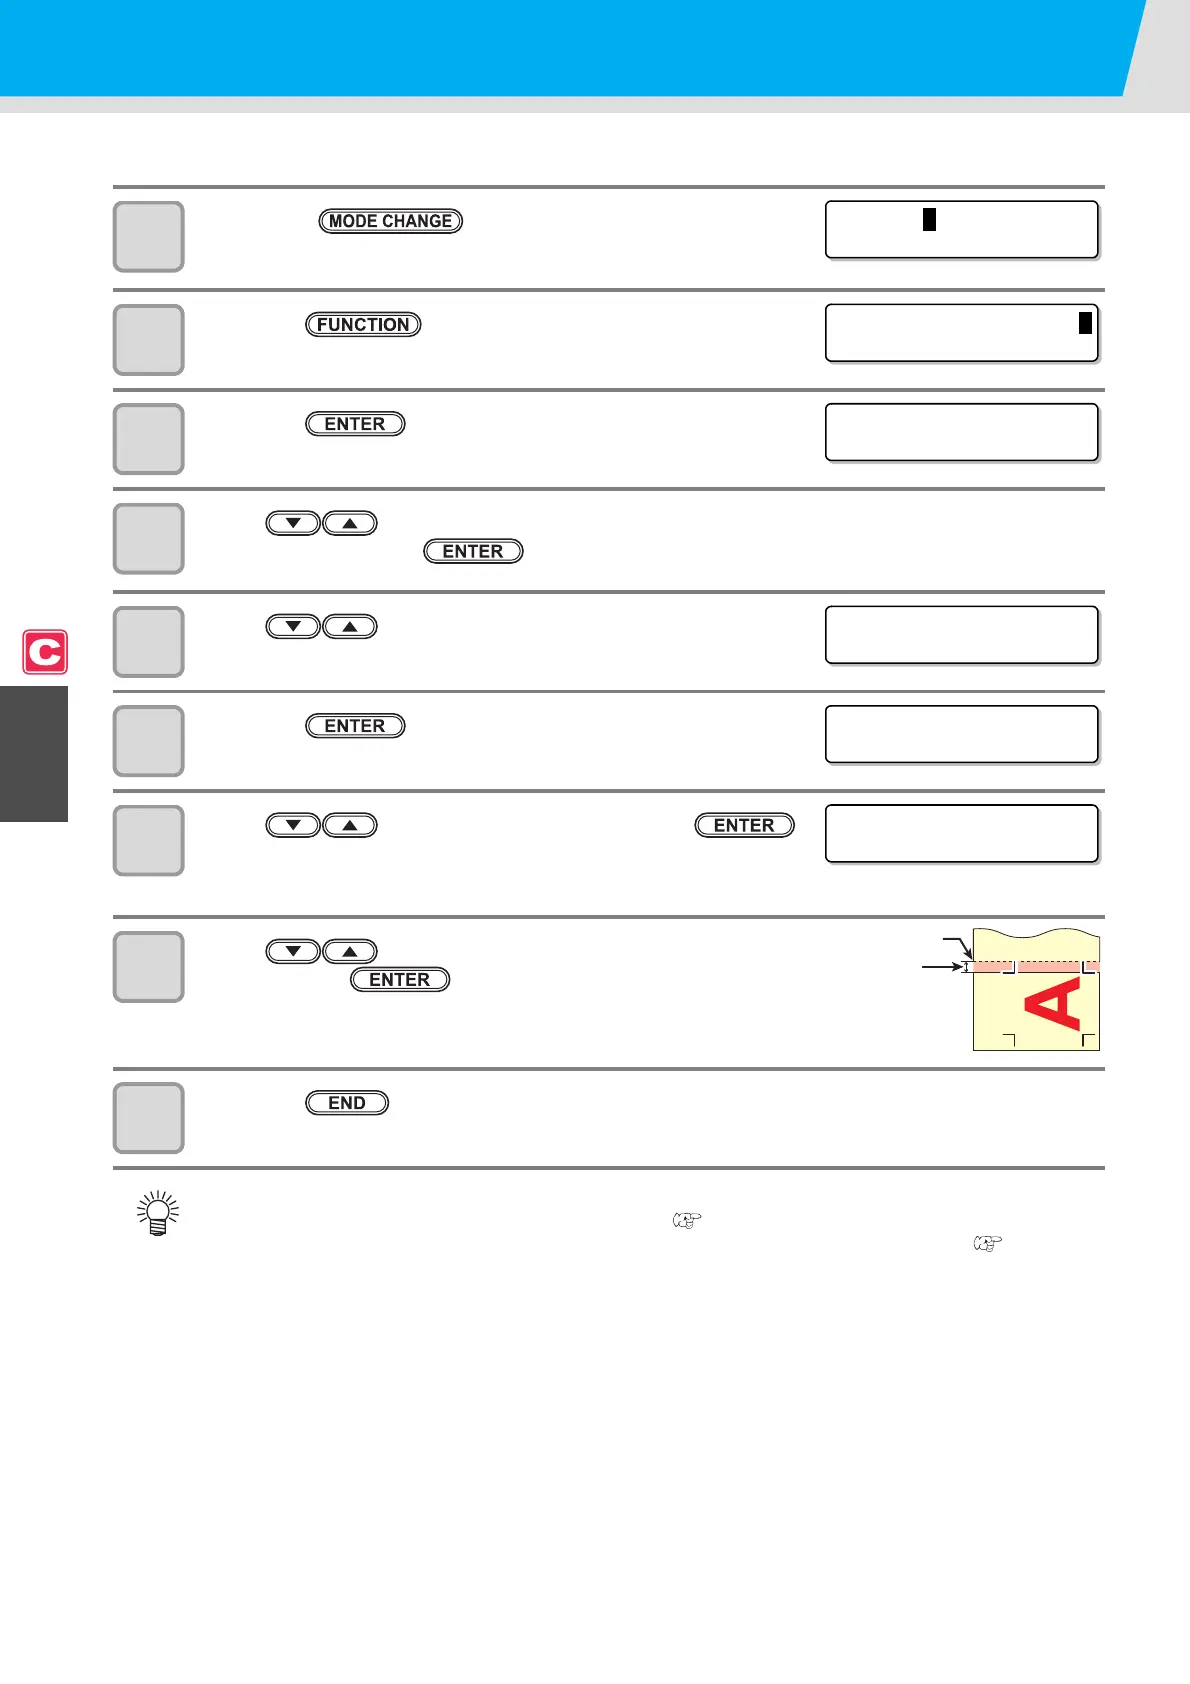
A medium is automatically cut off after cutting has been complete.
1
Press the key in LOCAL to select the
cutting mode.
2
Press the key.
3
Press the key.
4
Press to select one from the tool conditions (CUT1 to CUT3, PEN, and
HALF) and press the key.
5
Press to select [AUTO CUT].
6
Press the key.
7
Press to select "ON" and press the
key.
• When you do not want to set AUTO CUT, select "OFF" and proceed to Step 10.
8
Press to select a margin length ( 0 to 30 mm )
and press the key.
9
Press the key several times to return to LOCAL.
• The setting configured here is not reflected in the automatic cutting during printing. When you set
automatic cutting during printing, see "AUTO CUT" ( P.3-27) in Extended Functions - Printer.
• The “AUTO CUT” is not performed when “1” or higher value is set to the take-up timing ( P.4-33).
(Take up has priority.)
<LOCAL .
C
> [ #01 ]
CUT 1 ( 3 0 / 6 0 / 0 . 3 0 )
FUNCT I ON
C
SETUP <ENT>
SETUP
SELECT : CUT1
[CUT1]
AUTO CUT <e n t >
[CUT1]AUTO CUT
SETUP : OFF
[CUT1]AUTO CUT
CUT MARG I N : 0 0mm
Cutting
margin
Cutting position
 Loading...


