Sweep System, Side Broom 405Service Manual – CS7000
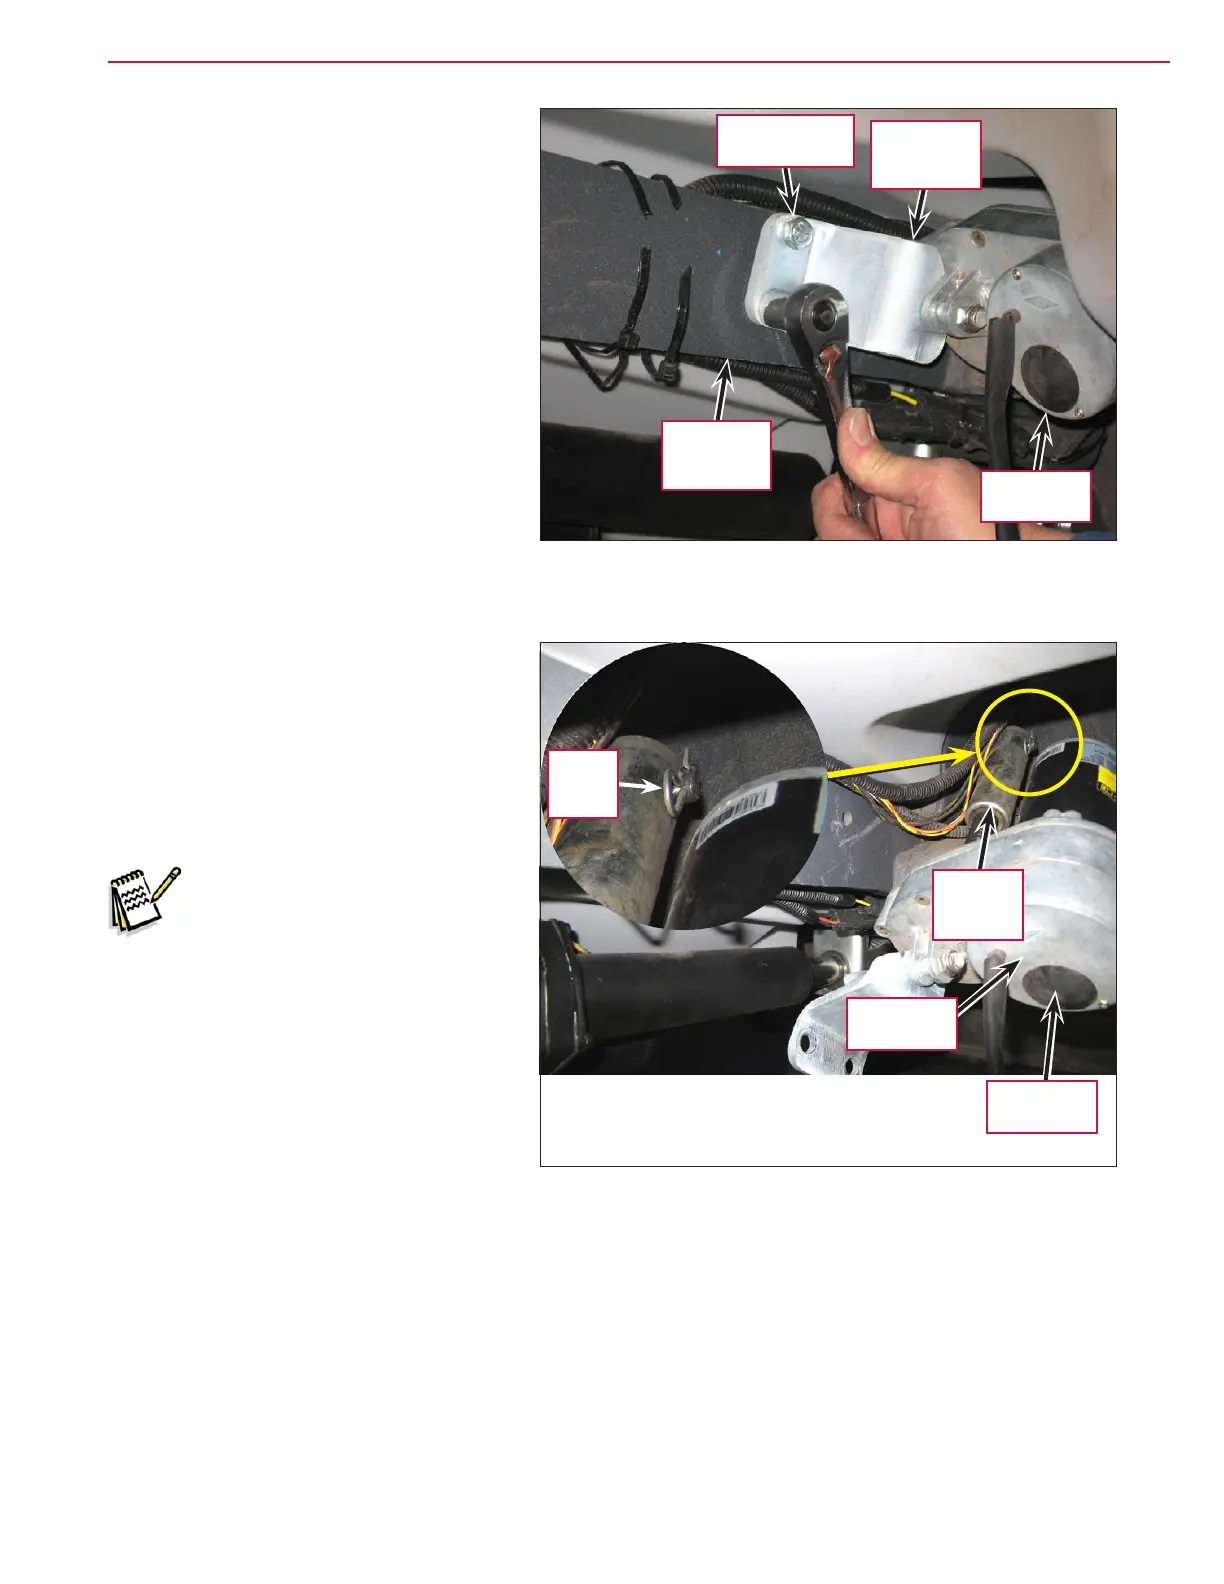
6. Remove the two 3/8”-16 x .75” Screws
holding the Actuator Bracket Weldment
to the Hopper Lift Weldment.
7. Extend the side brooms in the Service
Mode to extend the side broom
actuator. This will give you some
additional clearance for better access
to the hair cotter pin holding the Side
Broom Actuator
to the side broom lift
weldment.
8. Use a long needle-nose pliers to
remove the Hair Cotter Pin, then slide
the Side Broom Actuator off of the pin
on the side broom lift weldment and
remove it from the machine.
9. Reinstall the Side Broom Actuator by
following the above steps in reverse
order.
Note: Be careful not to rotate
the Drive Nut Cylinder on
the Side Broom Actuator
when it’s disconnected
from the machine. This
can change the extended
and retracted positions of
the Side Broom Actuator,
and the subsequent
extended and retracted
positions of the side
brooms.
3/8”-16 x .75”
Screw (2)
Actuator
Bracket
Weldment
Hopper Lift
Weldment
Side Broom
Actuator
Hair
Cotter
Pin
Drive Nut
Cylinder
Side Broom
Actuator
Adjustment
Cover
 Loading...