Web Utility
QL-300 User Guide 442
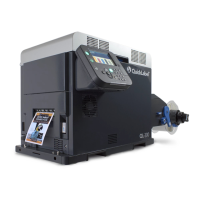
11 Click Configure attached information.
12 Select or enter the information you want to add to the end of the message text.
13 Click OK.
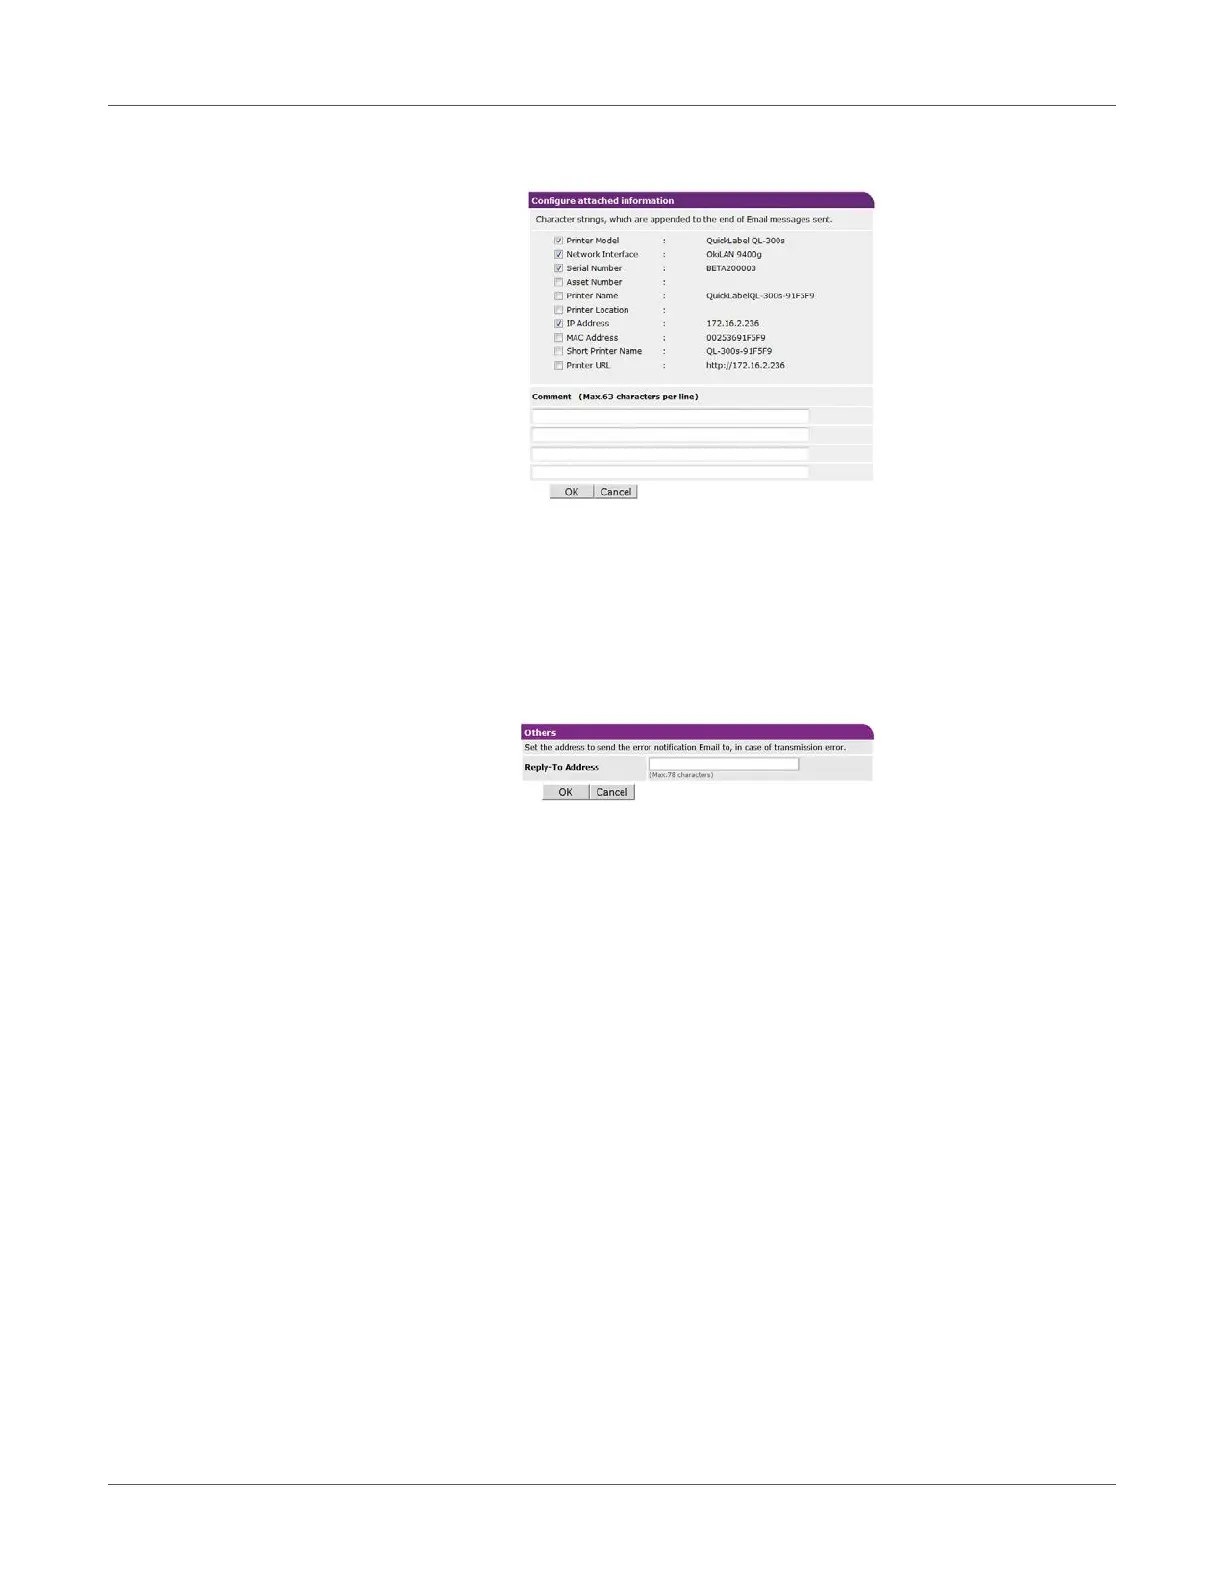
14 Click Others.
15 For Reply-To Address, specify the return address for the mail sent from the printer.
Normally, specify the mail address of the printer administrator.
16 Click OK.
17 Click Submit.
18 Settings are saved on the printer and the network function is restarted.
Note: The authentication method is automatically selected from among authentication
methods supported by the mail server.
Sending Error Notifications by Periodic Mail
For periodic notification, disable the sleep mode setting.
 Loading...