Recording a Pattern
131131
4. After you select the necessary items in INCLUDE
PARAMETER, press the [EXIT] button.
Return to the SEQ EXPORT screen.
5. Touch <MUTE TRACK> or <SOLO TRACK> to select
the tracks that will be exported.
The MUTE SELECT screen or the SOLO SELECT screen
appears.
6. Select tracks in the same way as
when “Muting a Track (MUTE)”
(p. 113) or “Soloing a Track (SOLO)” (p. 114).
Patterns of the tracks that are not muted (or are soloed) are
exported. If multiple variations exist in the applicable track,
all variations are exported.
7. Select the necessary tracks, and press the [EXIT]
button.
You return to the SEQ EXPORT screen.
8. Select [E3] RENAME.
The RENAME screen appears.
9. Enter a le name as described in the procedure for
the RENAME screen (p. 16).
When you execute EXPORT, individual consecutively-
numbered SMF les are created starting with the le name
that you enter.
Example: If you assign “MyPTN” as the le name, SMF les
with the following names are created.
MyPTN_01-A.MID SMF of track 1 pattern A
MyPTN_01-B.MID SMF of track 1 pattern B
MyPTN_02-A.MID SMF of track 2 pattern A
* If you proceed without assigning a name, the scene number is
automatically used as the le name.
10.
Select [E6] OK.
Return to the SEQ EXPORT screen.
11.
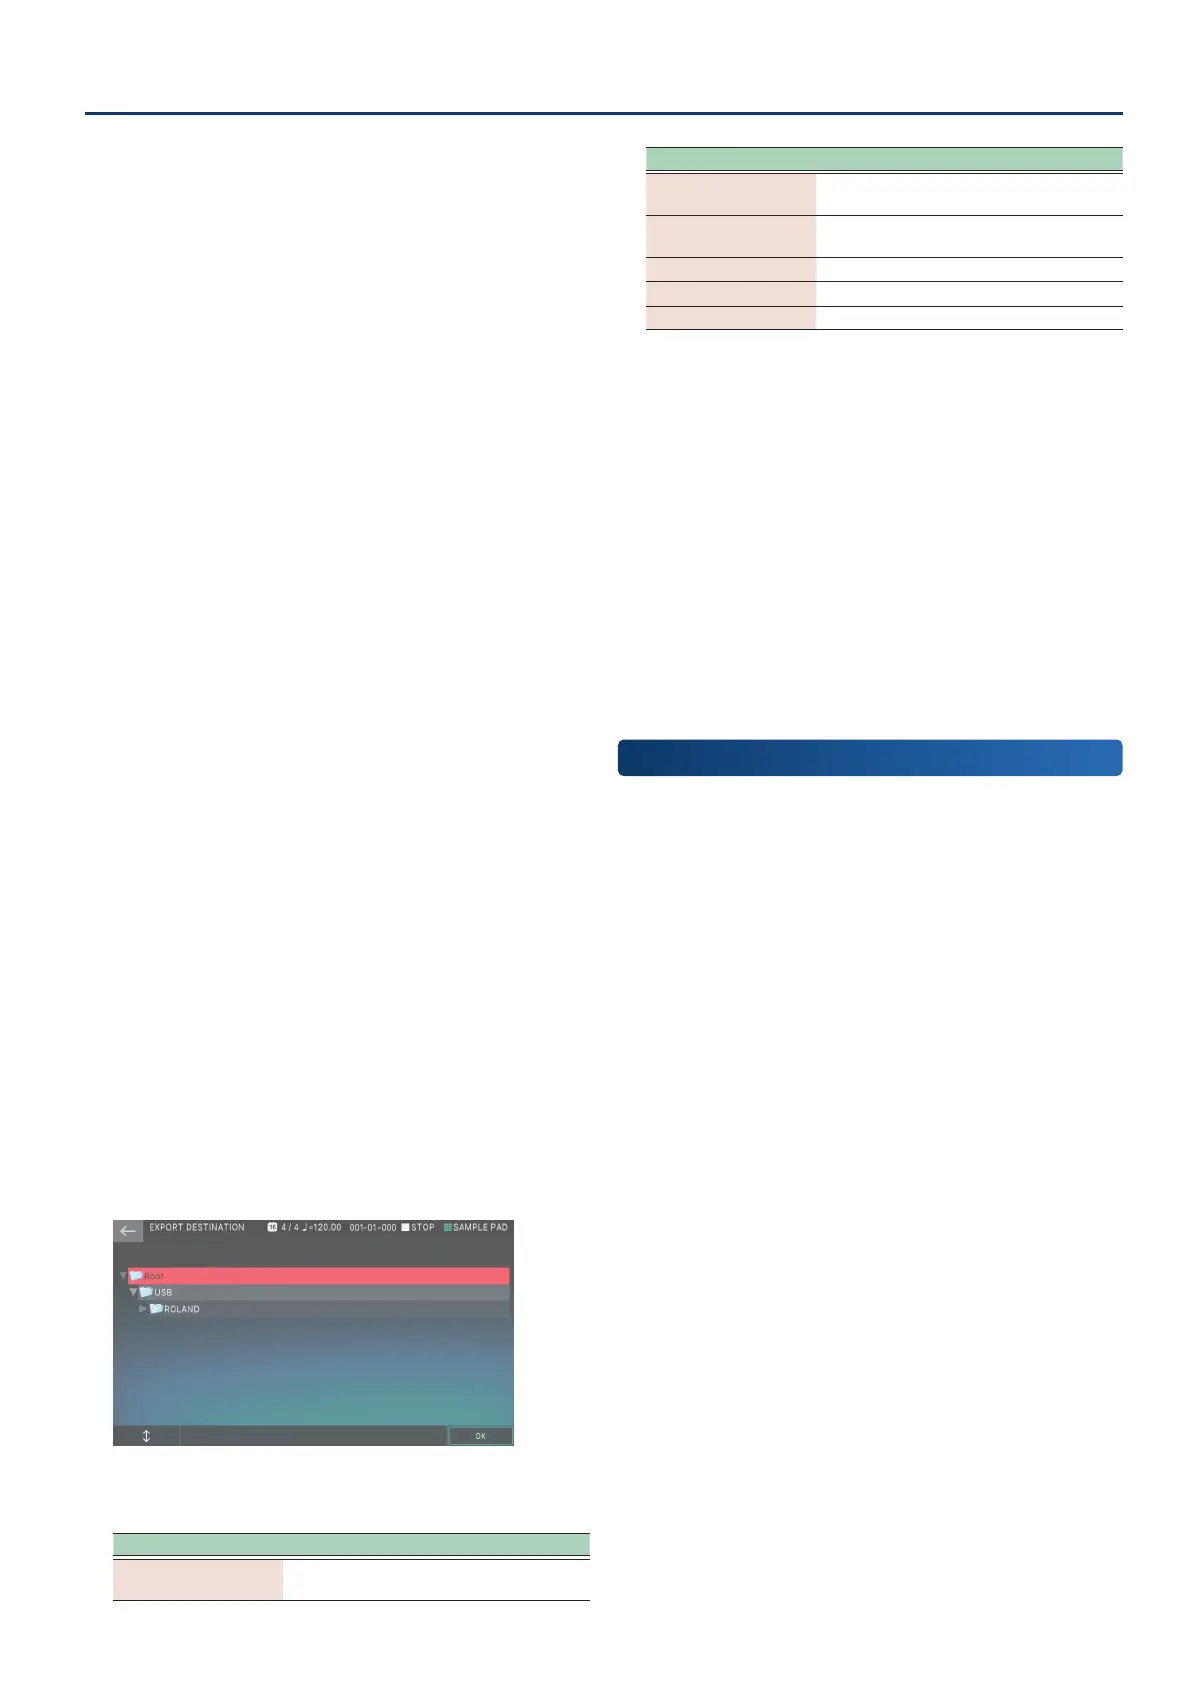
Select [E4] DESTINATION.
The EXPORT DESTINATION screen appears.
12.
Select the export-destination folder.
The selected folder is highlighted. You can use the following
operations to select the folder.
Operation Explanation
Touching a le name
in the screen
Directly selects the folder that you
touched.
Operation Explanation
[E1] knob
[à] button [á] button
Scroll up/down to select a folder.
[ENTER] button
Expands the contents of a folder. Press
once again to hide the expanded contents.
[â] button
Expands the contents of a folder.
[ã] button
Hides the expanded contents.
[EXIT] button Returns to the previous screen.
13.
Select [E6] OK.
Return to the SEQ EXPORT screen.
14.
Select [E6] EXECUTE.
First, a folder of the same name as the le name you entered
is created in the folder specied by EXPORT DESTINATION,
next a folder named according to the EXPORT SOURCE (“PTN”,
“GRP”, “SNG”) is created inside the rst folder, and then the
SMF les are created inside the next folder.
* If the export destination already contains les of the same name,
a conrmation screen asks whether you want to overwrite them.
15.
Press the [EXIT] button to return to the PTN
UTILITY screen.
Saving a Pattern
Pattern data that you create is saved together in the current scene.
If you want to keep a pattern that you create, save the scene
(p. 56).
 Loading...