17—Working with FX Channels
Roland VS-2000 Owner’s Manual www.RolandUS.com 233
5. When you’re done, press F6 (EXIT) to exit Quick Routing.
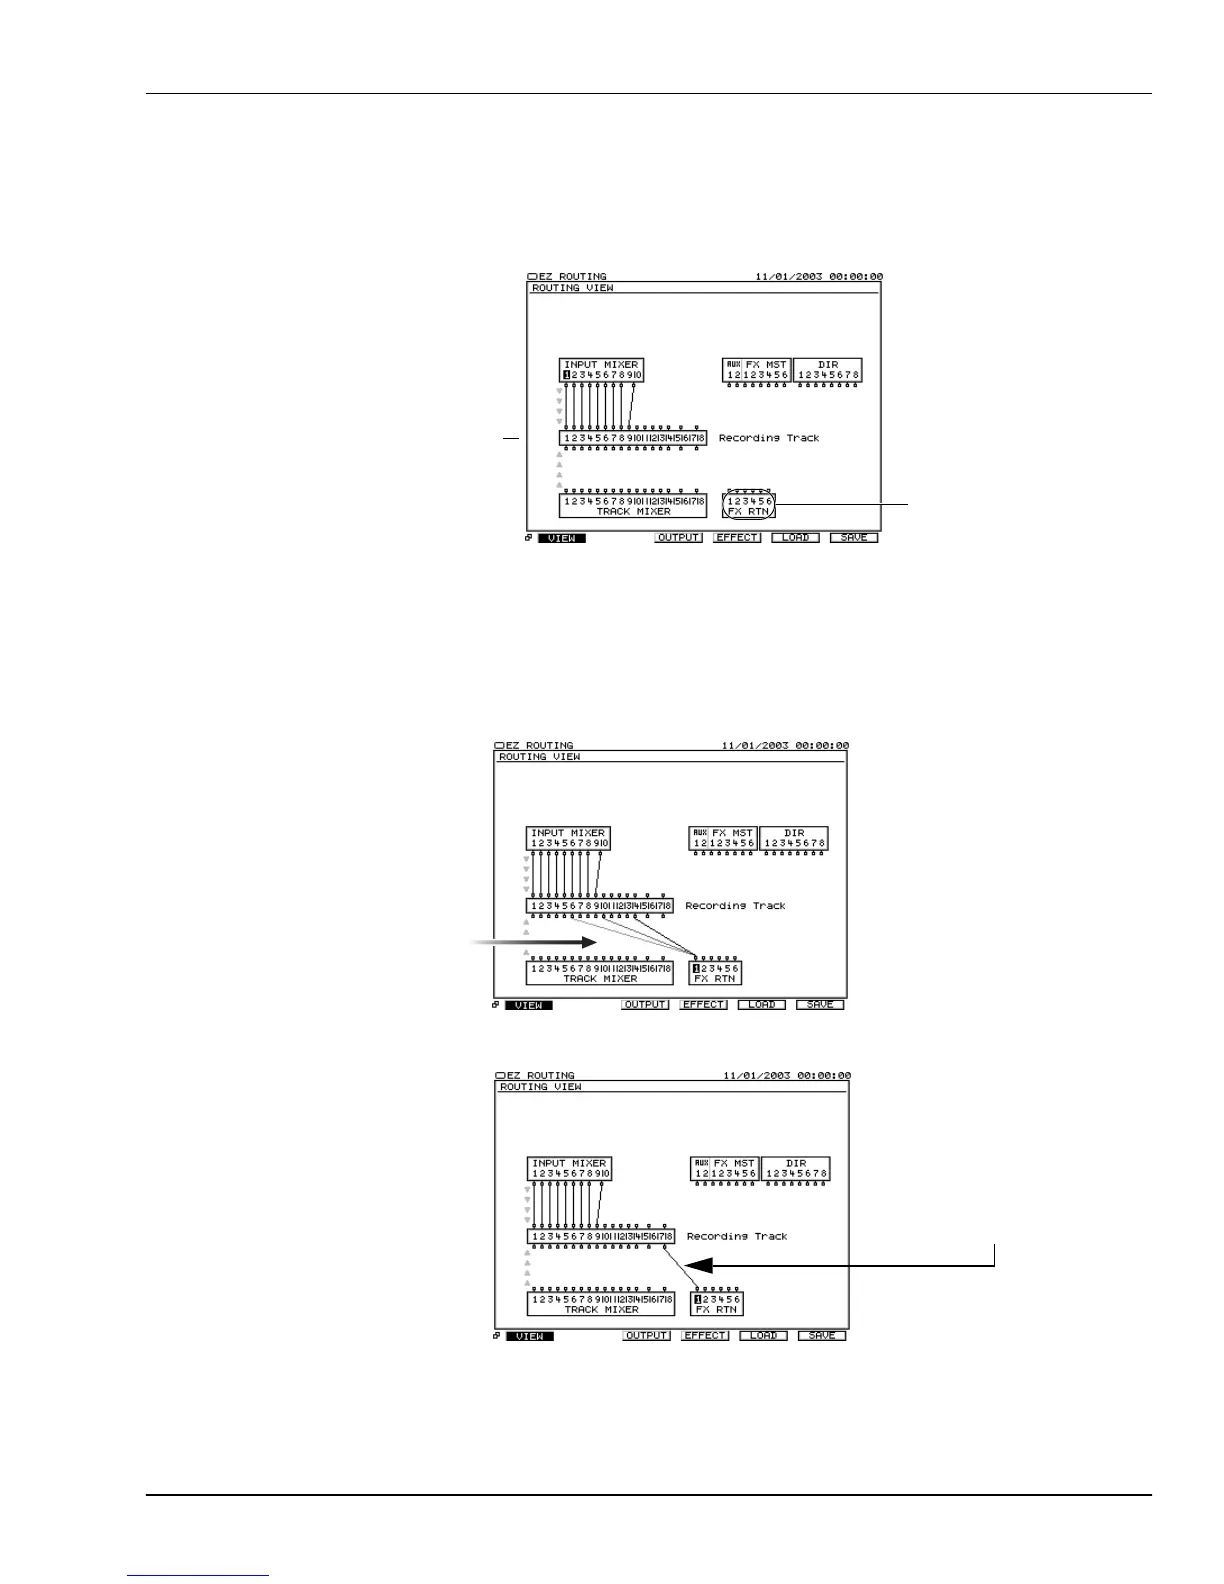
FX Return Routing on the EZ Routing VIEW Screen
1. Press EZ ROUTING.
2. If the ROUTING VIEW screen doesn’t appear, and you see “VIEW” above F1, press
F1 (VIEW). If you don’t see “VIEW” above F1, press PAGE and then F1 (VIEW).
3. Use
,
,
and/or
to select the FX return channel’s output along the upper
edge of the FX RTN block. We’ve selected FX Return Channel 1’s output in the
illustration below.
4. Turn the Time/Value dial clockwise—a wire appears that connects the FX return
channel to one track after another in the Recording Track block.
5. Turn the dial to select the desired pair of destination linked tracks.
FX Return
Channels 1-6
Hard Disk
Recorder
Tracks 1-18
The gray arrows at the
left edge of the screen
show the direction in
which signal flows.
When you’re recording
effects onto tracks,
signal flows up from
the FX return
channels to the hard
disk recorder tracks.
We’ve selected linked
stereo Tracks 17 and
18 as our destination.
VS2000OMUS.book 233 ページ 2004年10月20日 水曜日 午後3時3分
 Loading...