24—Using the Rhythm Track
Roland VS-2000 Owner’s Manual www.RolandUS.com 311
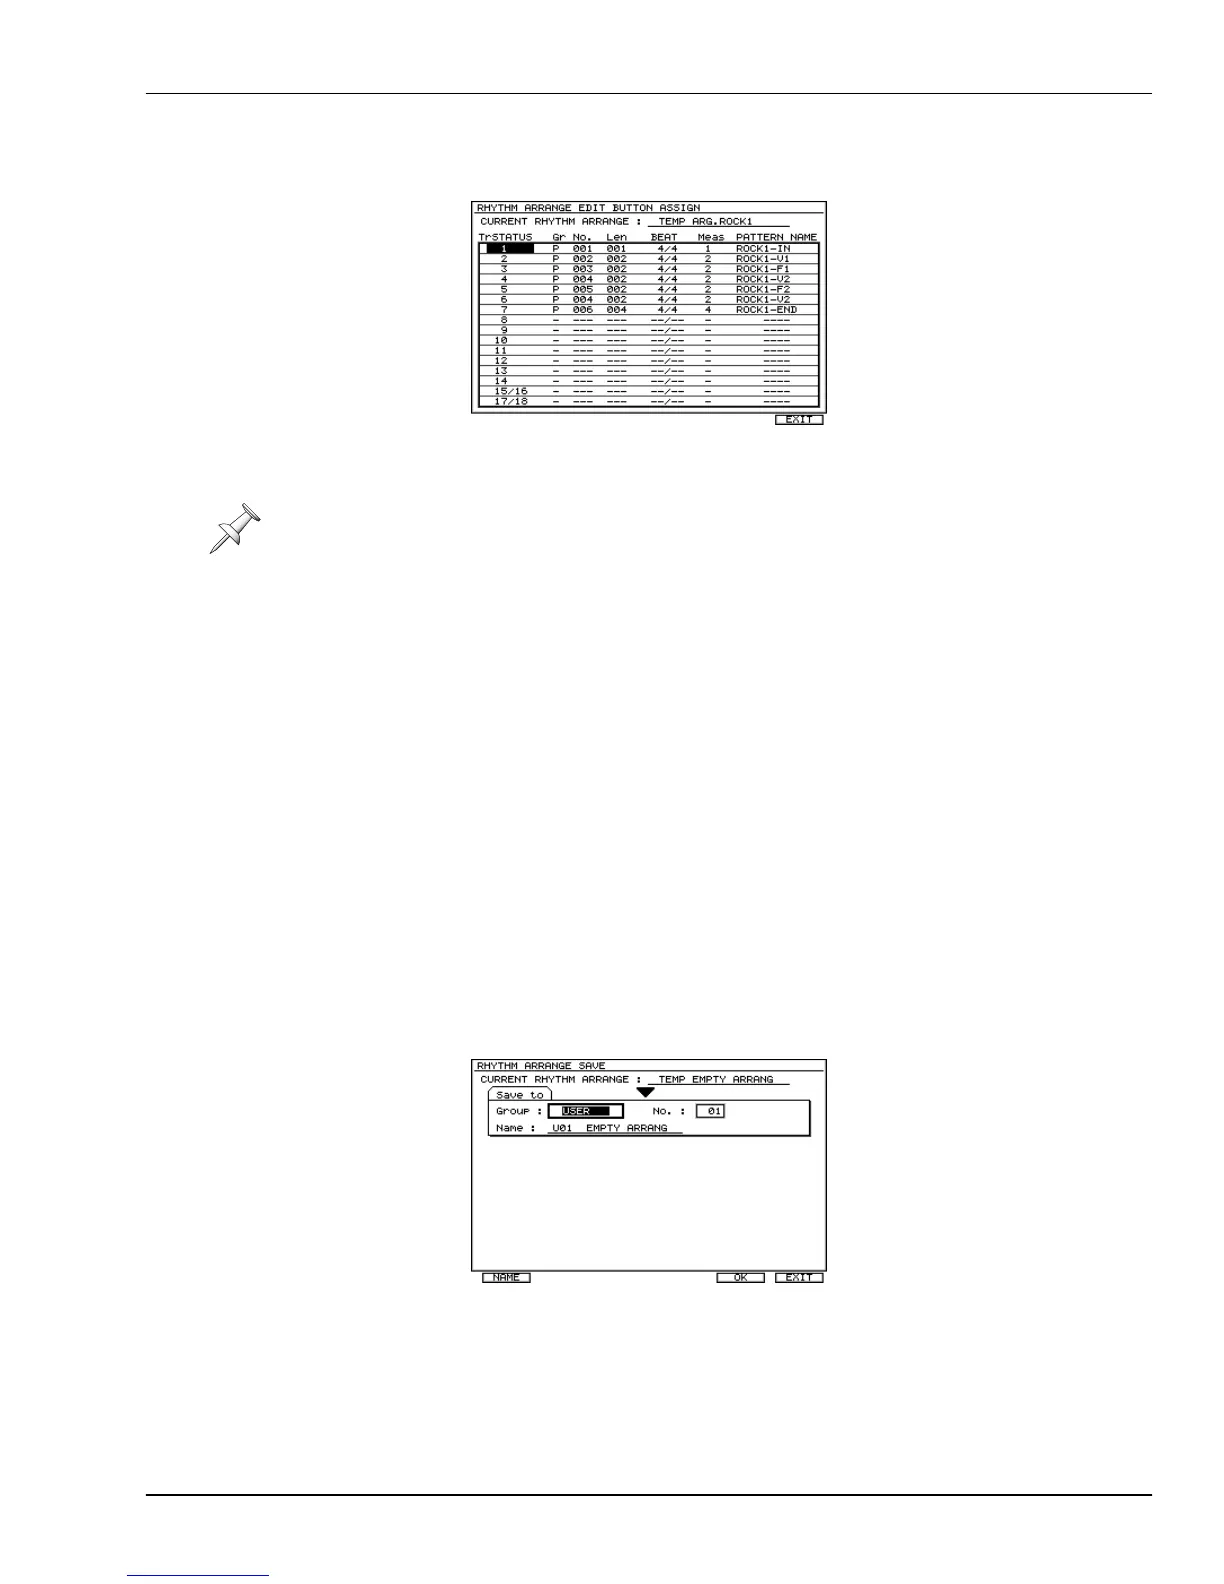
4. Press F1 (Assign), for “Switch Assign”—the RHYTHM ARRANGE EDIT BUTTON
ASSIGN screen opens.
5. For each TRACK/STATUS button shown in the left-hand column, select a pattern
and the length of measures for which you want it to play.
6. When you’re done, press F6 (EXIT) to return to the RHYTHM ARRANGE EDIT
screen.
7. Set MEASURE to the first measure at which you want to enter a pattern.
8. When you are creating Rhythm Arrange pressing TRACK/STATUS button, the
current position specified at “MEASURE” moves for length specified at “Len” in
RHYTHM ARRANGE BUTTON ASSIGN screen.
9. Press the desired pattern’s TRACK/STATUS button.
10. If there is a rhythm pattern at current position and you are attempting to add new
rhythm pattern at current position, the existing Rhythm Pattern will slide for the
length of newly added Rhythm Pattern. The current position will move for the
length of newly added Rhythm Pattern accordingly.
11. Repeat Steps 7 and 9 to complete the rhythm arrange.
Saving a Rhythm Arrange
To preserve a rhythm arrange you’ve created or edited, you must save it. Here’s how:
1. When you’re ready to save a rhythm arrange, navigate to the RHYTHM ARRANGE
EDIT screen if you’re not already there (Page 315).
2. Press F5 (SAVE)—the RHYTHM ARRANGE SAVE screen appears.
3. Select the type of rhythm arrange you want to save by setting the Group parameter:
USER or PROJECT. (See Page 306 if you’re not clear on the difference between
these two groups.)
If you want a pattern to play at one length in part of the project and at a different length
in another, assign the pattern to two different TRACK/STATUS buttons, with each
button playing the pattern at the desired length.
VS2000OMUS.book 311 ページ 2004年10月20日 水曜日 午後3時3分
 Loading...