e-STUDIO350/352/353/450/452/453 © 2003 - 2008 TOSHIBA TEC CORPORATION All rights reserved
ADJUSTMENT
3 - 52
3.10 Adjustment of the RADF (MR-3015)
3.10.1 Adjustment of RADF position
It is mainly performed at the installation. It is also required when the RADF is dislocated for some rea-
son such as moving the equipment.
Remove the platen sheet during adjustment.
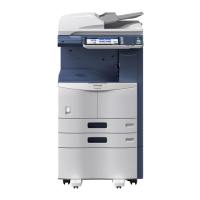
(1) Open the RADF and then attach 2 position-
ing pins to the equipment.
(The positioning pins have been attached at
the rear of the right-hand hinge of the RADF.)
Fig. 3-55
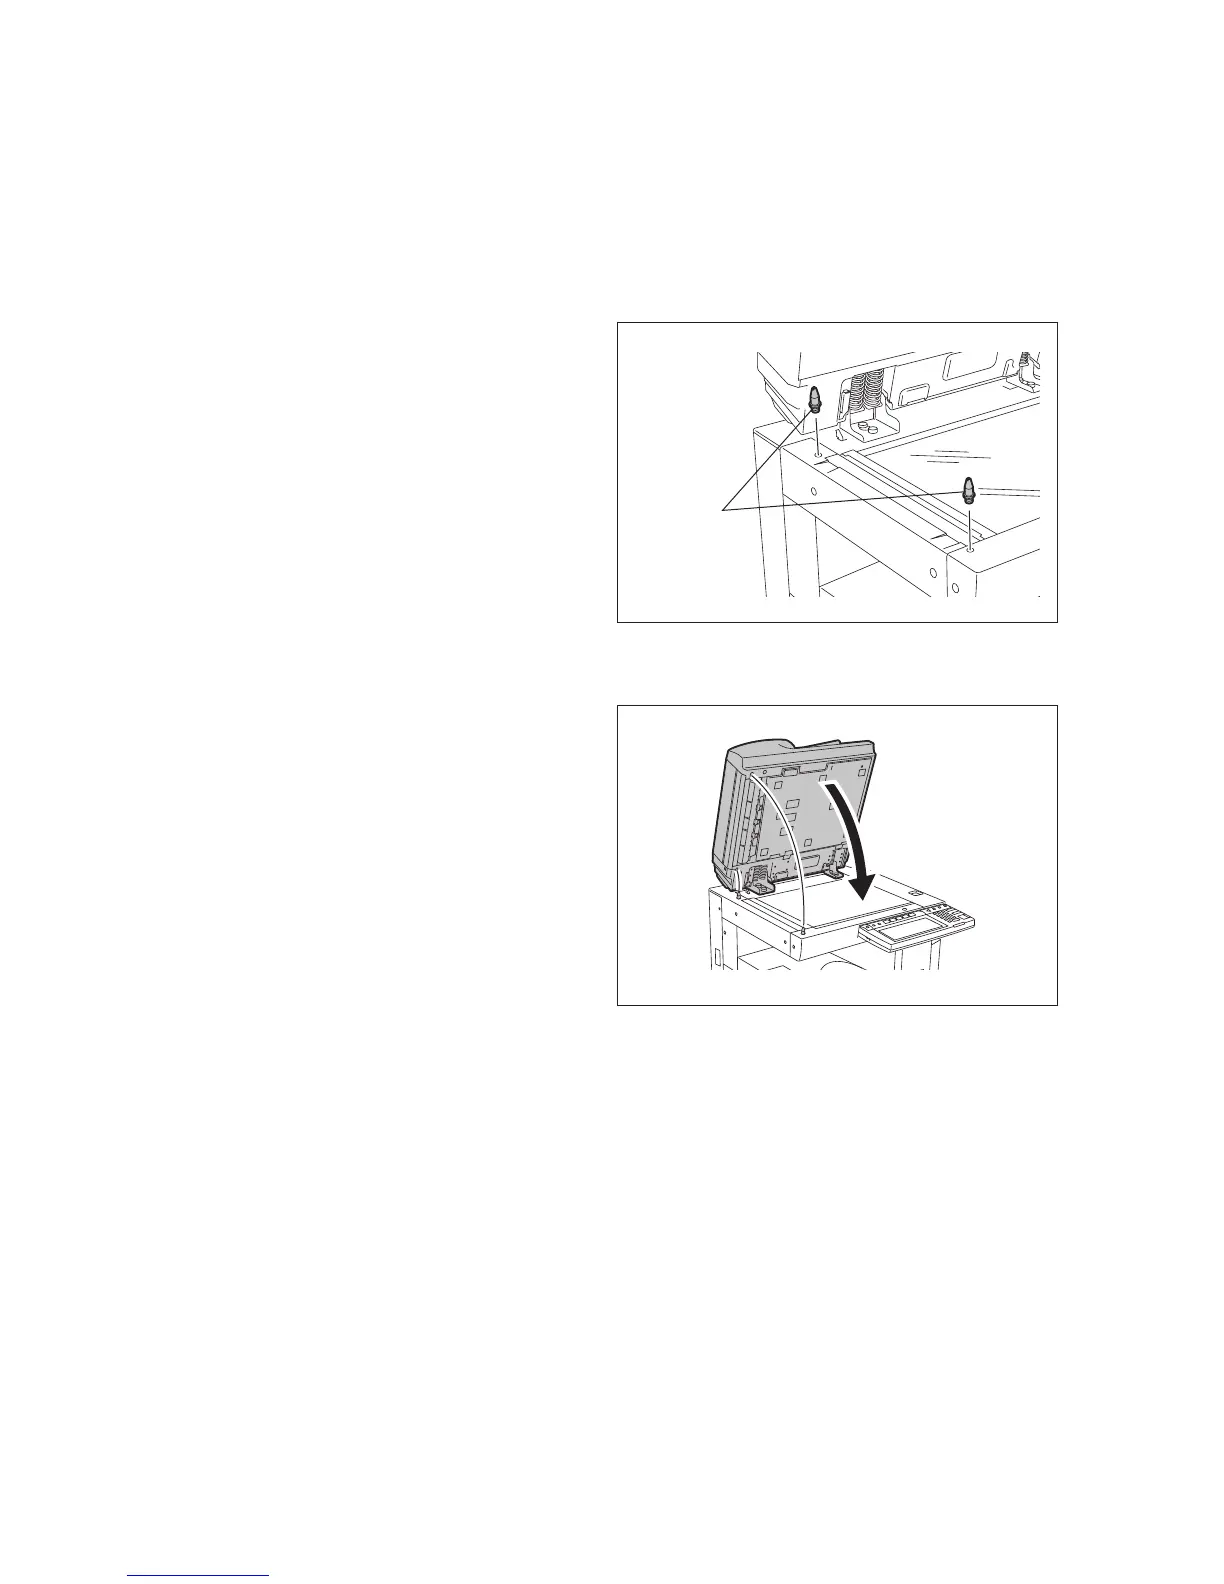
(2) Close the RADF to check that the positioning
pins fit smoothly into the holes on the RADF.
If they do not, adjust them according to the
following procedure.
Fig. 3-56
Positioning
pin

 Loading...