© 2003 - 2008 TOSHIBA TEC CORPORATION All rights reserved e-STUDIO350/352/353/450/452/453
FIRMWARE UPDATING
6 - 11
6
6.1.2 PWA-DWNLD-350-JIG1 (16 MB)
The firmware of the equipment except the hard disk and the option can be updated individually or in a
batch by using PWA-DWNLD-350-JIG1 (16 MB). Update the ROM data written on each board accord-
ing to the need such as the case of replacing the system control PC board, logic PC board, scanning
section control PC board, or NIC board.
The data to be overwritten by this update are as follows.
<Updating System ROM>
• System firmware (System firmware data, FROM internal program data)
• OS data (FROM basic section software)
• UI data (fixed section data, common section data, UI data in FROM displayed at power ON)
<Updating Engine ROM>
Engine ROM data
<Updating Scanner ROM>
Scanner ROM data
<Updating NIC ROM>
NIC ROM data
[A] Update procedure
Important:
• Use the download jig “PWA-DWNLD-350-JIG1 (16 MB)”.
(“PWA-DWNLD-350-JIG2 (48 MB)” is substitutable.)
• Turn OFF the power before installing and removing the download jig.
• Do not turn OFF the power during the update. The data could be damaged and not be oper-
ated properly.
(1) Write the ROM data to be updated to the download jig.
P. 6-20 "6.1.3 Writing the data to the download jig (PWA-DWNLD-350-JIG)"
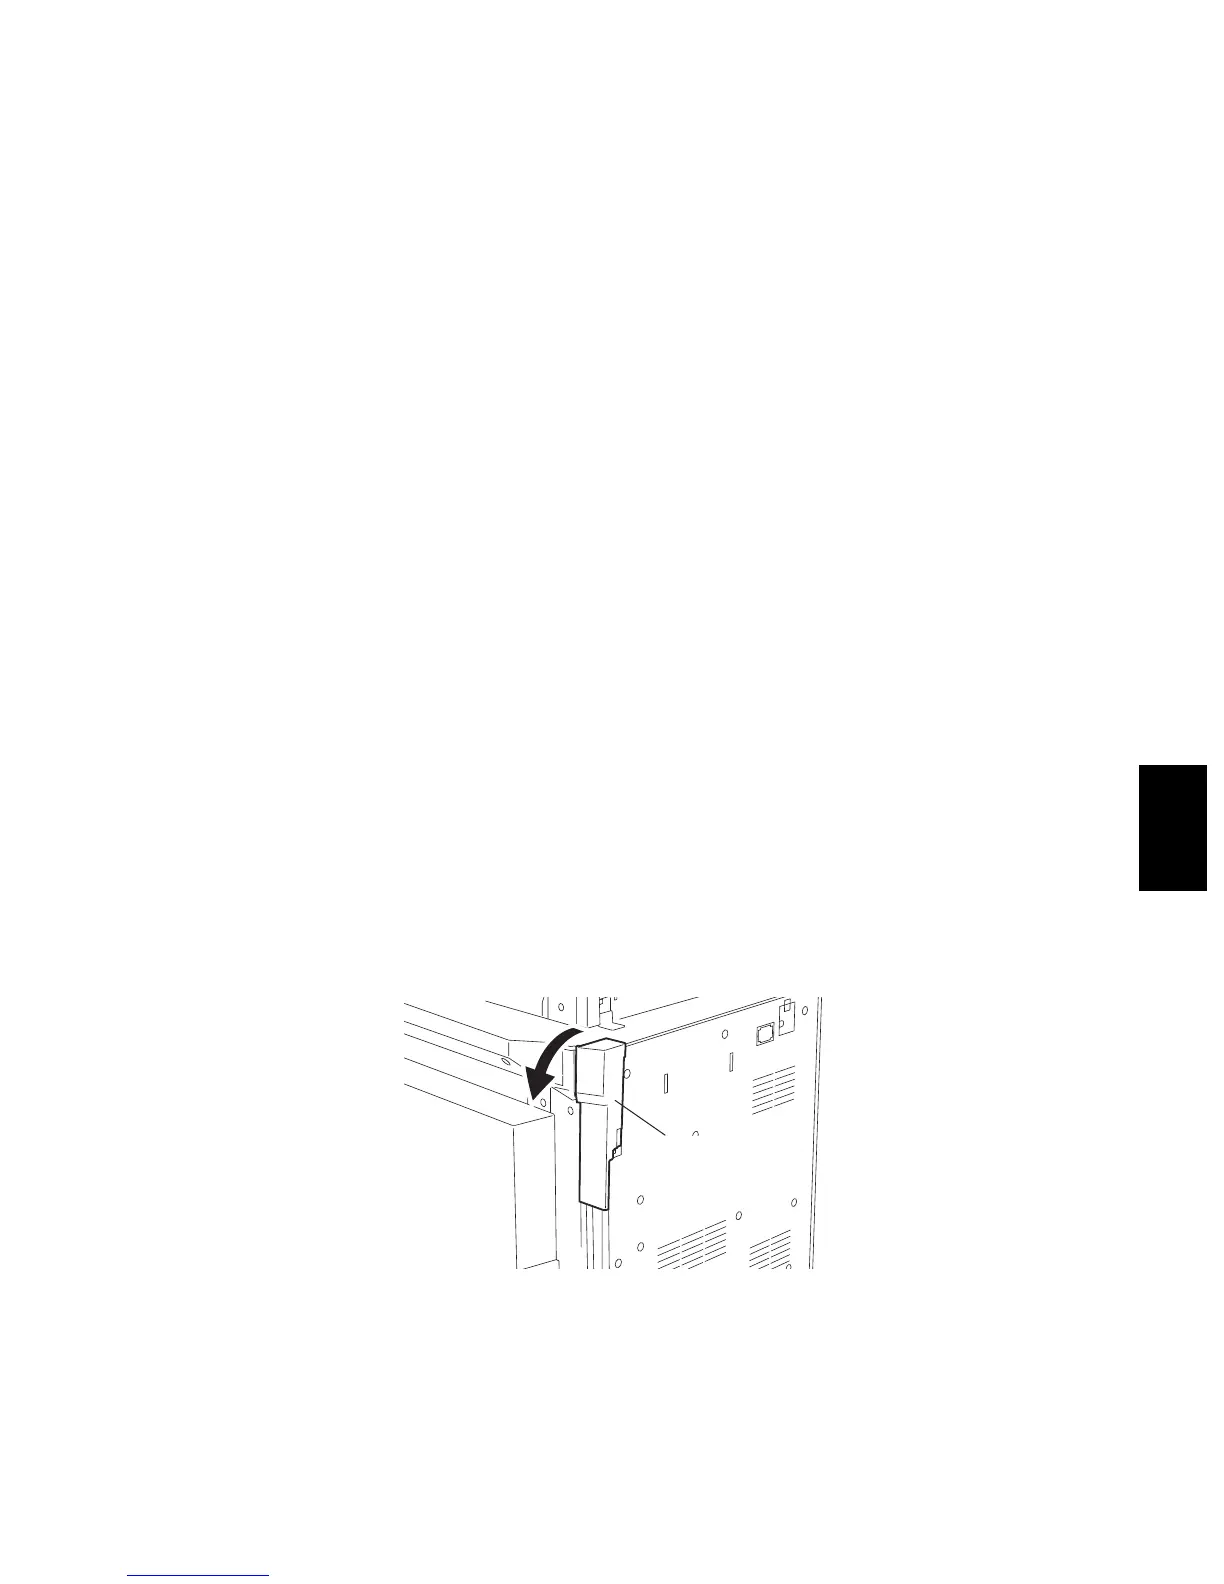
(2) Turn OFF the power of the equipment.
(3) Take off the connector cover.
Fig. 6-7
Connector cover

 Loading...