EasyManuals Logo
Home>Toshiba>All in One Printer>e-STUDIO350

Toshiba e-STUDIO350 User Manual

Toshiba e-STUDIO350
764 pages
To Next Page IconTo Next Page
To Previous Page IconTo Previous Page
Page #356 background imageLoading...
Page #356 background image
e-STUDIO350/352/353/450/452/453 © 2003 - 2008 TOSHIBA TEC CORPORATION All rights reserved
ADJUSTMENT
3 - 68
3.11 Adjustment of the RADF (MR-3018)
3.11.1 Adjustment of RADF Position
Perform this adjustment when the RADF is not installed in the correct position.
Note: Note:
Check if the image adjustment for the equipment is performed properly before this adjustment of
the RADF.
[A] Checking
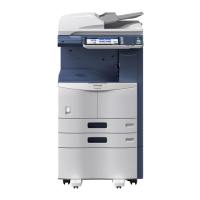
(1) Open the RADF and install 2 positioning pins
(the positioning pins are installed to the back
side of the hinge which is on the left side of
the RADF).
Fig. 3-84
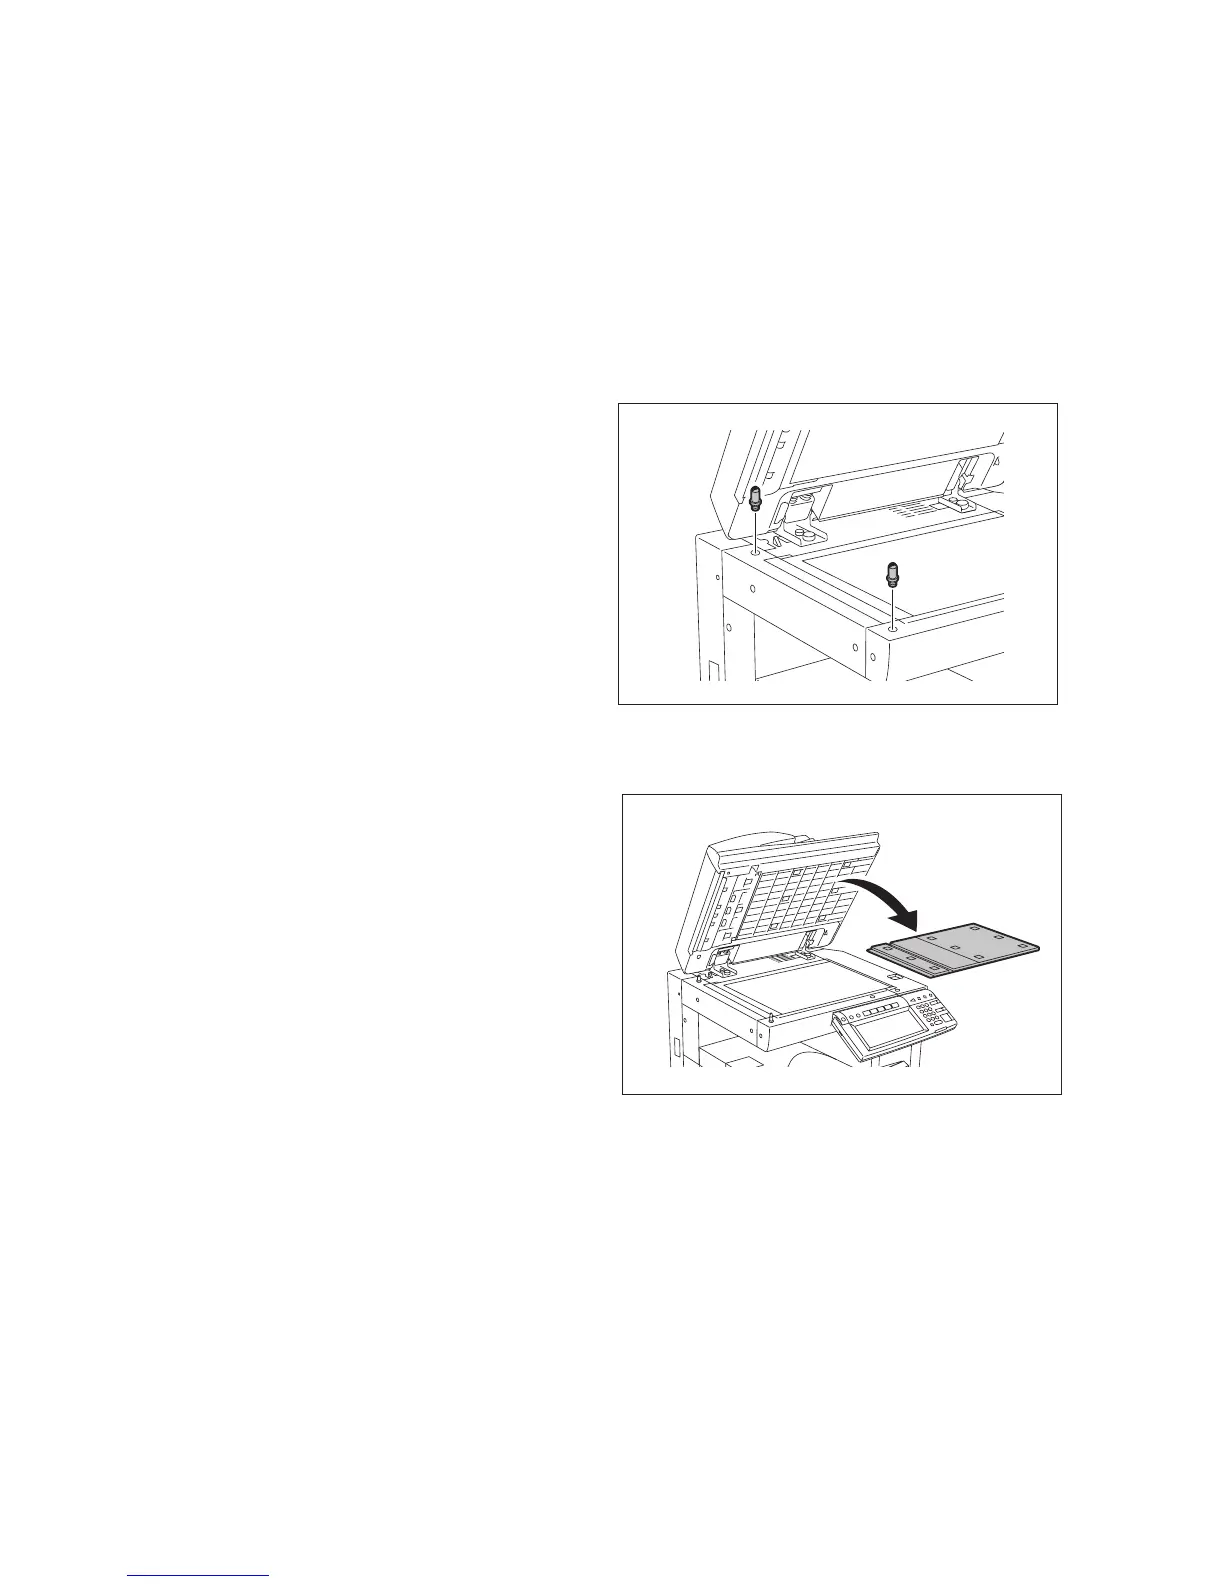
(2) Remove the platen sheet.
Fig. 3-85
05/11

Table of Contents

Other manuals for Toshiba e-STUDIO350

Questions and Answers:

Question and Answer IconNeed help?

Do you have a question about the Toshiba e-STUDIO350 and is the answer not in the manual?

Toshiba e-STUDIO350 Specifications

General IconGeneral
BrandToshiba
Modele-STUDIO350
CategoryAll in One Printer
LanguageEnglish

Related product manuals