5 Scan
186
Scan
5
Scan to Mailbox
You can scan documents and save the scanned data into a mailbox of the machine.
To use the [Scan to Mailbox] feature, select [Scan to Mailbox].
A mailbox needs to be registered beforehand. For more information on registering a mailbox, refer to
"Mailbox" (P.322).
1
Select [Scan to Mailbox] on the [All
Services] screen.
2
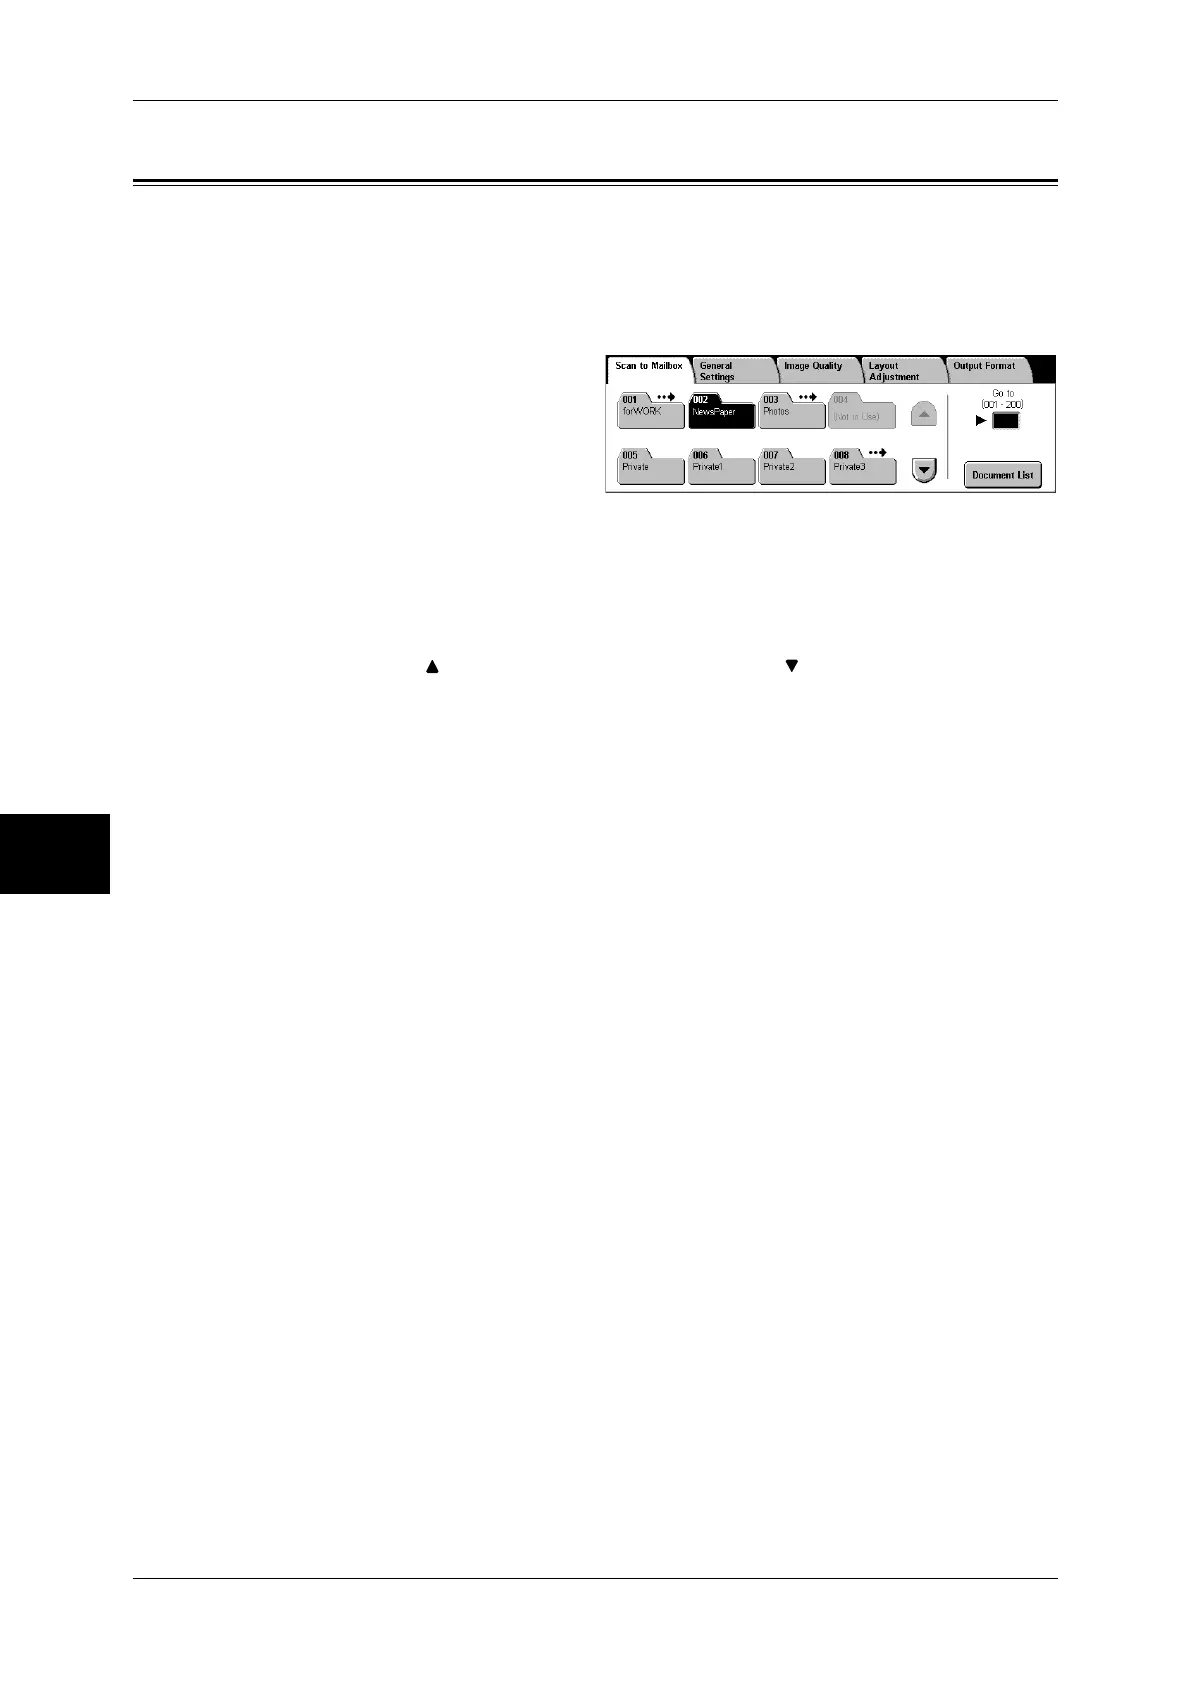
On the [Save to Mailbox] screen,
specify a mailbox to save the
scanned data in.
Note • If a passcode is set for the mailbox, the passcode entry screen may appear. Enter the
passcode and select [Confirm]. If you have forgotten the passcode, set the mailbox
passcode in the System Administration mode again.
Mailbox
Select a mailbox to save the scanned data in.
Note • Select [ ] to return to the previous screen and select [ ] to move to the next screen.
Go to
Use the numeric keypad to enter a 3-digit mailbox number. The mailbox then appears
at the top of the list.
Document List
Select a mailbox and then select this button to display the [Document List] screen. You
can confirm or delete documents stored in the mailbox.
For more information on the [Mailbox - Confirm/Delete] screen, refer to "Checking/Selecting Mailbox
Documents" (P.209).
 Loading...


