Login Setup/Auditron Administration
343
System Settings
10
Account ID Characters
If required, you can change the text “Account ID” to another name such as “AccountName” or
“Number” on the [System Administrator Login] screen that appears when the <Log In/Out>
button on the control panel is pressed. The alias can be set to 1 to 15 characters.
Note • This item appears when [Network Access] is selected in "Login Setup/Auditron Mode"
(P.346).
• The value is also reflected in report/list displays, and when accessing from CentreWare
Internet Services.
Hide Account ID (***)
You can set how an entered Account ID is shown on the screen. Use this feature to
strengthen security as required.
Note • This item appears when [Network Access] is selected in "Login Setup/Auditron Mode"
(P.346).
Show
Displays the Account ID as you entered.
Hide
Displays asterisks (∗∗∗∗∗) instead of the Account ID you entered.
Failed Access Log
In order to detect unauthorized access, an error is logged if authentication fails within a
specified period of time. Set the failure count.
Store User Details
You can set the destination to save authentication information. Select NVM or hard disk.
Note • This item appears when [Network Access] is selected in "Login Setup/Auditron Mode"
(P.346).
Charge / Private Print Settings
You can set how received print jobs should be handled.
PJL Receive Command Control
Print jobs submitted by external equipment can be controlled by PJL commands. The settings
for [Receive Control] described later are applied when either [Off] is selected or no PJL
command is received.
PJL Output Command Control
Print jobs submitted by an external equipment can be controlled by PJL commands.
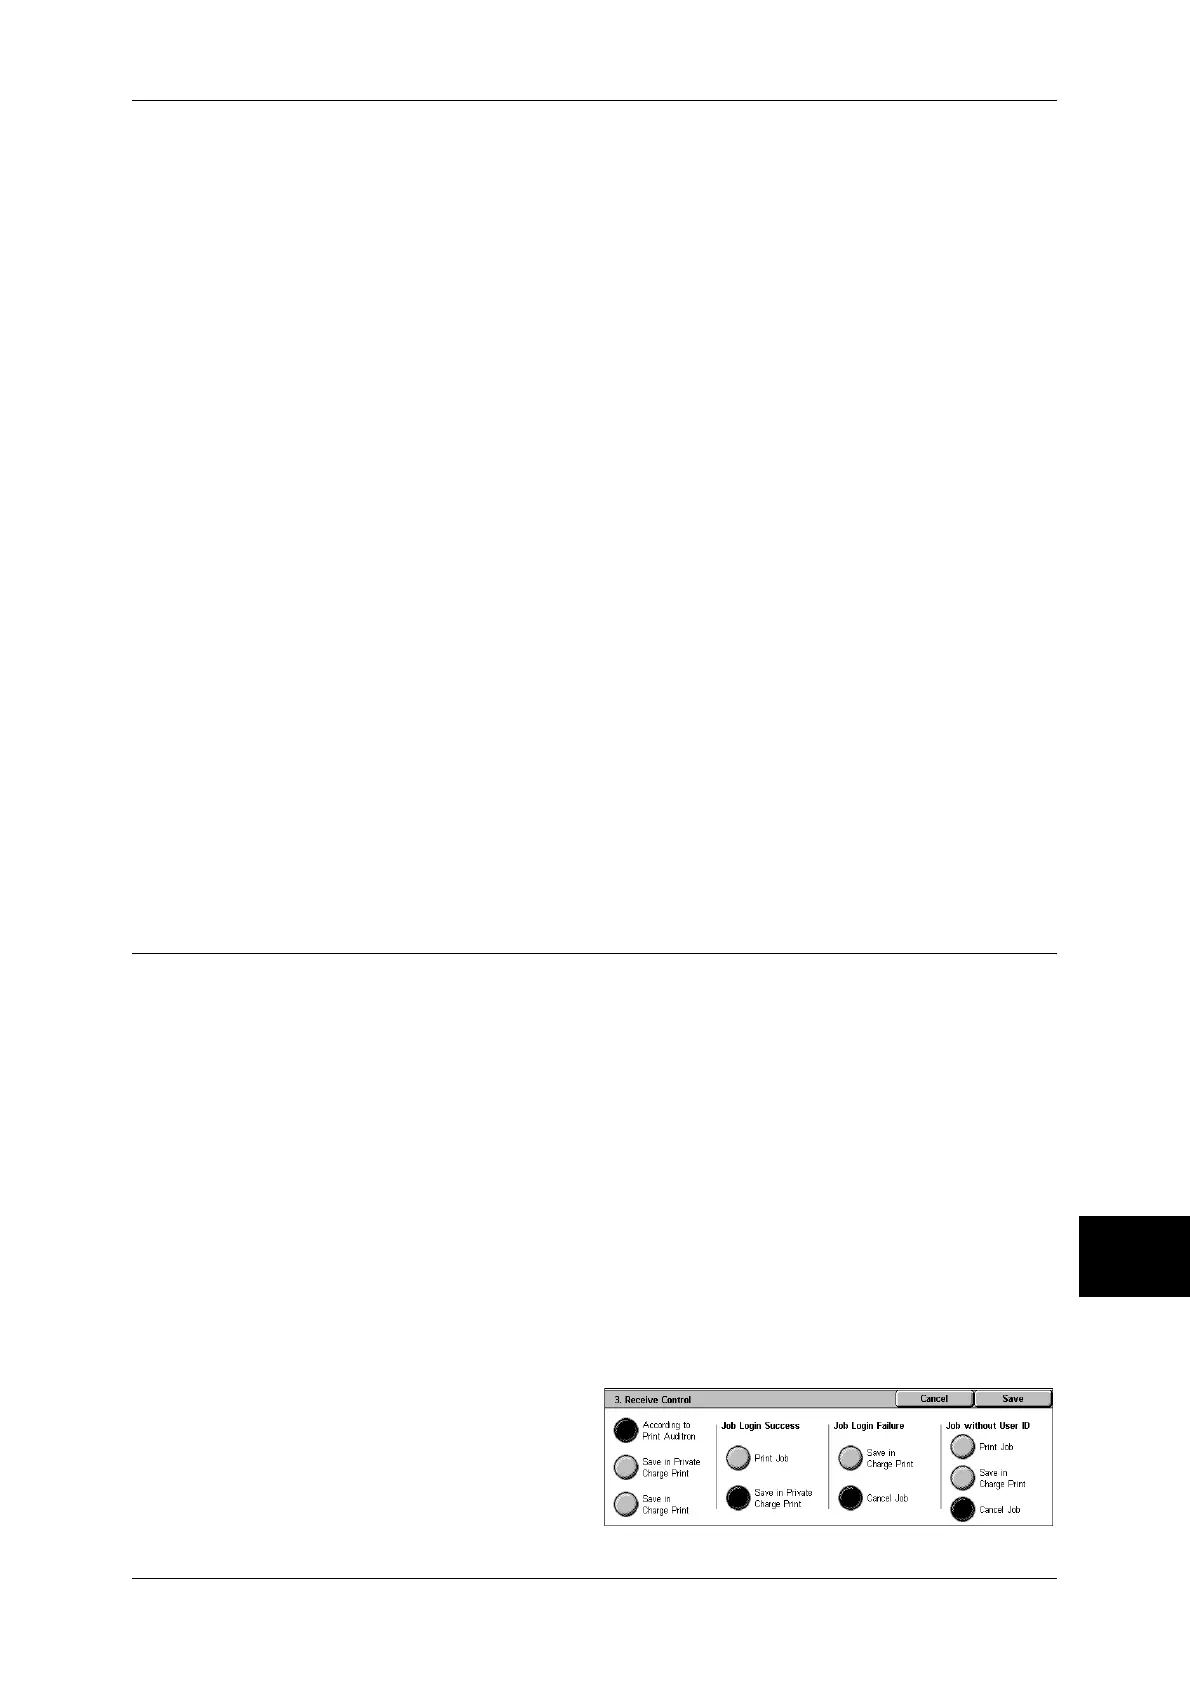
Receive Control
You can set how received print jobs should be handled.
For information about printing from a print driver, refer to "Printing" (P.230).
For information about printing or deleting the print job that are saved after being received, refer to
"Private Charge Print" (P.353) and "Charge Print" (P.355).
1
Select [Receive Control], and
select [Change Settings].
2
Select any item.
 Loading...


