Settings
116
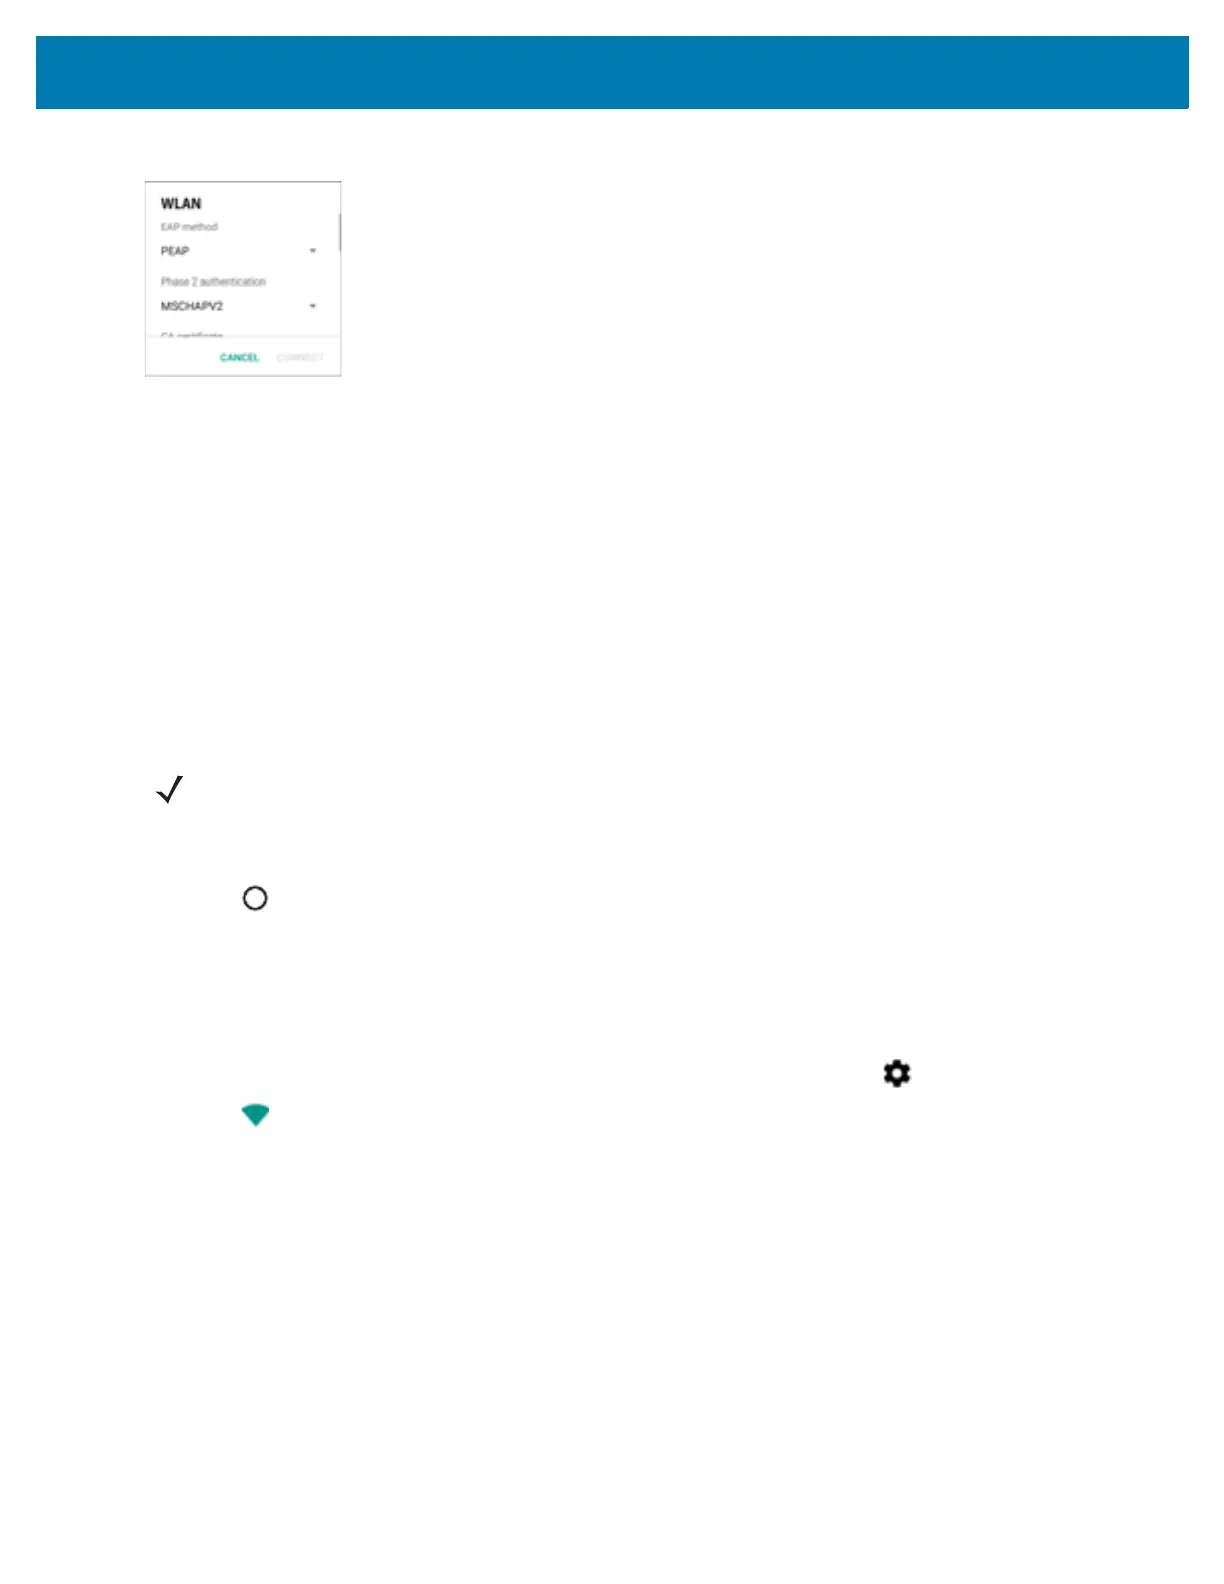
Figure 101 WLAN 802.11 EAP Network Security Dialog Box
7. If the network security is WEP or WPA/WPS2 PSK, enter the required password and then touch Connect.
8. If the network security is 802.1x EAP:
• Touch the EAP method drop-down list and select PEAP, TLS, TTLS, LEAP or FAST.
• Touch the Phase 2 authentication drop-down list and select an authentication method.
• If required, touch CA certificate and select a Certification Authority (CA) certificate. Note: Certificates are
installed using the Security settings or Wi-Fi Advanced settings.
• If required, touch User certificate and select a user certificate. Note: User certificates are installed using
the Location & security settings or Wi-Fi Advanced settings.
• If required, in the Identity text box, enter the username credentials.
• If desired, in the Anonymous identity text box, enter an anonymous identity username.
• If required, in the Password text box, enter the password for then given identity.
9. Touch Connect.
10. Touch .
Manually Adding a Wi-Fi Network
Manually add a Wi-Fi network if the network does not broadcast its name (SSID) or to add a Wi-Fi network when
out of range.
1. Swipe down from the status bar to open the quick access panel and then touch .
2. Touch Wi-Fi.
3. Slide the Wi-Fi switch to the On position.
4. Scroll to the bottom of the list and select Add network.
5. In the Network name text box, enter the name of the Wi-Fi network.
6. In the Security drop-down list, select the type of security. Options:
• None
• WEP
• WPA/WPA2 PSK
• 802.1x EAP.
7. If the network security is None, touch Save.
8. If the network security is WEP or WPA/WPA2 PSK, enter the required password and then touch Save.
NOTE: By default, the network Proxy is set to None and the IP settings is set to DHCP. See Configuring for a Proxy
Server on page 117 for setting connection to a proxy server and see Configuring the Device to Use a Static IP
Address on page 118 for setting the device to use a static IP address.
 Loading...