Application Deployment
142
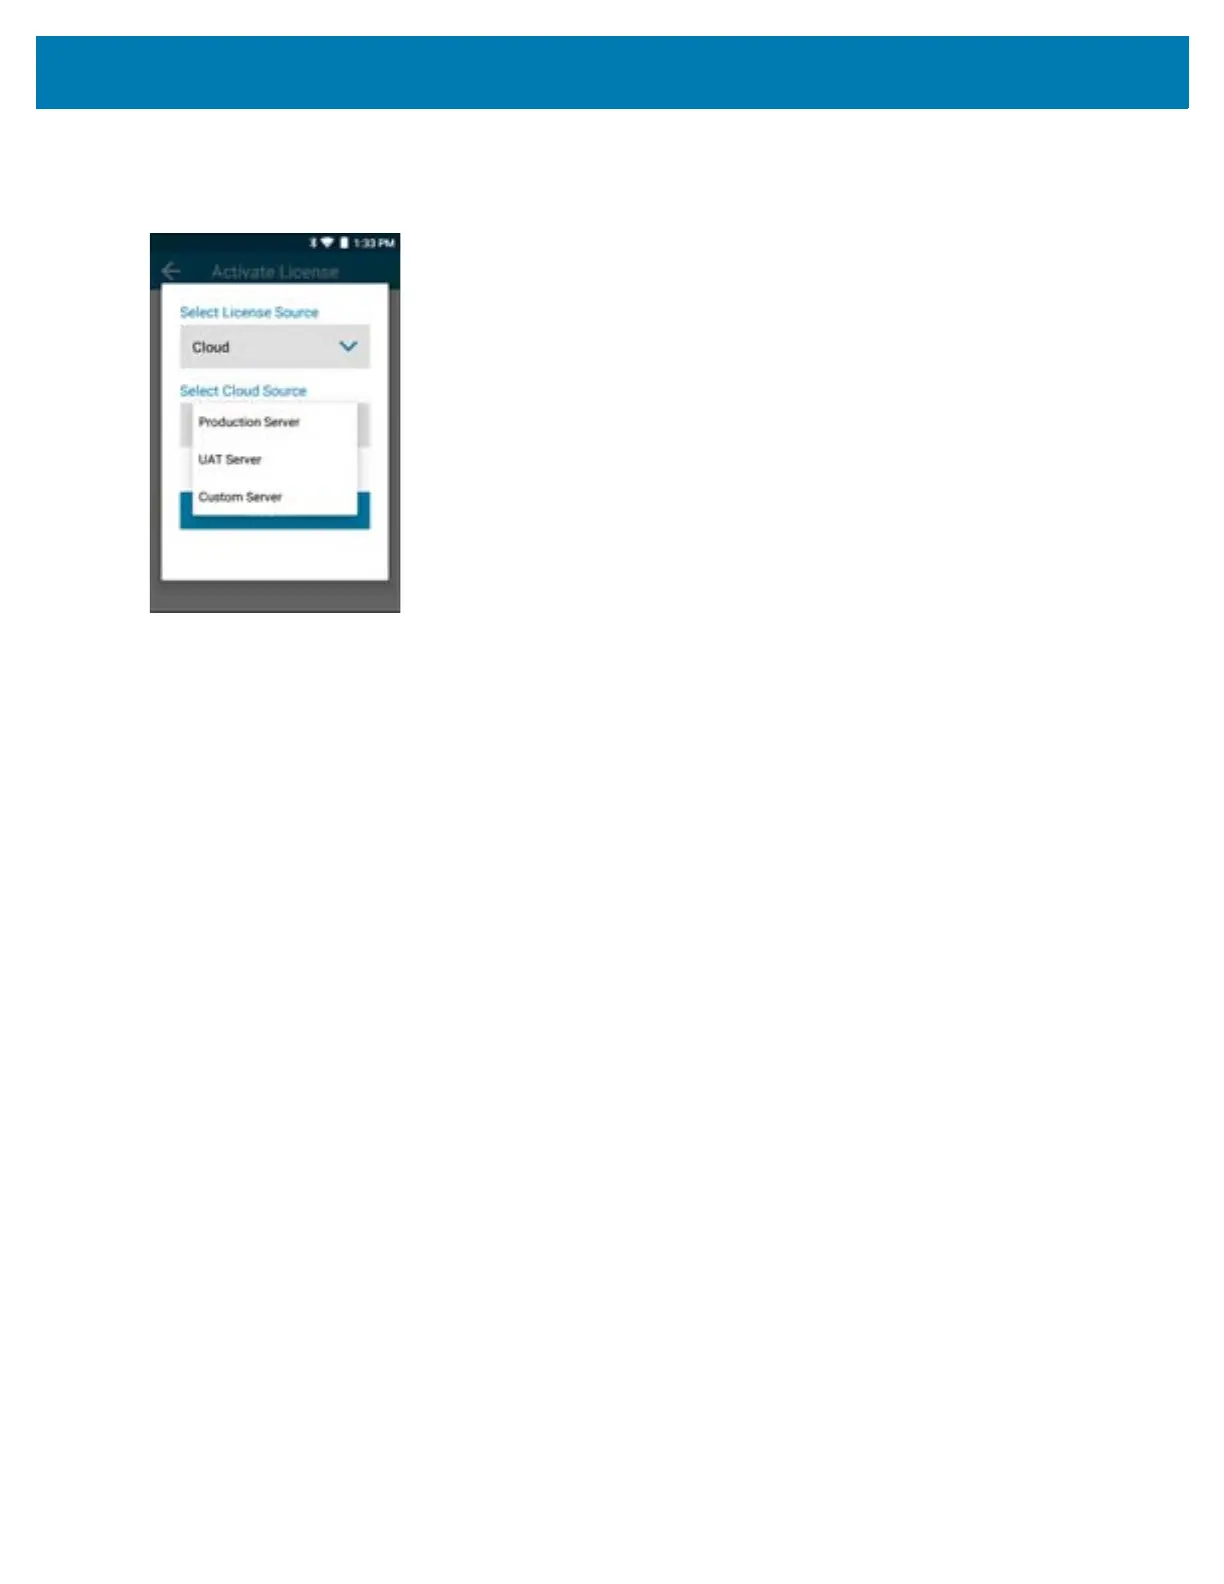
• Custom Server
Figure 125 Select Cloud Source Options
8. Enter the URL of the license source. This field only displays when the user is given the option to add a new
license source for Custom Server and Local Server. This field is visible while viewing any user-added license
source which will be read-only.
9. Enter Name. This field only displays when the user is given the option to add a new license source for Custom
Server and Local Server. A valid unique name of the license source must be entered. This field is visible while
viewing any user-added license source. The name added in this field is added to the list of license sources
saved on the device.
10. Touch Submit.
The application validates the information and connects to the selected License Source, and displays whether
the license activation was successful or not.
If the license activation is successful, the activated license information displays in the form of a card on the
License Manager Home screen.
All of the license rights displayed on the License Manager Home screen are available for acquisition on the
device.
Add License Source
The user has the option to add a new Custom Server or a Local Server license source. New license sources can
be added from the Activate License screen or from the License Source Settings screen.
To add a new license source from the Activate License screen:
1. Add a License Source (Local or Custom):
Local: From the Select License Source drop-down list, select Local Server to add a local license source.
Custom: From the Select License Source drop-down list, select Cloud and from the Select Cloud Source
drop-down list, select Custom Server.
 Loading...