163
Corrective Maintenance
Print Mechanism
8/9/07 ZM400/ZM600 Maintenance Manual 14207L-001 A
5. Connect the printhead power cable to J3 on the power supply board.
6. Install the printhead cable into the four flat cable clips.
7. Route the printhead data cable under the MLB mounting bracket and then connect it to
P19 on the MLB.
8. Install the printhead data cable into the flat cable clip on the base of the printer.
9. Connect the ground strap from the print mechanism to the printer.
Reinstall the Electronics Cover
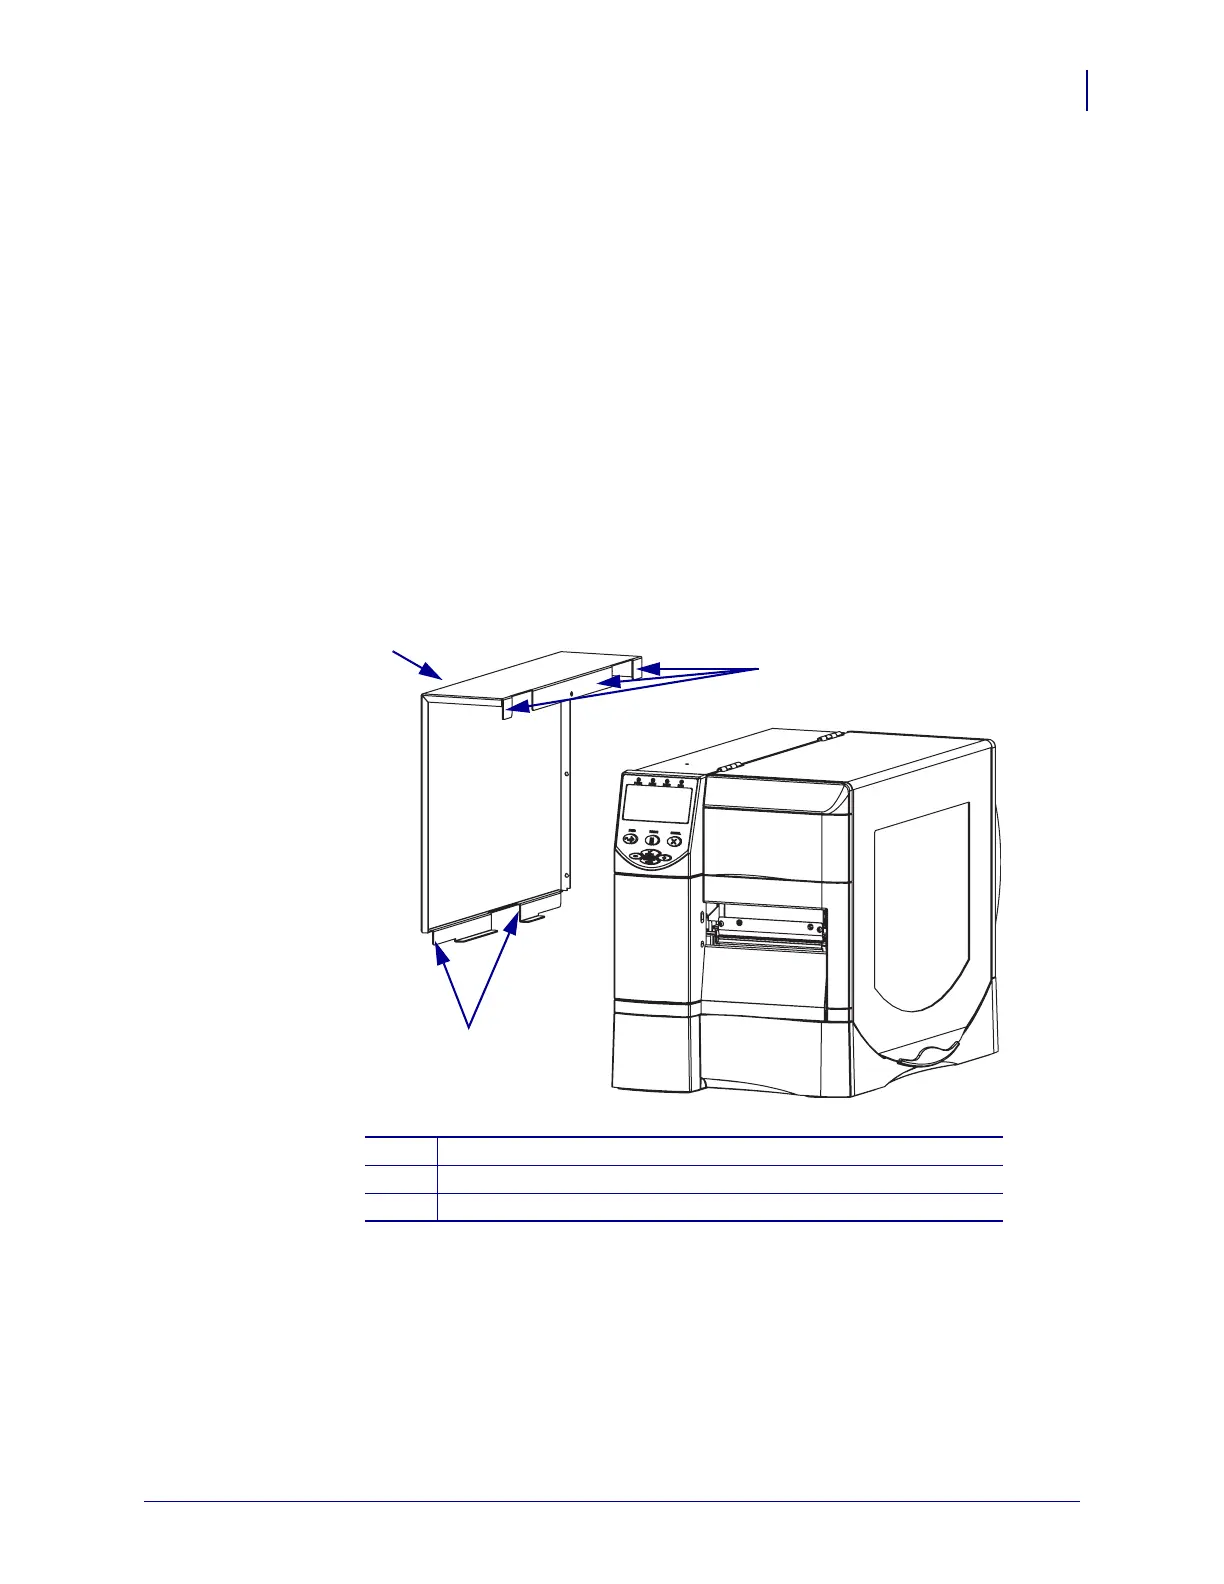
1. See Figure 42. Install the electronics cover by aligning it and sliding down, ensuring the
lower flanges are inside the base and the upper flanges are between the main frame and the
media door.
Figure 42 • Locate the Upper and Lower Flanges
2. See Figure 33 on page 155. Install the four mounting screws.
3. See Figure 32 on page 154. Open the media door.
4. Install the electronics cover mounting screw and lock washer.
1
Electronics cover
2
Upper flanges (3)
3
Lower flanges (2)
2
1
3
 Loading...