Corrective Maintenance
Main Logic Board
404
14207L-001 A ZM400/ZM600 Maintenance Manual 8/9/07
Reinstall the Electronics Cover
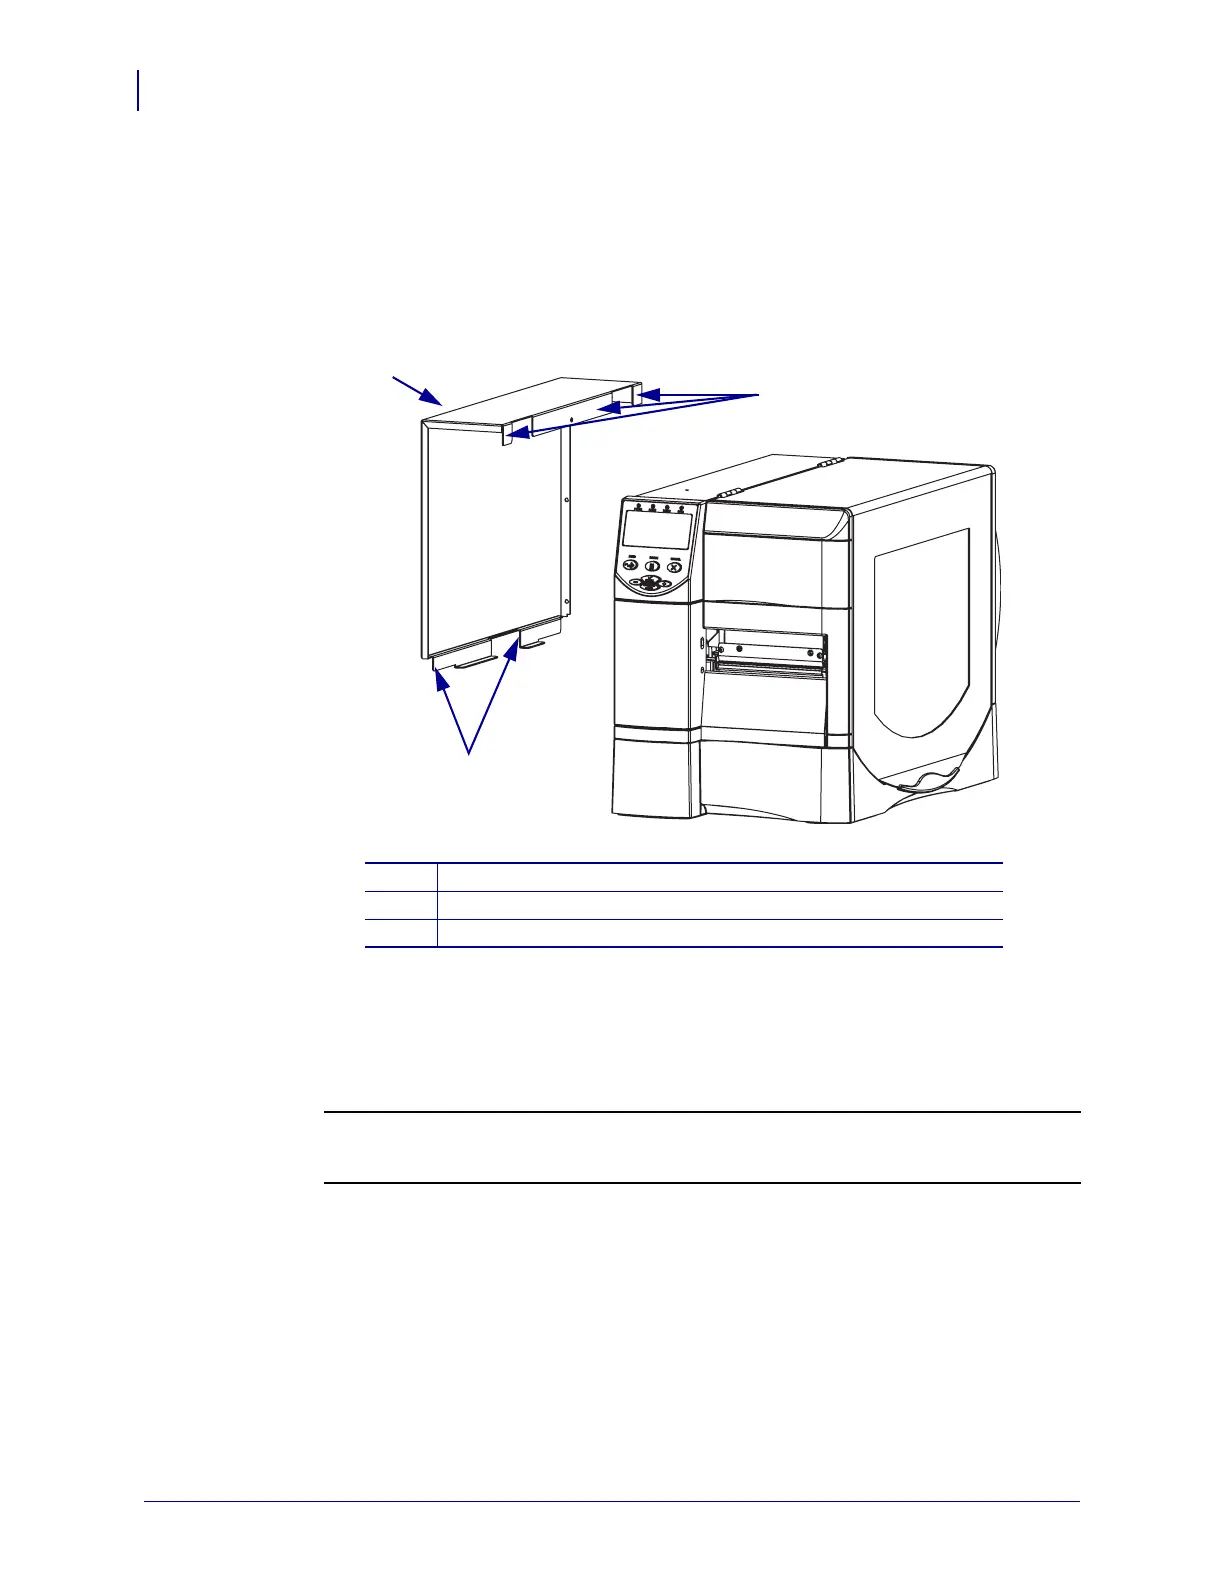
1. See Figure 261. Install the electronics cover by aligning it and sliding down, ensuring the
lower flanges are inside the base and the upper flanges are between the main frame and the
media door.
Figure 261 • Locate the Upper and Lower Flanges
2. See Figure 252 on page 396. Install the four mounting screws.
3. See Figure 251 on page 395. Open the media door.
4. Install the electronics cover mounting screw and lock washer.
5.
6.
Reconnect the AC power cord and data cables.
7. Turn on (l) the printer. The printer performs the POST, and then displays PRINTER
READY.
8. Press SETUP/EXIT two times.
1
Electronics cover
2
Upper flanges (3)
3
Lower flanges (2)
2
1
3
Caution • When you are loading media or ribbon, remove all jewelry that could come
into contact with the printhead or other printer parts.
Reinstall the media and ribbon.
 Loading...