4 Fax
120
Fax
4
Important • One touch buttons have sensors. The sensors recognize the address numbers from 001 to
030, 031 to 060, and 061 to 070. Press a one touch button after turning over the one-touch
panel completely and removing your hand from the panel. Do not touch a one touch button
while you are turning over the panel.
• Do not put a label (such as a recipient label) to the one touch button panel or one touch
buttons.
• Take care not to place an object or spill liquid on or near the one touch buttons.
1 Press a one touch button. Confirm
that the recipient (fax number)
specified with the one touch button
is displayed on the touch screen.
Note • One touch buttons correspond
to the address numbers from
001 to 070.
• Repeat this step to specify
multiple recipients.
• Turn the one touch button
panel over to press one touch
buttons 031 and above.
Specifying a Destination using the Keyboard Screen
When the Additional G3 Port Kit (optional) is installed, you can set the line (port) and
send faxes. Local terminal information can be registered to each line. You can use a
line for your purpose.
For information on local terminal information, refer to "Local Terminal Information" (P.324).
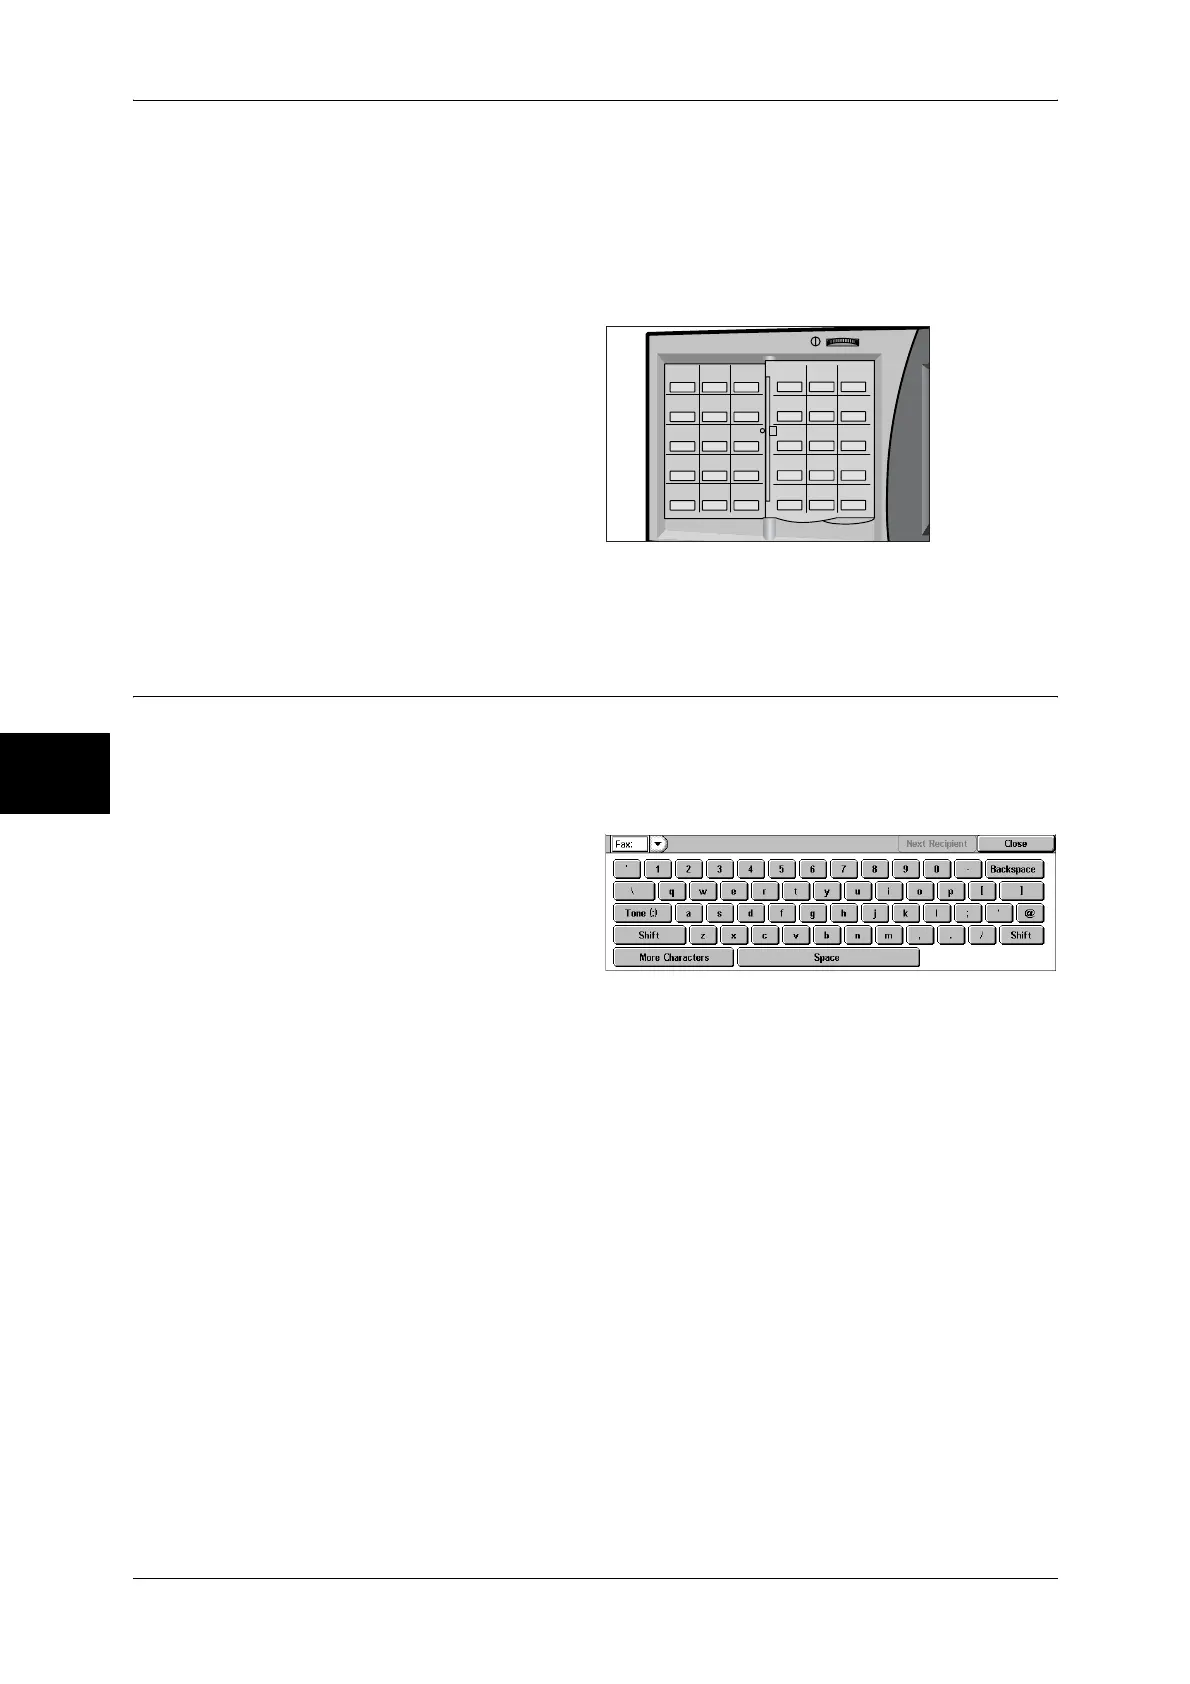
1 Select [Keyboard].
2 Enter "<", "port number", ">", and
recipient’s "telephone number" with
the keyboard that appears on the
touch screen.
Note •When the Fax Server feature is used, a destination must be less than 50 characters long and
available characters are as follows:
0 to 9 Numeric characters
- Pause
# A starting character for a group number
\ A delimiter for private data. Using this character before and after private data
hides the destination string.
S A character for password verification
: DTMF signal
= A character to wait for dial tones
+ Available, but ignored
(Space) Available, but ignored
For more Information, refer to the documentation provided with Fax Server Kit.
3 Press the <Start> button.
Note • The port numbers are "1", line 2 (LINE 2 jack) J "2" and line 4 (LINE 4 jack) J "4".
• You can specify line 2 and line 4 when an option is installed.
001 002 003
004 005 006
007 008 009
010 011 012
013 014 015
016 017 018
019 020 021
022 023 024
025 026 027
028 029 030
 Loading...