4-9
TMS9000-2 OPERATOR MANUAL OPERATING PROCEDURES
Published 02-21-2019, Control # 611-05
Rectangular Vents
Heating System Automatic Operation
Setting the day and time
Always set the current time and current day of the week.
These settings are required for the correct activation point of
the automatic start.
If the power supply is interrupted, all symbols in the display
will flash and you must set the time and day again.
Press the button (3, Figure 4-2) for longer than 2 seconds.
The displayed time flashes.
Set the current time on the flashing display, e.g. 14:00 –
button (6) or (7).
Wait for 5 seconds. The new time is saved and then the
weekday flashes, e.g. MO for Monday (Figure 4-6).
Set the current weekday on the flashing display – button (6,
Figure 4-2) or (7).
After 5 seconds, the display stops flashing and the current
time is displayed. The weekday goes out.
The time and weekday have now been set.
Storing the heating start
Heating is started automatically on schedule only if the time
and the day of the week have been correctly set refer to
page 4-9.
You can set three different automatic heating starts – up to
seven days in advance.
NOTE: If you call up values in order to change them during
the following setting process, they flash for 5
seconds. The entry must be made within this
period. The value stops flashing after 5 seconds
and is saved as the new value.
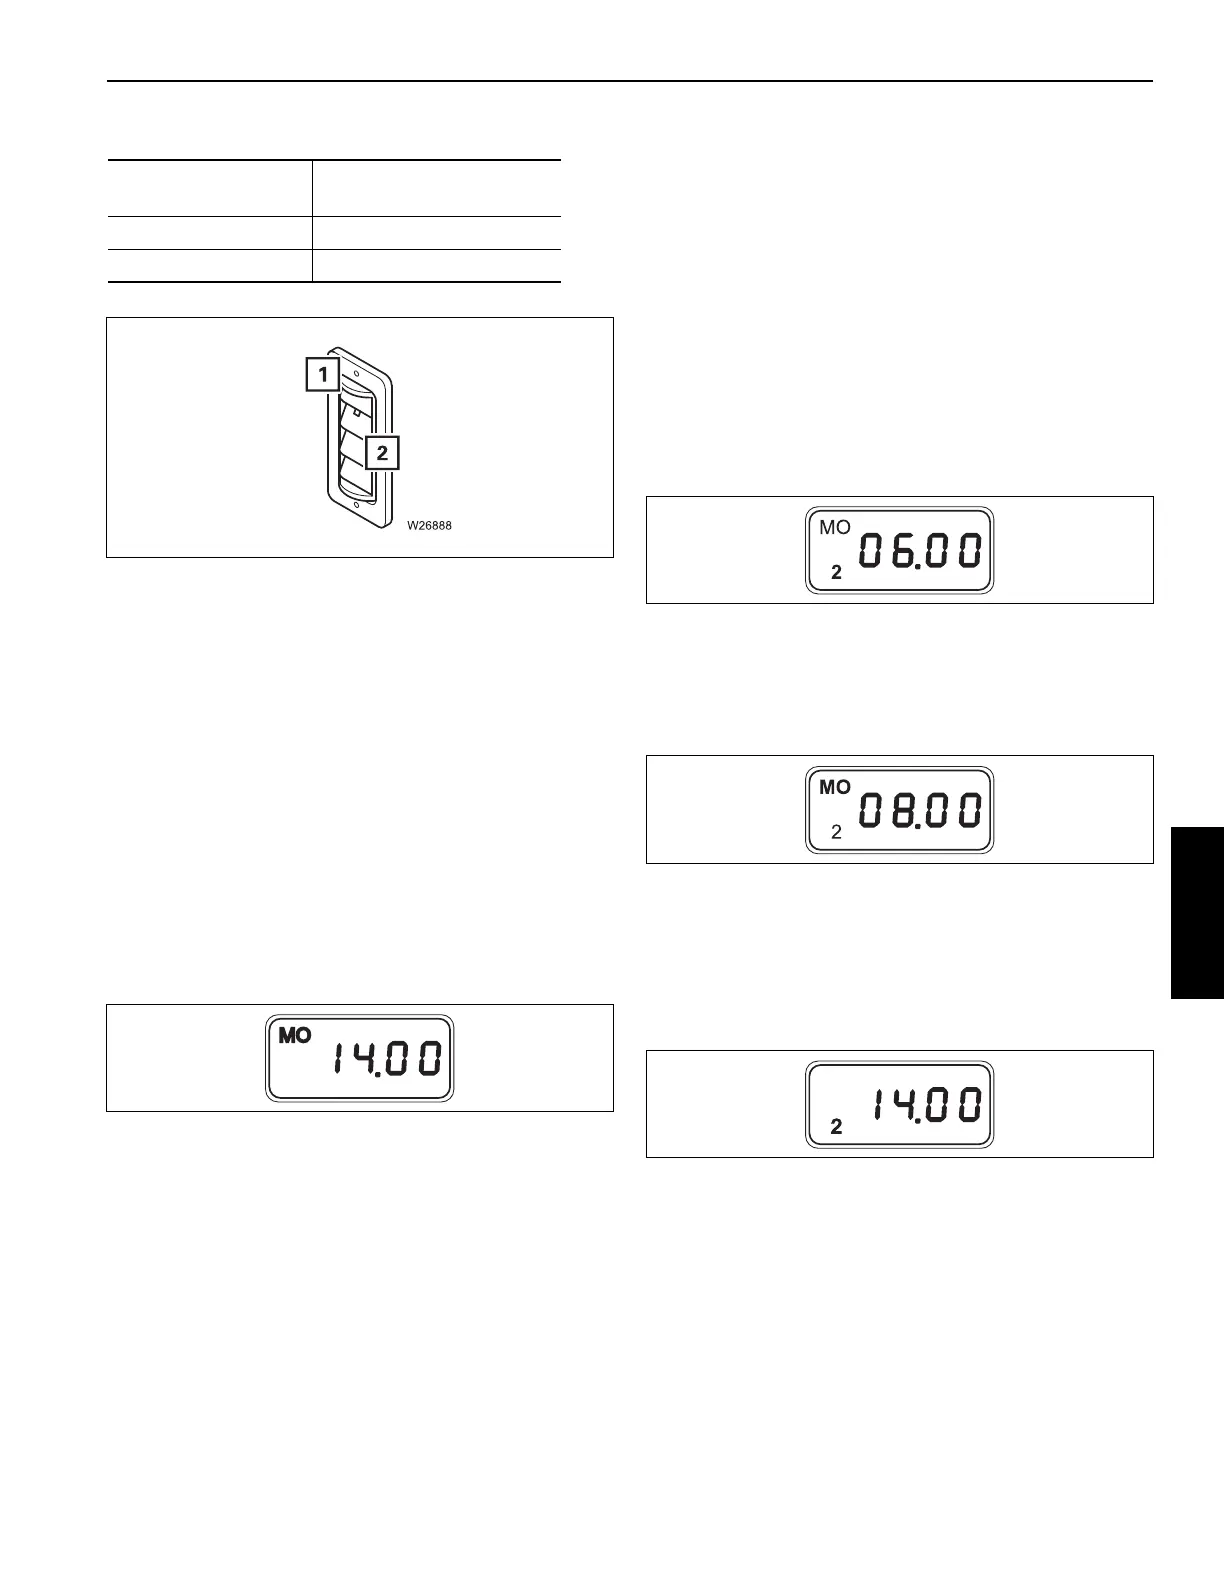
To retrieve a storage location, press the button (4,
Figure 4-2) once.
The following flash:
• the retrieved storage location, e.g. 2 (Figure 4-7)
• the last saved heating start, e.g. 6:00.
Set the time for the desired heating start e.g. 8:00 – button
(6, Figure 4-2) or (7)
Wait for approx. 5 seconds until the weekday for the heating
start flashes, e.g. MO for Monday (Figure 4-8).
Set the weekday for the desired heating start – button (6,
Figure 4-2) or (7).
Wait for approx. 5 seconds until the current time is displayed,
e.g. 14:00 (Figure 4-9).
Now, the new heating start has been saved and switched on.
NOTE: If you wish to store one or two more heating starts,
retrieve a new storage location using the button (3)
and repeat the procedure.
After you have saved the heating start, you can also set the
heating period, by doing the following procedure.
Setting the heating period
After an automatic start, the heating system will switch off
automatically as soon as the set heating period has elapsed.
The heating period applies to all saved heating starts.
To open the vent:
Raise the fins (2,
Figure 4-5)
To direct the air flow: Turn the ring (1)/adjust fins
To close the vent: Lower the fins (2)