9-2 Structure and Assembly/Disassembly
Rear cover
IO module
Receiving
board
CPU
module
System boards
Transmi
ssion
Board
A
Signal
process
ing
board
CW
board
Transmi
ssion
Board
B
Probe board
assembly
IO board
WIFI board
Connecting
board
Front cover
ECG module
Probe
board
Minor panel
module
Control panel
module
Trackb
all
module
TGC
module
Contr
ol
panel
Monitor
assembly
10.4
inch
display
module
Touch
screen
Hard disk
4D&T
EE
board
AC-DC
power
board
DC-DC
power
module
fan
Digital
key
-board
module
Six in
One
encoder
module
Keyboard PCBA
USB
/MIC
module
Minor
Keyboard
Module
Minor
panel
six in
one
encoder
module
LCD
control
board
Display
assembly
Inverter
board
Adjust
ment
Key
Board
Front
cover
module
Remarks:
1.The lengthways shows assemble and
disassemble sequences.
2.The top same blogs show independent
assemble and disassemble.
Digital
board
assembly
9.3.1 Connecting Board
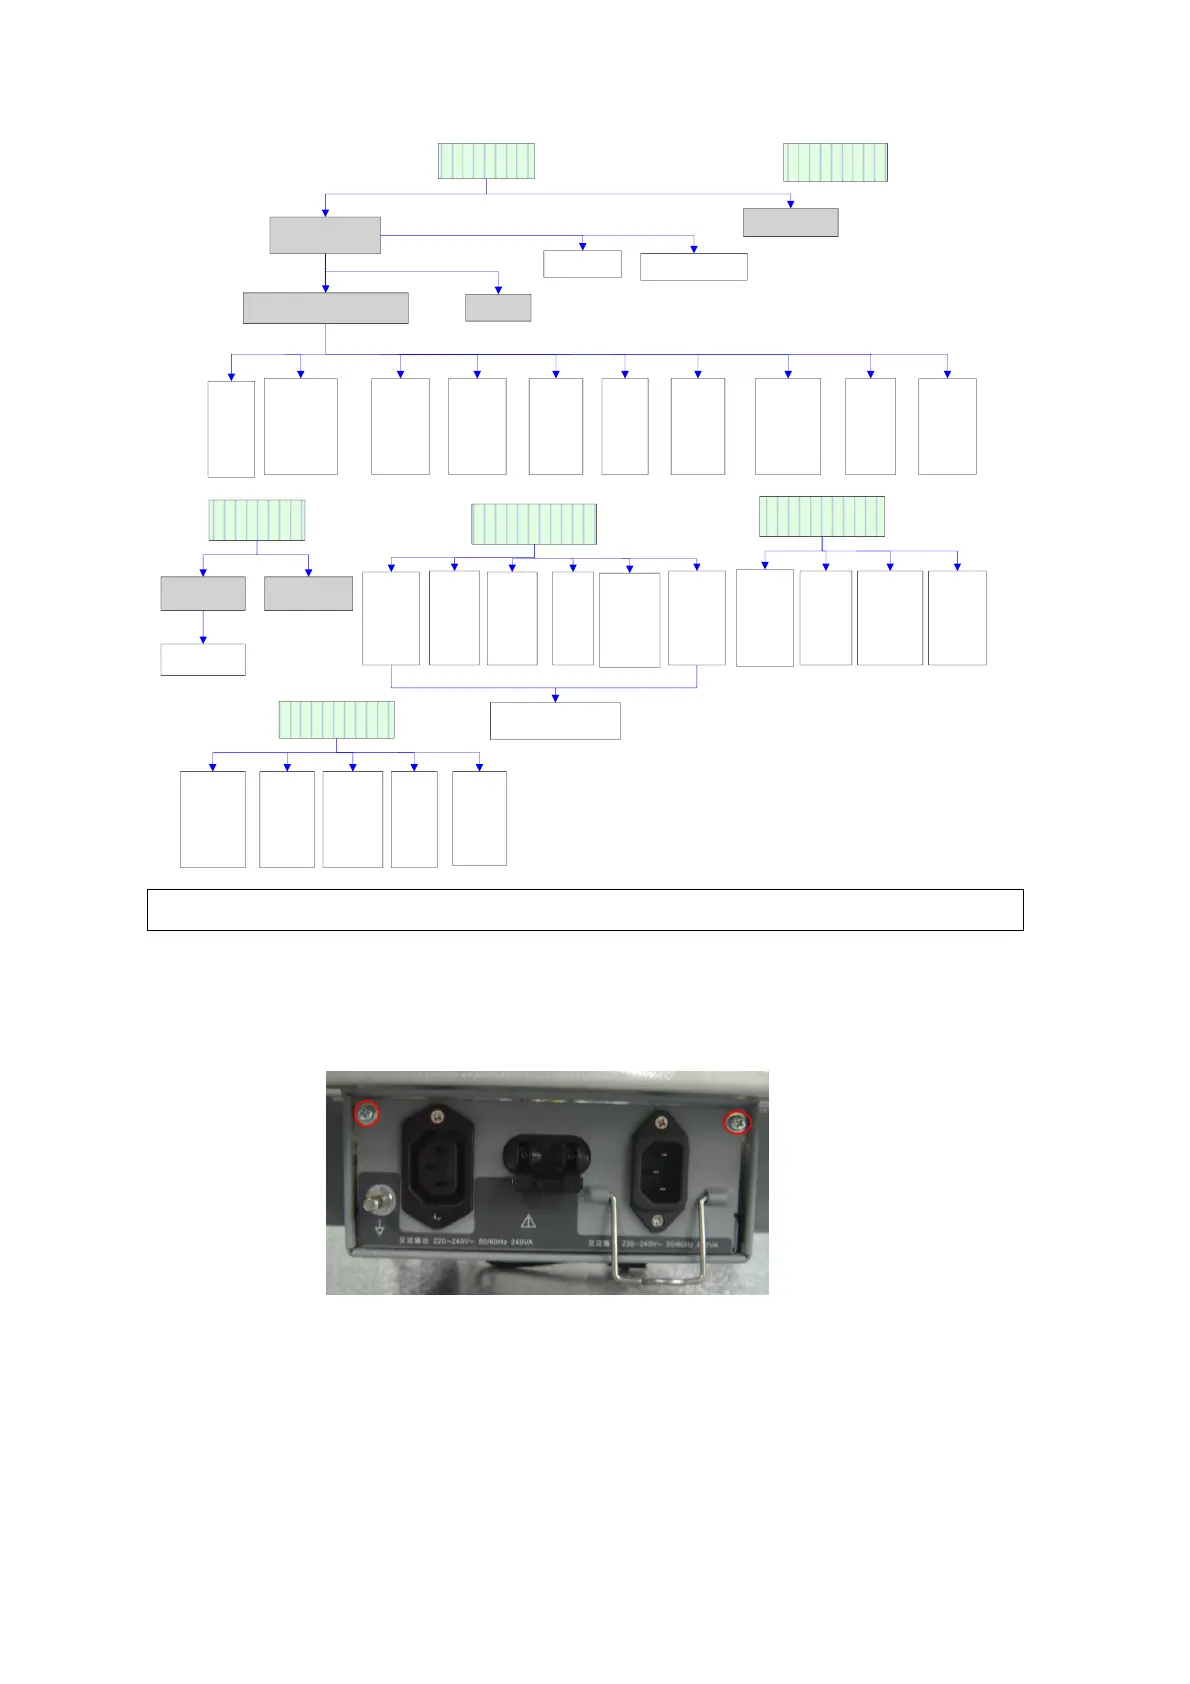
1. Unscrew the M4x8 screws (2 pcs) fixing the power input assembly.
Hold the buckles of power wire and pull out power input assembly in the horizontal direction.
Remove one screw and four plugs of cable as follows, and then power input module could be
removed.
Figures below are for reference. Please take actual equipment as a standard.

 Loading...


