4.13
CARBURETION
with float and seat).
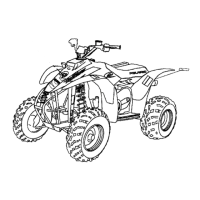
5. Carefully inspect float bowl gasket and replace if
necessary.
6. Install float bowl (16) on carburetor with water trap/drain
plug (15) and single screw (16) on the bottom of the
carburetor.
7. If throttle slide was removed, install throttle slide (11) so
that the wider face is facing the engine side of the
carburetor.
8. Install the funnel gasket (13) and funnel (12) onto the
carburetor. You will have to lift the throttle slide up and
place the smaller face into the funnel area.
9. Install funnel screws (10).
10. Install the e-clip (8) in the desired position on the jet needle
(7).
11. Slide the plastic washer (9) on the jet needle so that it is
positioned to rest on top of the throttle valve when
assembled.
12. Install carburetors on engine.
13. Synchronize the carburetors. See “THROTTLE VALVE
SYNCRONIZATION” on page 4.13.
14. Replace top cap gaskets (3), cover (2) and screws (1).
15. Check throttle lever free play. See “THROTTLE LEVER
FREE PLAY” on page 3.24.
CARBURETOR
SYNCRONIZATION
THROTTLE VALVE SYNCRONIZATION
Mikuni TM style carburetors are synchronized at wide open
throttle with out the engine running. The MAG side carburetor
is the adjusting carburetor, the PTO side carburetor has a non
adjustable set screw on the throttle shaft. The PTO carburetor
is considered the base carburetor. All adjustments are made to
the MAG carburetor
1. Remove the air box.
2. Remove the carburetor tops.
3. Hold the throttle wide open with the bellcrank on the
carburetor.
4. The bottom of the throttle valve should be flush with the
top of the carburetor intake area.
5. If they are not flush, hold the PTO carburetor flush with the
top of the intake area of the carburetor.
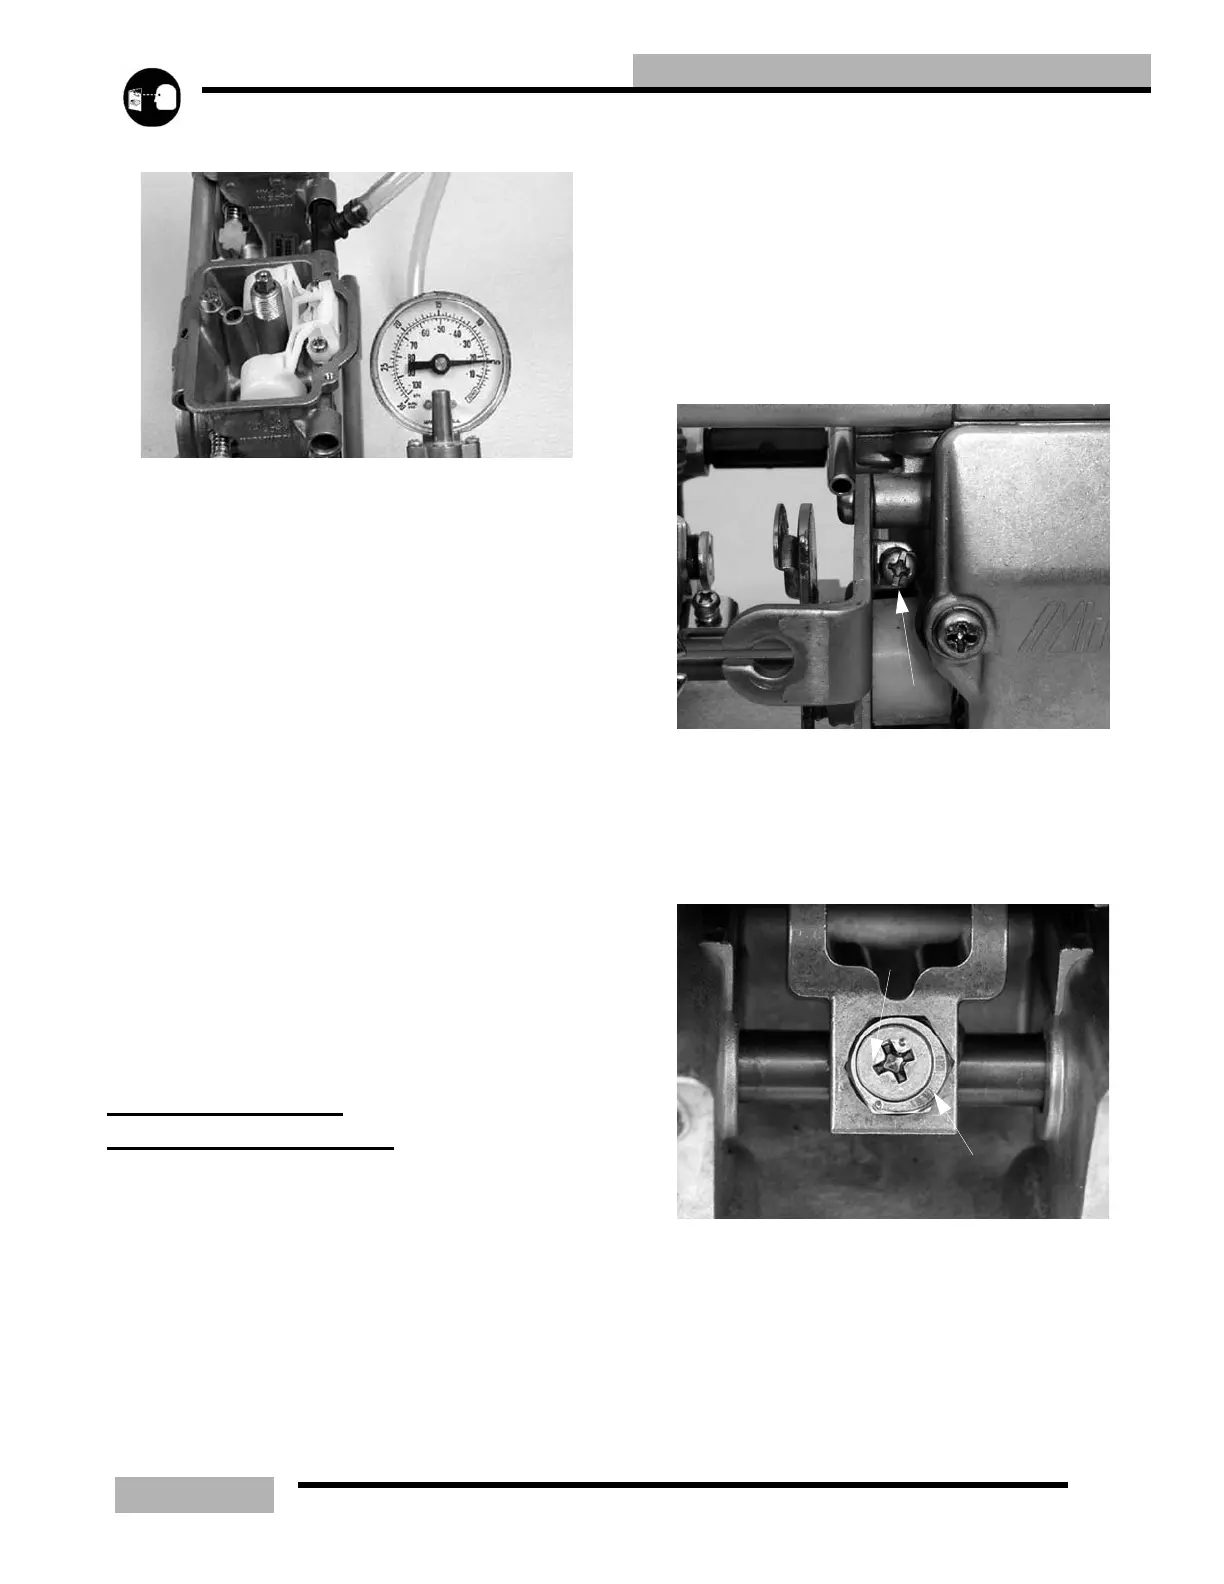
6. Turn the throttle slide synchronization screw until both of
the throttle slides are flush with the top of the intake area
of the carburetor.
7. Once the PTO carburetor side is flush, loosen the Phillips
head screw, located under the top cover on the MAG
carburetor.
8. While holding the PTO carburetor slide flush to the top of
the carburetor, rotate the synchronization nut clockwise to
raise the slide and counterclockwise to lower the slide.
9. Adjust the synchronization nut until it is even with the
PTO slide.
10. Once this is flush, lock the locking screw.
11. Replace the tops of the carburetor.
12. Install carburetor back onto the sled.
13. Install all cables.
14. Install all vent lines, and fuel lines.
Throttle slide sync screw
Lock Screw
Sync Nut

 Loading...