6.30
ENGINE
4. Mark stator plate and crankcase for reference when
reassembling the engine.
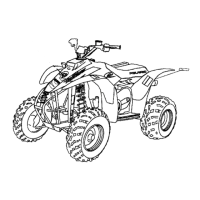
5. Using a screwdriver, remove stator screws.
6. Remove oil pump, oil pump feed lines from cylinders.
Clean and inspect all components.
7. Remove the cylinder head.
8. Remove head gasket. Note the position of head gasket
inlet and outlet hole sizes for reference during reassembly.
Always replace head gasket after disassembly.
9. Remove cylinder.
10. Remove C-clip retainers from pistons.
11. Using piston pin puller, remove piston pin from piston.
12. Remove crankcase bolts.
13. Refer to ‘INSPECTONS” on page 3.5 for engine
component inspection (i.e. crankshaft and crankcase
inspection, piston clearance, oil pump drive gear end play
etc.).
ASSEMBLY
1. Grease oil pump drive gear area. Seals should be installed
with spring and lip facing inward toward crankshaft.
2. Turn bearing until anti-rotation pins are positioned in the
proper location.
3. Apply 3-Bond sealant to crankcase halves.
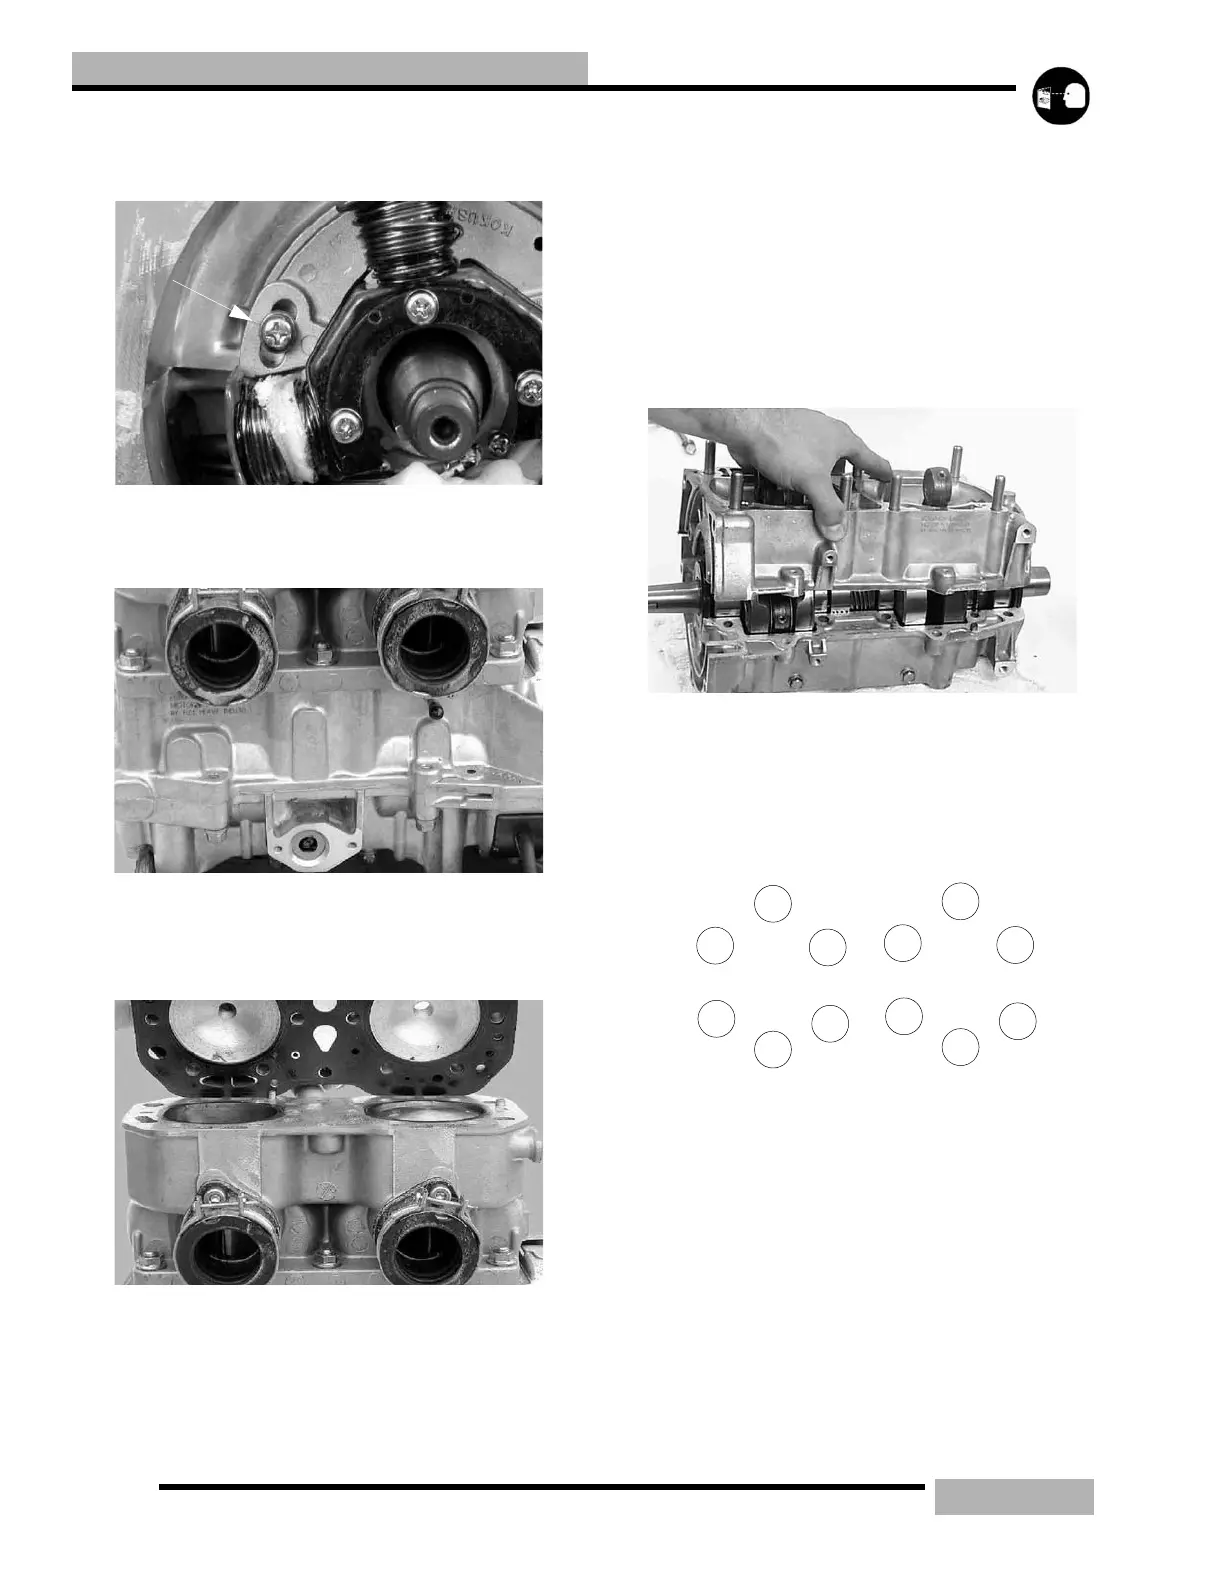
4. Torque crankcase bolts following sequence outlined in
beginning of this chapter. Lubricate crankshaft main
bearings through access holes. Torque 8mm Bolts to 17-18
f.-lb (22-23Nm), and 10mm bolts to 23-25 ft-lb (32-
35Nm).
9
5
1
12
8
4
3
2
6
10
11
7
CRANKCASE PATTERN

 Loading...