24
1001108-01-F
User Buttons
The TouchMix-30 Pro has eight user-assignable buttons (U1 – U8) while the TouchMix-8 and TouchMix-16 have four (U1 – U4). The remote control
apps for all models provide 8 user buttons. The following are assigned by default:
TouchMix-30 Pro TouchMix-8 / TouchMix-16
•
U1
– Navigate Left (moves the selection left)
•
U2
– Clear Clip (clears clipping indication from the Navigation Strip)
•
U3
– Clear Cue (clears all cue selections)
•
U4
– Navigate Right (moves the selection right)
•
U5
– Play/Stop (starts or stops playback)
•
U6
– Rec/Stop (starts or stops recording)
•
U7
– Copy (see Copy & Paste)
•
U8
– Paste (see Copy & Paste)
•
U1
– Navigate Left (moves the selection left)
•
U2
– Copy (see Copy & Paste)
•
U3
– Paste (see Copy & Paste)
•
U4
– Navigate Right (moves the selection right)
•
U5
– Play/Stop (Tablet app only)
•
U6
– Rec/Stop (Tablet app only)
•
U7
– Clear Clip (Tablet app only)
•
U8
– Clear Cue (Tablet app only)
The User Buttons may be reprogrammed to suit your preferences.
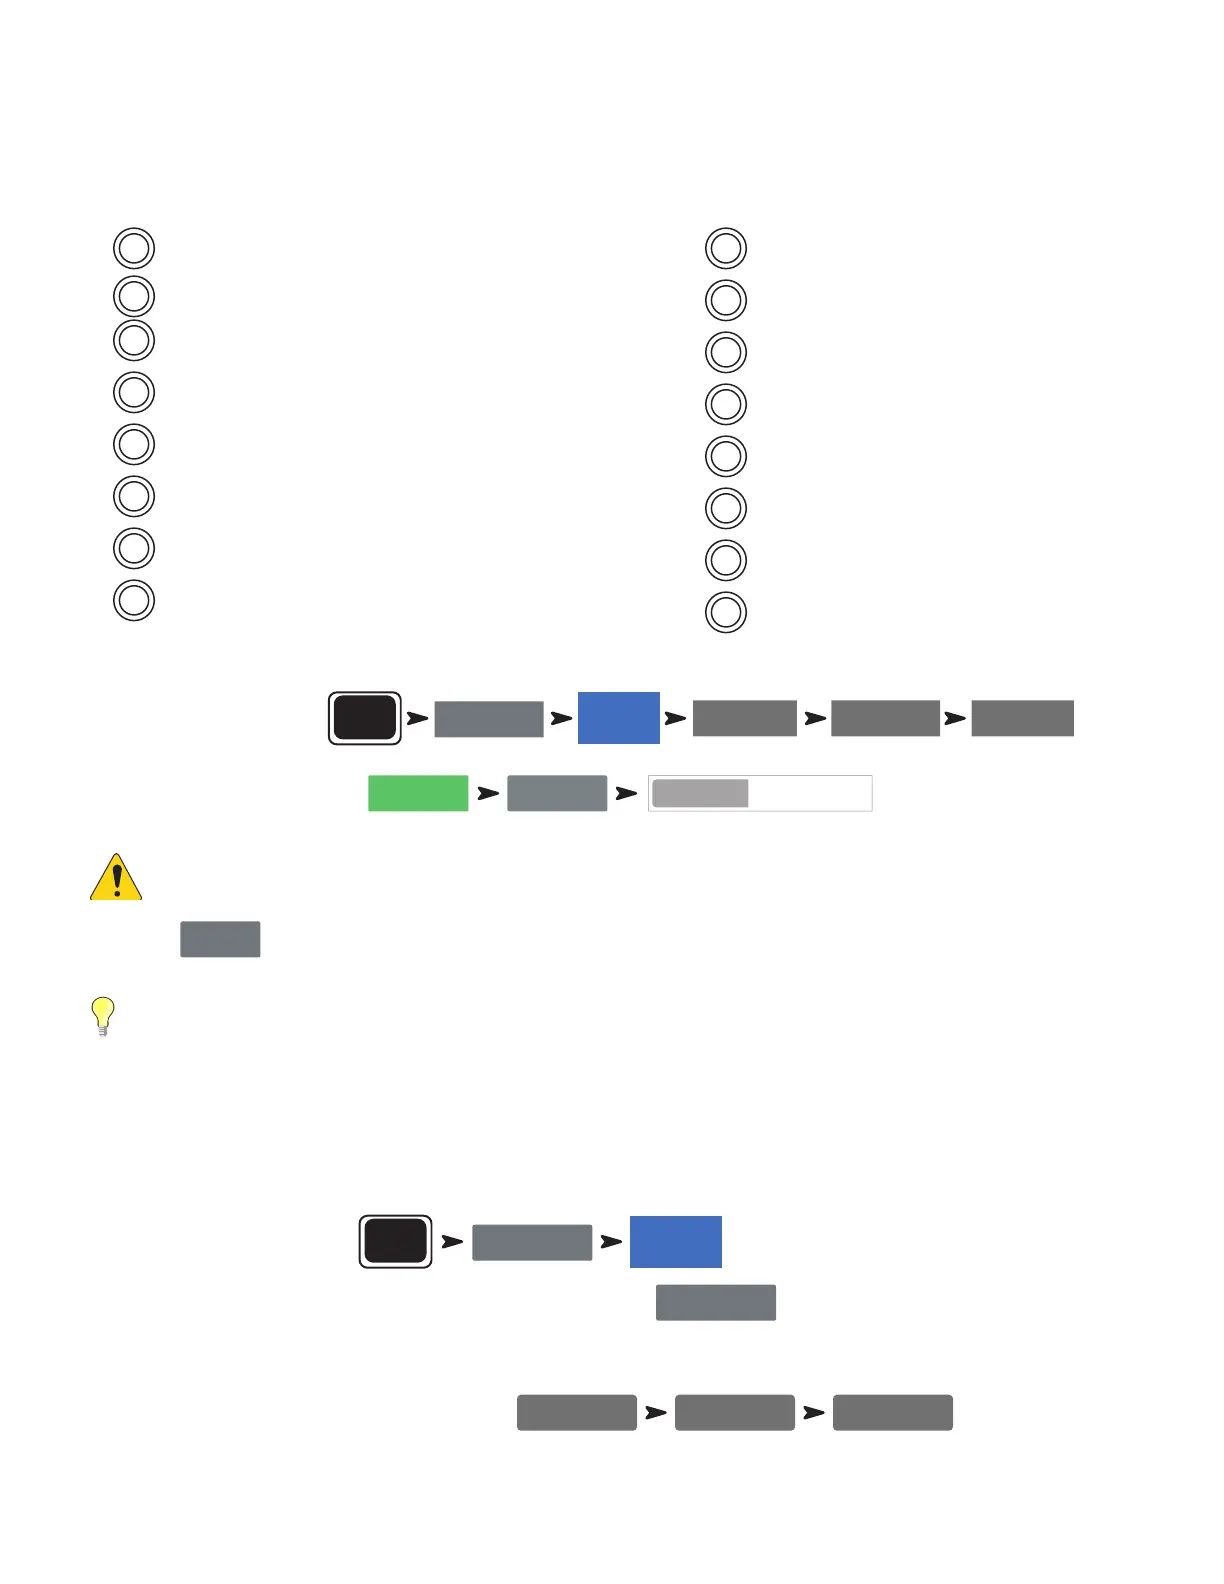
To program a User Button:
Menu
User Buttons
User 1
Nav Left
Action Selection Detail
To complete the programming:
Assign Assign
Type Name
Name
NOTE:
The Name displays on the tablet app User Buttons.
Touch the
Reset
button to restore the default assignments.
TIP:
For instant navigation to a particular screen, there’s a simple shortcut method to program a User Button. Let’s say that you
want to be able to get to the input channel overview of the lead singer’s channel (channel 12) quickly. Simply navigate to the Channel
12 Overview tab and hold a User Button for two seconds. Touch “Yes” and the User Button will now take you to the Channel 12
Overview screen no matter where you are.
MIDI Control
A USB-over-MIDI device such as a foot switch may be used to control some TouchMix-30 Pro functions. MIDI Control is similar in function to User
Buttons.
1. To program MIDI Control:
Menu
MIDI Setup
MIDI 1
Not in use
2. With a compatible MIDI device connected to the mixer, touch
Learn MIDI
.
3. Send a MIDI command to the mixer and that command will now be associated with the selected MIDI button.
4. To assign a function to the "learned" button:
Action Selection Detail

 Loading...