P
r
o
t
e
c
t
e
d
b
y
c
o
p
y
r
i
g
h
t
.
C
o
p
y
i
n
g
f
o
r
p
r
i
v
a
t
e
o
r
c
o
m
m
e
r
c
i
a
l
p
u
r
p
o
s
e
s
,
i
n
p
a
r
t
o
r
i
n
w
h
o
l
e
,
i
s
n
o
t
p
e
r
m
i
t
t
e
d
u
n
l
e
s
s
a
u
t
h
o
r
i
s
e
d
b
y
V
o
l
k
s
w
a
g
e
n
A
G
.
V
o
l
k
s
w
a
g
e
n
A
G
d
o
e
s
n
o
t
g
u
a
r
a
n
t
e
e
o
r
a
c
c
e
p
t
a
n
y
l
i
a
b
i
l
i
t
y
w
i
t
h
r
e
s
p
e
c
t
t
o
t
h
e
c
o
r
r
e
c
t
n
e
s
s
o
f
i
n
f
o
r
m
a
t
i
o
n
i
n
t
h
i
s
d
o
c
u
m
e
n
t
.
C
o
p
y
r
i
g
h
t
b
y
V
o
l
k
s
w
a
g
e
n
A
G
.
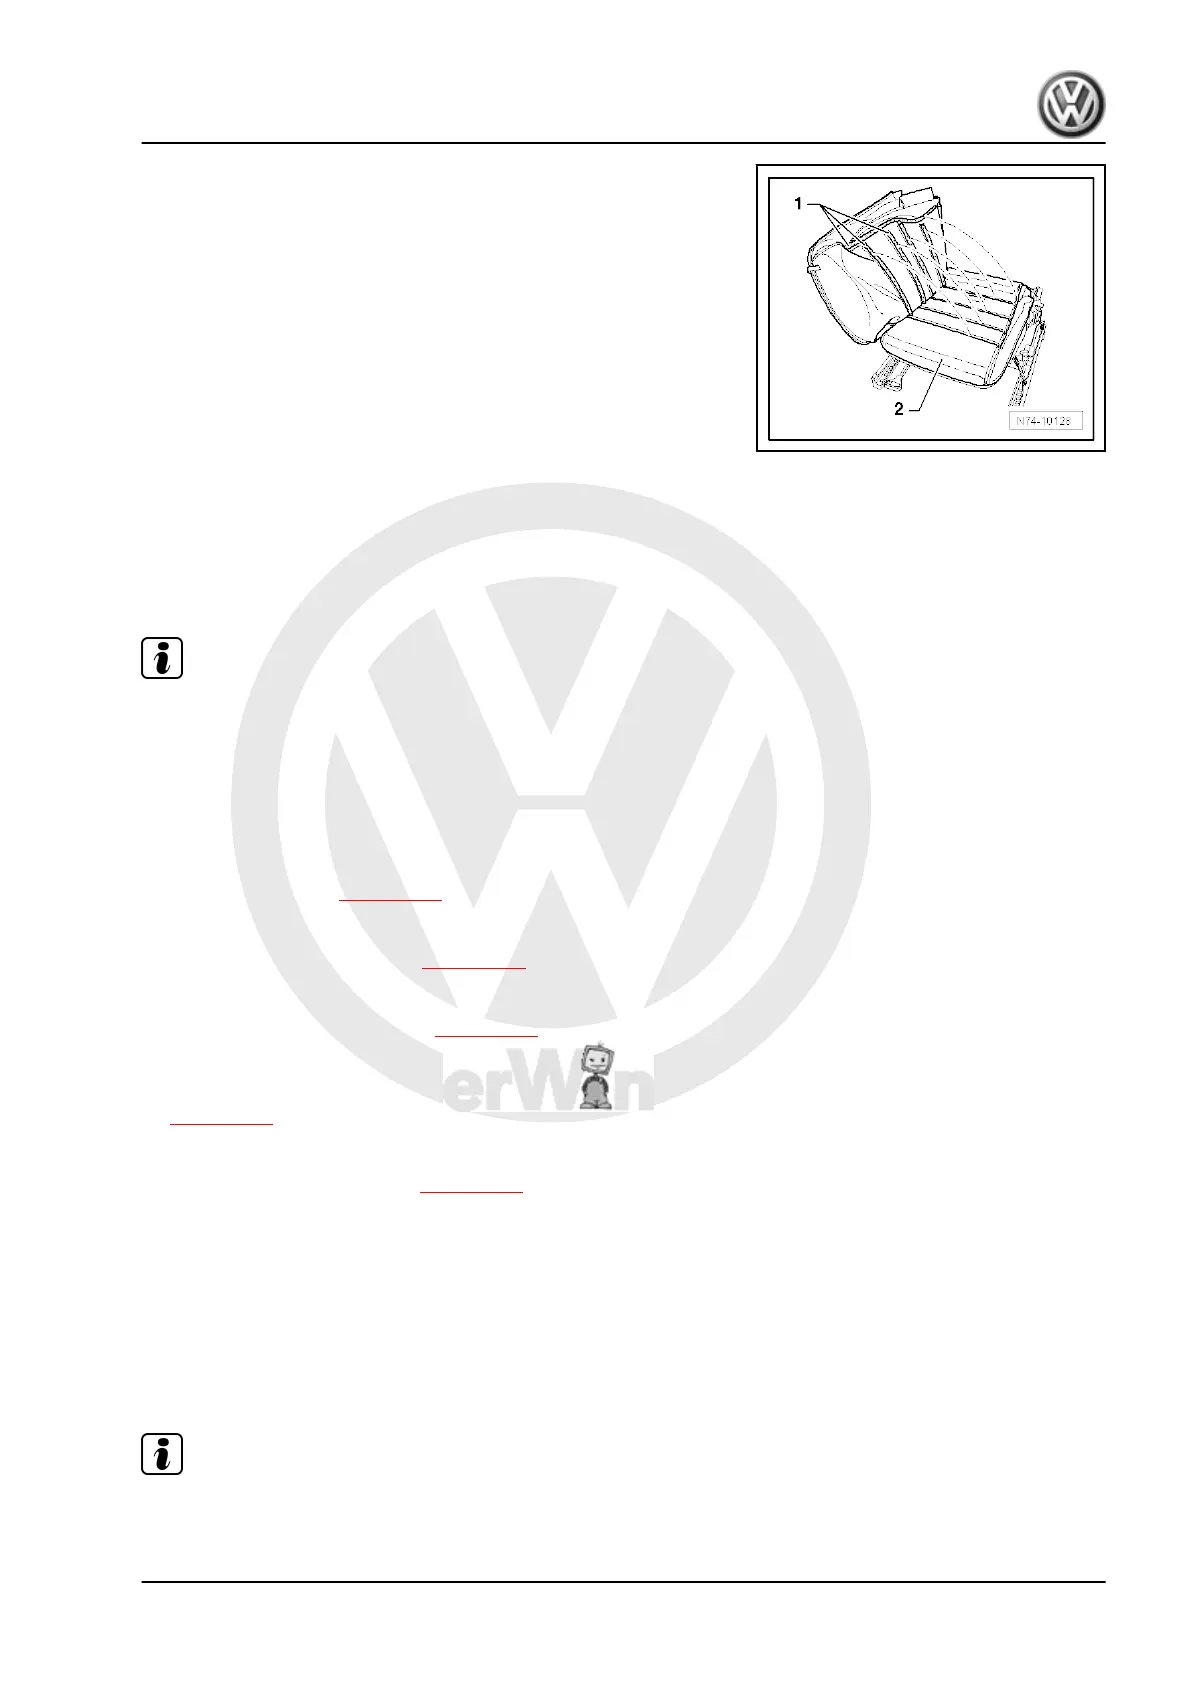
– Release all Velcro fasteners -1- of cover from recesses in
padding -2-.
– Remove padding from seat base.
1.3.2 Installing
– Install in reverse order of removal.
1.4 Removing and installing front seat back‐
rest cover and padding
Note
Removal and installation is described for the left seat. Follow
same instructions for removal and installation of components of
the right seat as appropriate.
1.4.1 Removing
– Attach seat repair stand -VAS 6136- to engine and gearbox
support -VAS 6095- .
– Remove front seat ⇒ page 260 .
– Secure seat to seat repair stand -VAS 6136- .
– Remove right front seat trim ⇒ page 276 .
Vehicles with manually adjustable seat
– Remove left side trim on seat ⇒ page 263 .
Vehicles with electrically adjustable seat
– Remove left side trim on electrically adjustable seat
⇒ page 267 .
All vehicles
– Remove front seat backrest ⇒ page 281 .
– Secure backrest to seat repair stand -VAS 6136- .
– Operate respective button in head restraint guide and pull
head restraint -1- out of backrest.
Only 2-door.
– Pull off operating knob -2-.
– Insert a screwdriver -direction of arrow- and lever trim -3- out
of mounting.
Note
When installing, remove securing spring -4- from lever -5- and renew it..
Golf 2004 ➤ , Golf 2009 ➤
General body repairs, interior - Edition 05.2010
1. Front seat covers and padding 315
 Loading...