Emerson Process Management GmbH & Co. OHG 7-61
X-STREAM XE
Instruction Manual
HASXEE-IM-HS
10/2012
7
Maintenance & Procedures
7.6.5 Replacing the Trace Moisture Sensor
• Locate the sensor unit within your ana-
lyzer.
• Open the ttings, connecting the unit to
the piping.
• Only loosen the small nuts (do not remove
them), xing the sensor unit to the analy-
zer plate and carefully take the unit out of
the analyzer.
• Take off the signal plug at the sensor's end
(it is xed by a screw!).
• Place a wrench (size: 27 mm) at the hexa-
gon and screw out the sensor by turning
it counterclockwise (ccw).
Do not use the cylindric sen-
sor body to losen the sensor!
Place a second wrench with
size 30 mm from the top to
counterhold the block.
• Take the new sensor and carefully place
the HDPE protected end of the sensor into
the sensor block.
• Place the one wrench at the hexagon, the
other at the block to counterhold and x
the sensor by turning it clockwise (cw).
To ensure proper measure-
ments, apply a torque of
min. 30.5 Nm (269 in.lb).
Do not use the cylindrical sen-
sor body to install the sensor!
• Install the connector to the sensor and x
it with the screw.
• Place the unit into the analyzer and x it
with the small nuts.
• Re-install the piping ttings.
• Make sure that all the plugs associated
with the sensor are properly connected
the same way as before.
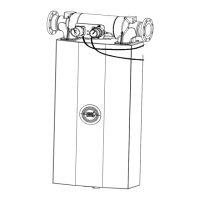
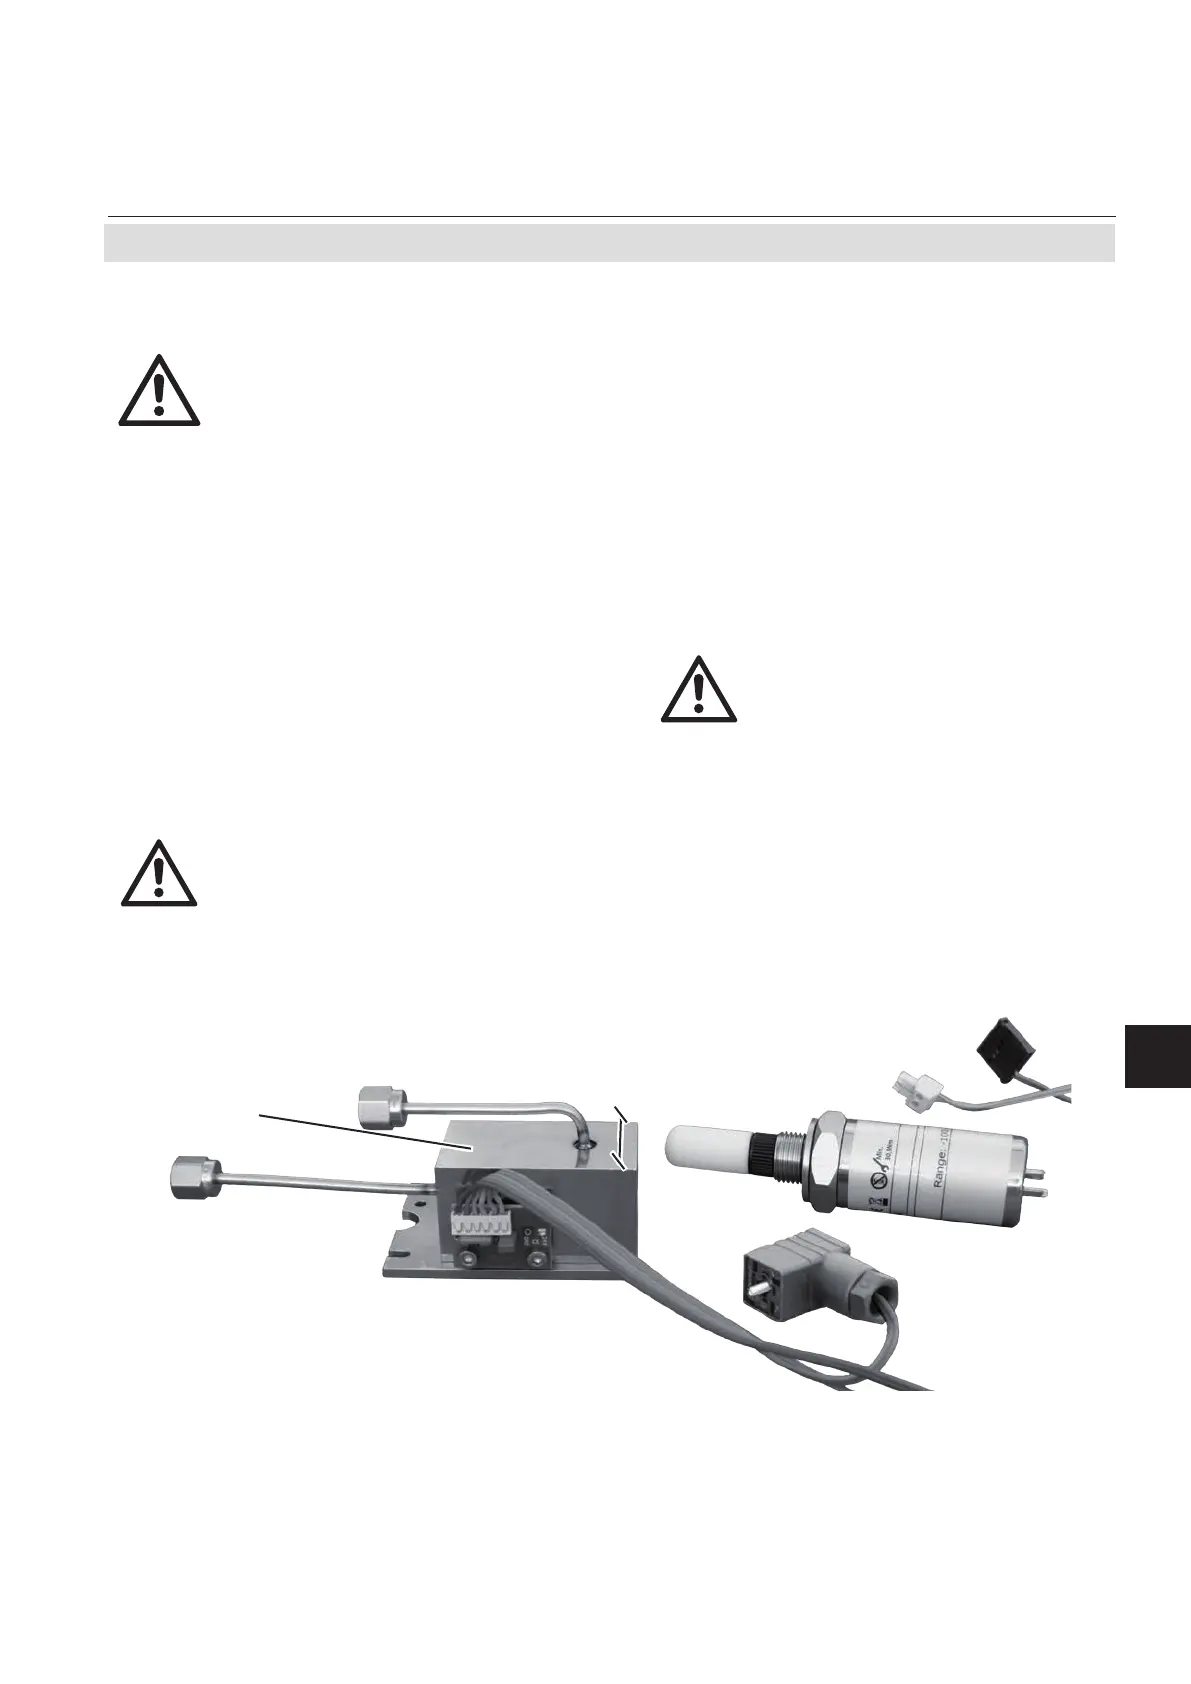
Fig. 7-16: Trace Moisture Sensor Assembly Separated
30 mm
Connectors: 1 sensor signal plug
2 power to sensor
3 signal to analyzer
For details see appendix!
1
2
3
Consider all applicable safety
instructions, especially those at
the beginning of this section 7.5
Sensor block
7.6 Replacing Worn Out Sensors

 Loading...