| 122 | 6 Repair | CARDIOHELP System |
Service Manual | 3.3 | EN | 05
Copyright Maquet Cardiopulmonary GmbH
8 For M3 screws use a torque of 0.5 Nm. Do not use Loctite!
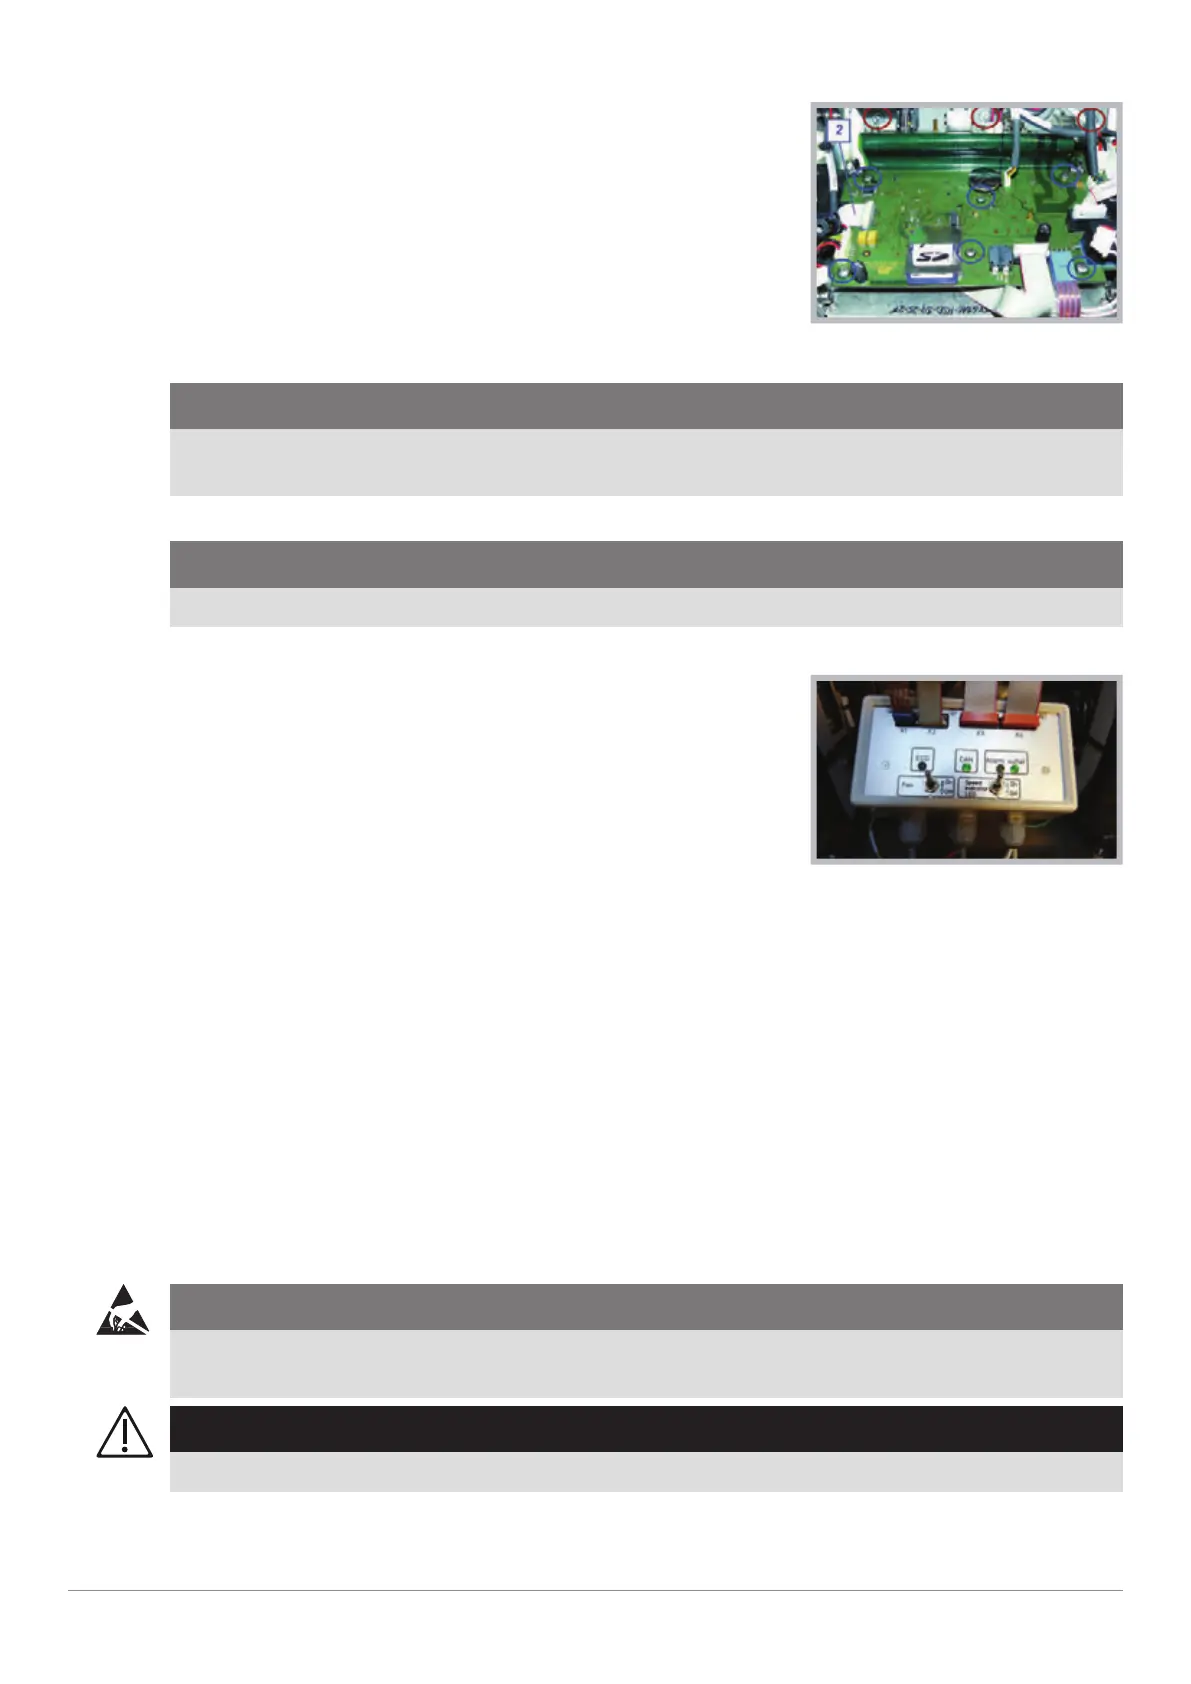
HMI PCB
9 Reconnect all plugs.
CAUTION!
Secure the HMI sensor bridge redundancy connection with 1 to 2 drops of Loctite 286.
Make sure to process the adhesive according to the manufacturer's specifications!
10 Connect the flat cable and close its locks.
CAUTION!
Make sure that the flat cable is mounted correctly.
11 Assemble the backlight inverter (⇨ "Assemble the Backlight Inverter", page 119).
12 Perform the IPC function test (⇨ "IPC Function Test", page 95).
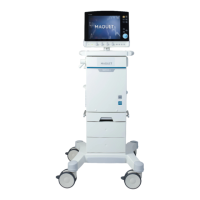
HMI tester
13 Assemble the battery housing (⇨ "Assemble Battery Housing", page 117).
14 Close the device (⇨ "Closing the Device", page 110).
15 Save device serial number on the HMI PCB.
16 Carry out a software update (⇨ "Carry Out Software Update", page 85).
17 Carry out the licensing (⇨ "Licensing", page 90).
18 Carry out a complete inspection (⇨ "Inspection", page 33).
u HMI PCB replaced.
u Device serial number is saved on the HMI PCB.
u Inspection after repair has been carried out.
6.15 Replacing Display and Touch Panel
Requirements
Service training part 2
CAUTION!
ESD-sensitive components
To prevent damage to ESD-sensitive components, an ESD-protected environment must be set up.
WARNING!
Replacement of the touch panel could create display damage.