| 34 | 3 Inspection | CARDIOHELP System |
Service Manual | 3.3 | EN | 05
Copyright Maquet Cardiopulmonary GmbH
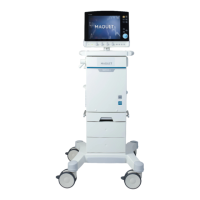
▶ Ensure that the three guide pins are in the corresponding holes in the HLS module and the locking
device has clicked into place.
▶ Ensure that the disposable is correctly positioned and securely fixed.
3.2.2 Disconnecting the HLS Module
1 Press the HLS module’s locking device to the middle.
2 Slightly turn the HLS module clockwise and remove from the CARDIOHELP.
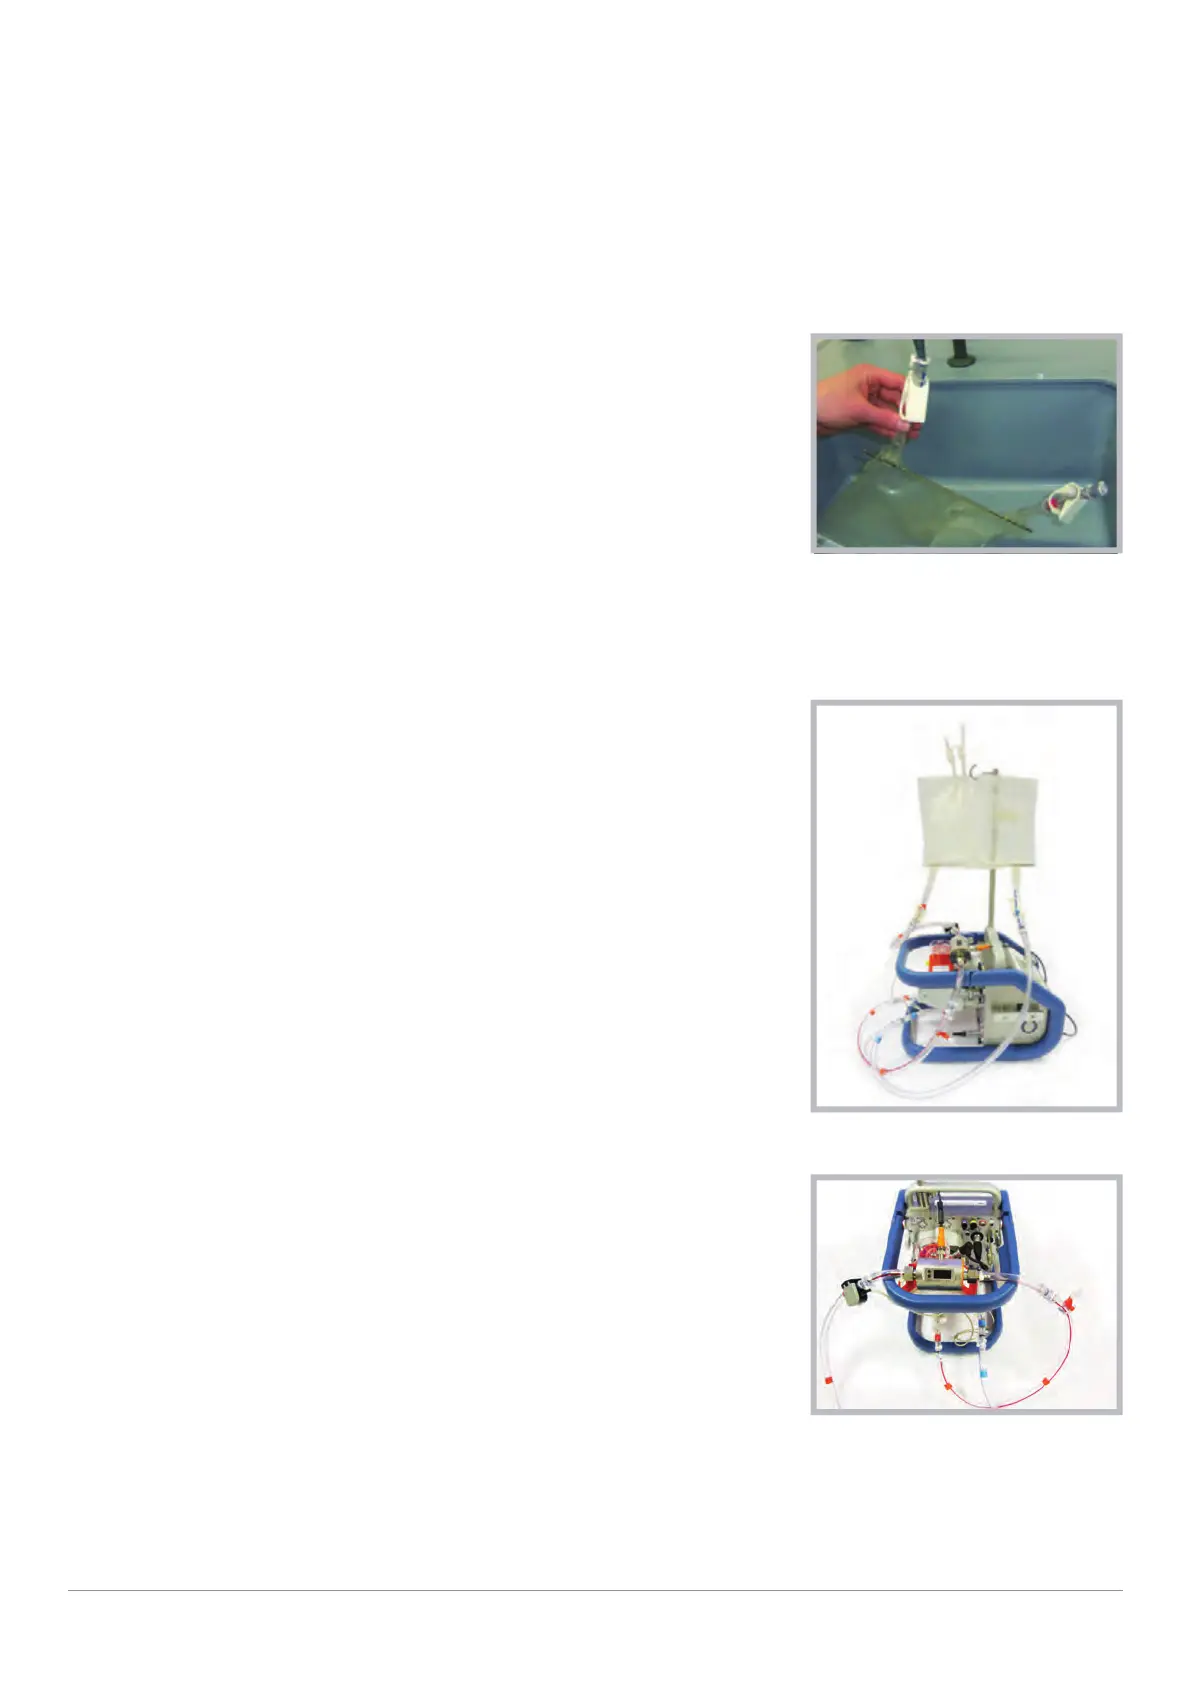
3.2.3 Connecting the Test Circuit
1 Insert the round bar into the priming bag.
Fill priming bag
2 Close the priming bag with the clamps at the top.
3 Open the clamps on the red and blue tube lines.
4 Fill the priming bag with approx. 1.5 l of tap water.
5 Close the priming bag with the clamps on the red and blue tube line.
6 Place the priming bag pole into the holder of the emergency drive.
Mount the priming bag
7 Hang the priming bag on the hook of the priming bag pole.
8 Connect the HLS module
(⇨ "Connecting the HLS Module", page 33).
Connecting the test circuit
9 Connect the tubes.
10 Place the flow/bubble sensor on the arterial side.
11 Place the bubble sensor on the venous side (if available).
12 Open the de-airing membrane of the HLS module with the yellow protective cap.
13 Open the clamps on the red and blue tube lines (below).