SECTION 4—SEAT
Pronto
®
M91™and M94™ 36 Part No. 1125038
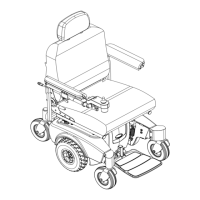
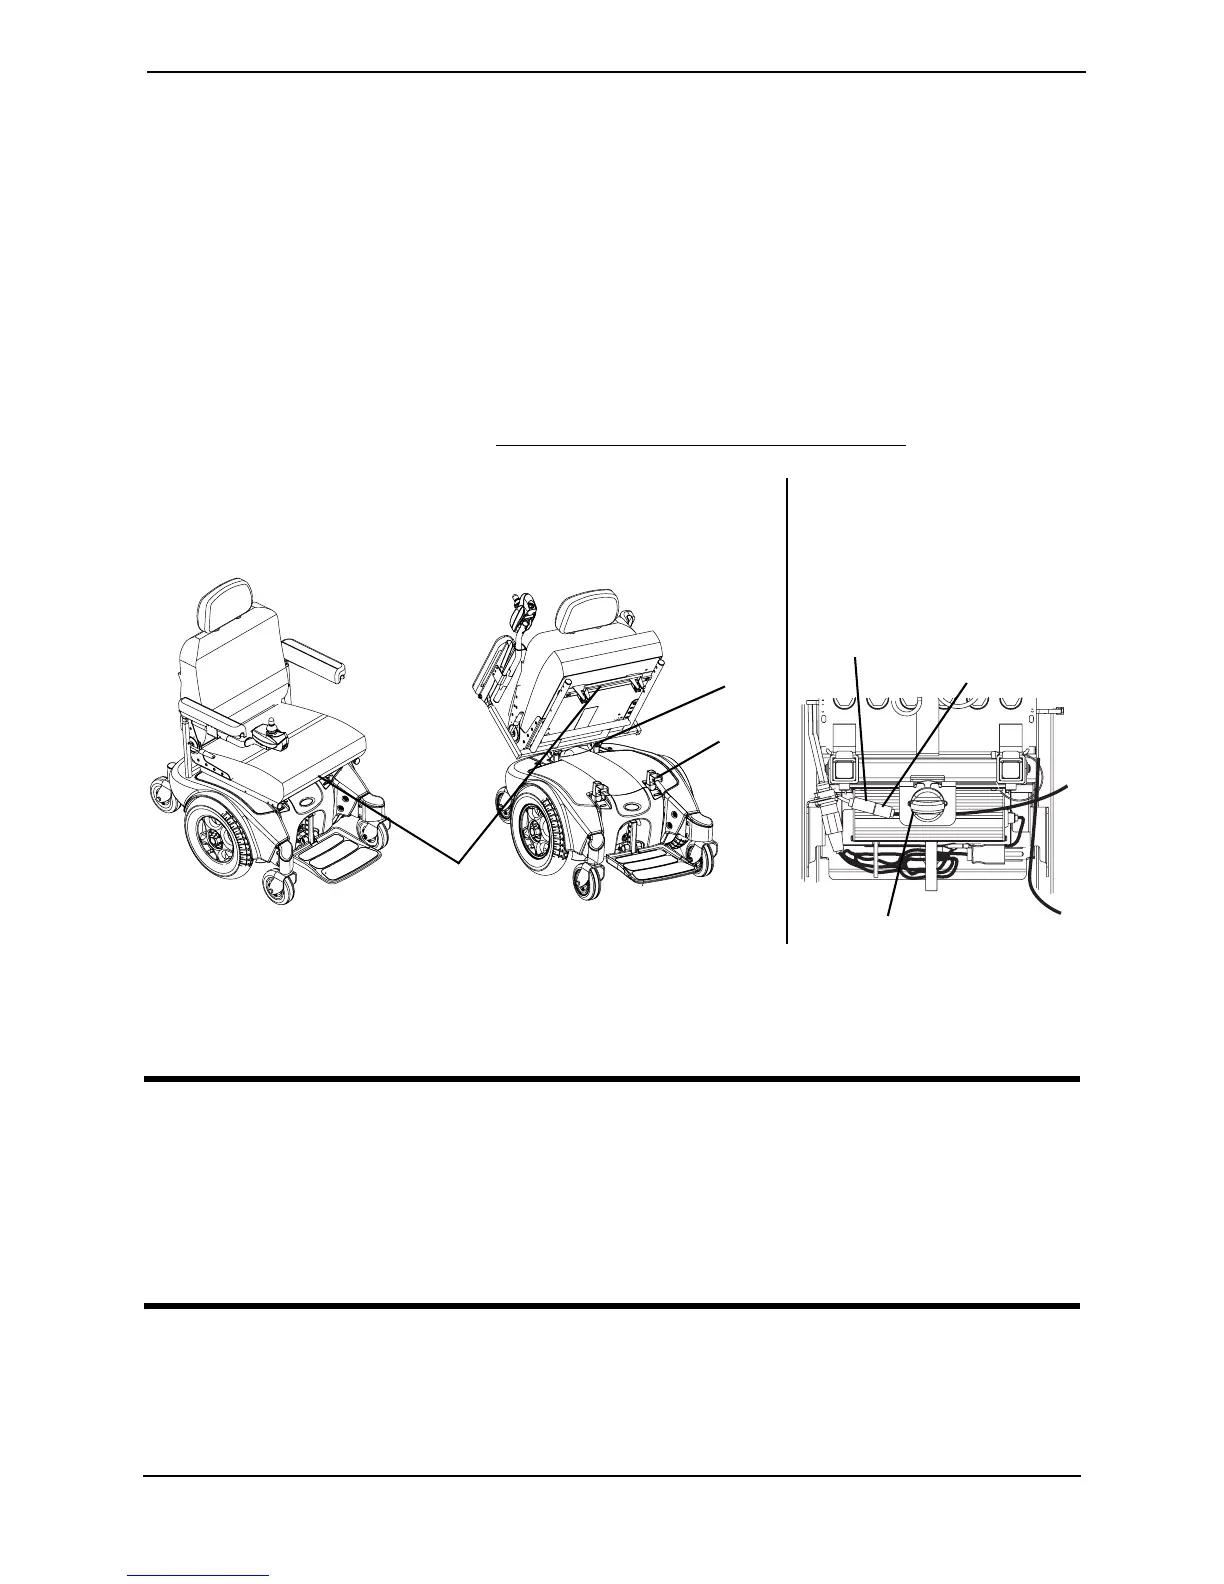
4. Pulluponlatchbartoverifythatbracketsareengagedwithseatclevispins.
5. M91withFullReclineBackandDriveLockoutSwitchONLY‐Performthefollowing
toconnectthedrivelockoutswitch:
A. Openrearshroudbyturningknob90°untildetentisfelt,sliderearshroudtowards
rearcastersandtilttopedgeawayfromwheelchair.
B. Connectthedrivelockoutswitchcablelocatednexttothecharger(Detail“A ” of
FIGURE 4.1).
C. Closetherearshroudbytiltingthetopedgetowardsthewheelchair,slidingthe
rearshroudtowardstheknob,andturningknob90°untildetentisfelt.
6. Connectthejoystick.RefertoDisconnecting/ConnectingtheJoystickonpage 112.
FIGURE 4.1 Removing/Installing or Tilting the Seat Assembly
Tilting the Seat Assembly - Power Tilt Only Seating System
WARNING
Make sure power to the wheelchair is OFF before performing this procedure.
NEVER leave the seat assembly in the UP/OPEN position unless necessary to
perform a procedure on the wheelchair - otherwise injury or damage may result.
After ANY adjustments, repair or service and BEFORE use, make sure all attaching
hardware is tightened securely - otherwise injury or damage may result.
NOTE:Forthisprocedure,refertoFIGURE 4.2onpage 38.
NOTE:Removingtheseatisnotnecessarytoaccessthebatterycompartmentonwheelchairs
equippedwithapowertiltonlyseatingsystem.Theseatassemblywithpowertiltonlytiltsback
andisproppedinplacetoprovideaccesstothebatteriesandundersideoftheseat.
Latch Bar
(located under the
front of the seat)
NOTE:VanSeatmodelshown.ASBAseatremoves/installsin
thesameway.
Rear Pivot
Brackets
Seat
Clevis
Pins
Drive Lockout
Switch Cable
(To Wheelchair)
Drive
Lockout
Switch Cable
(To Seat)
Knob
NOTE:Rearshroudnot
shownforclarity.
DETAIL “A”

 Loading...