SECTION 10—MOTORS
Pronto
®
M91™and M94™ 98 Part No. 1125038
Removing/Installing the Motor
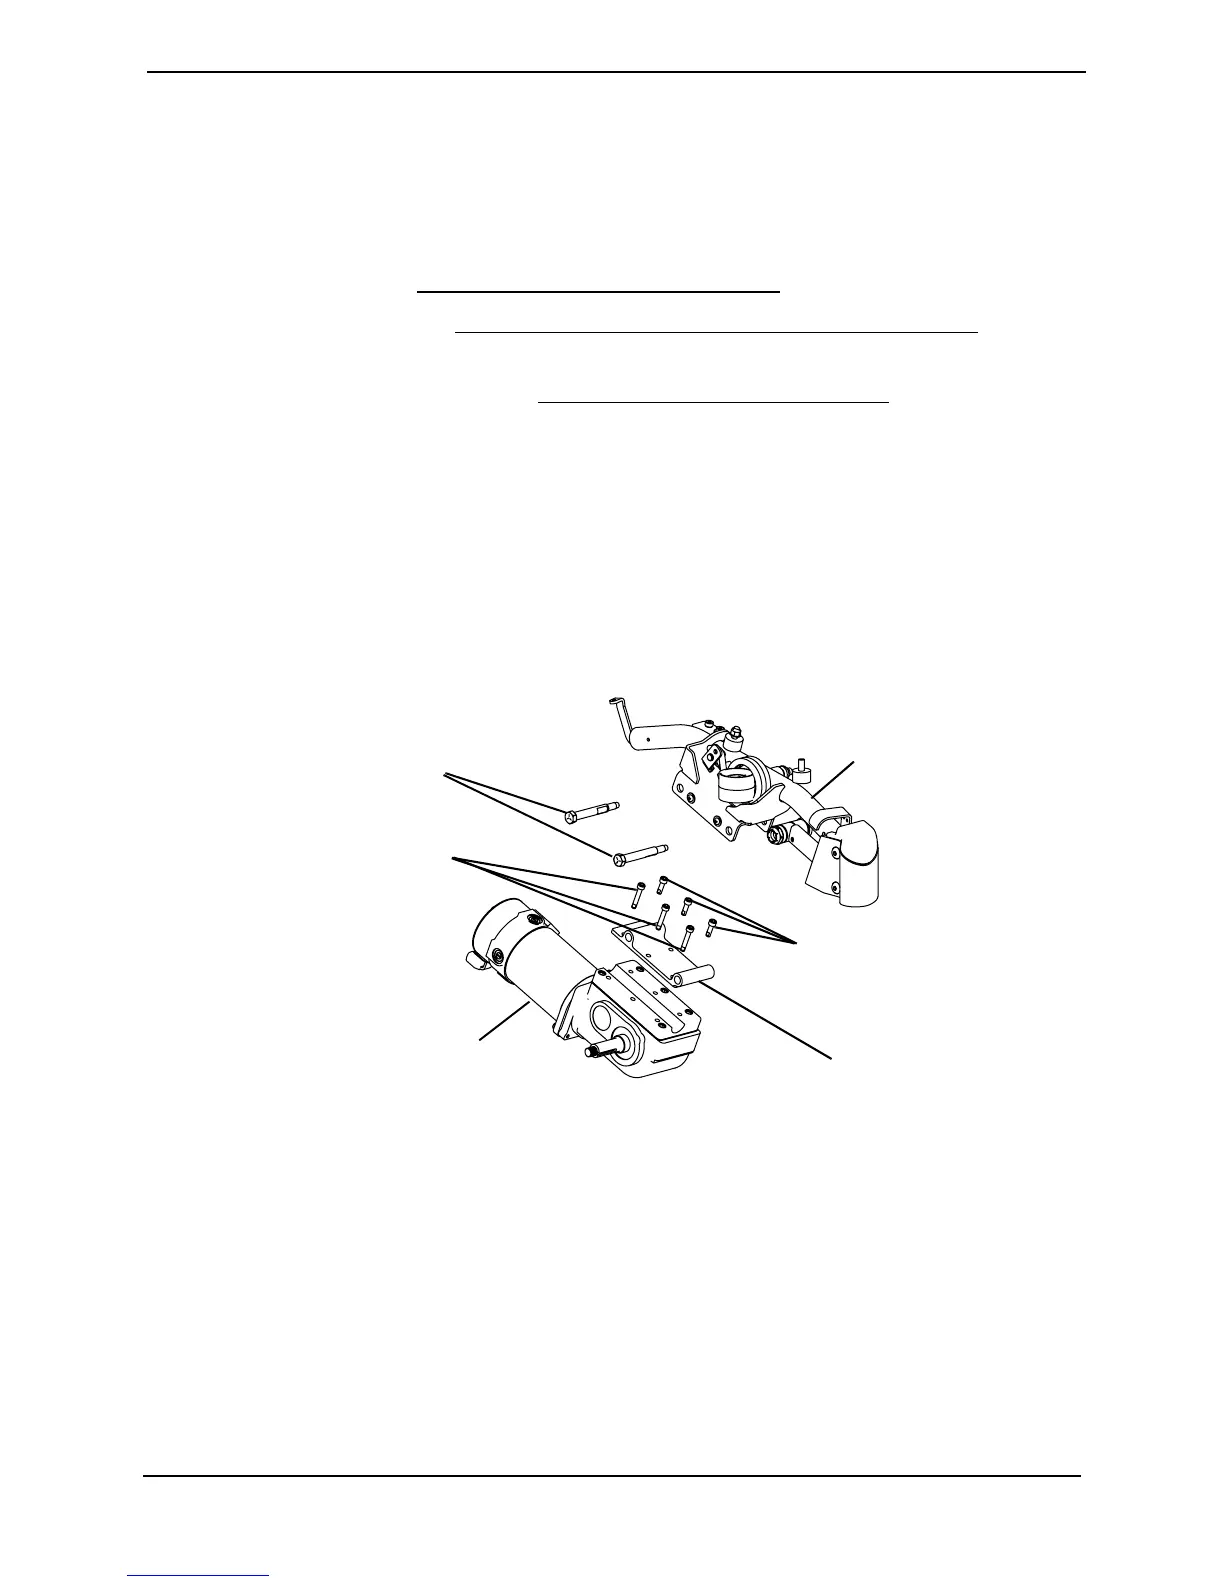
NOTE:Forthisprocedure,refertoFIGURE 10.2.
NOTE:Reversethisproceduretoinstallthemotor.
NOTE:Removingthedrivewheel,whilenotnecessary(unlessreplacingthemotor),mayimprove
accesstothemotor.RefertoRemoving/InstallingtheDriveWheelonpage 84.
1. Removetheseat.RefertoRemoving/InstallingorTiltingtheSeatAssemblyon
page 35.
2. Removethesideshroud.RefertoRemoving/InstallingtheShroudsonpage 88.
3. Disconnectthemotorlead(notshown).
NOTE:Longmountingscrewsareusedonthesamesideofthemotorasthedriveshaft.
4. Removethetwomotorreleasepinssecuringthemotorplatetothewalkingbeamand
removethemotorassemblyfromthewalkingbeam.
5. Removethethreelongmountingscrewsandthreeshortmountingscrewssecuring
themotortothemotorplate(FIGURE 10.2).
6. Ifnecessary,repeatSTEPS2‐5forthemotorontheotherside.
FIGURE 10.2 Removing/Installing the Motor
Three Long Mounting
Screws
Motor
NOTE:Drivewheelnotshown.
Motor Release Pins
Walking Beam
Three Short Mounting
Screws
Motor Plate

 Loading...